Lady Quinn, a finished quilt
A finished quilt! Today we took Lady Quinn to the park nearby our home and photographed her in front of the children’s favorite climbing tree. It is still quite cold, but the plants know that it is spring. Everything is greening up beautifully.


I do love how this quilt came out! The colors and patchwork make a lovely impression whether viewed from close up or from far off. With more distance the sunny yellow center absolutely glows. I love how the colors blend horizontally in both directions like the sunset reflecting on water. Close up one can appreciate the dainty Tilda Tea Towel Basic prints that make up most of the background diamonds.

My favorite thing about this quilt? I would have to say it is those floral prints. I am pleased that I held back and only allowed a sprinkling of the florals. Here less is definitely more. The pretty flowers garner plenty of attention amongst all these solids and whispering low volumes. It comes across charming and ladylike, don’t you think?
Sponsor of the Week
Quilt Sandwich
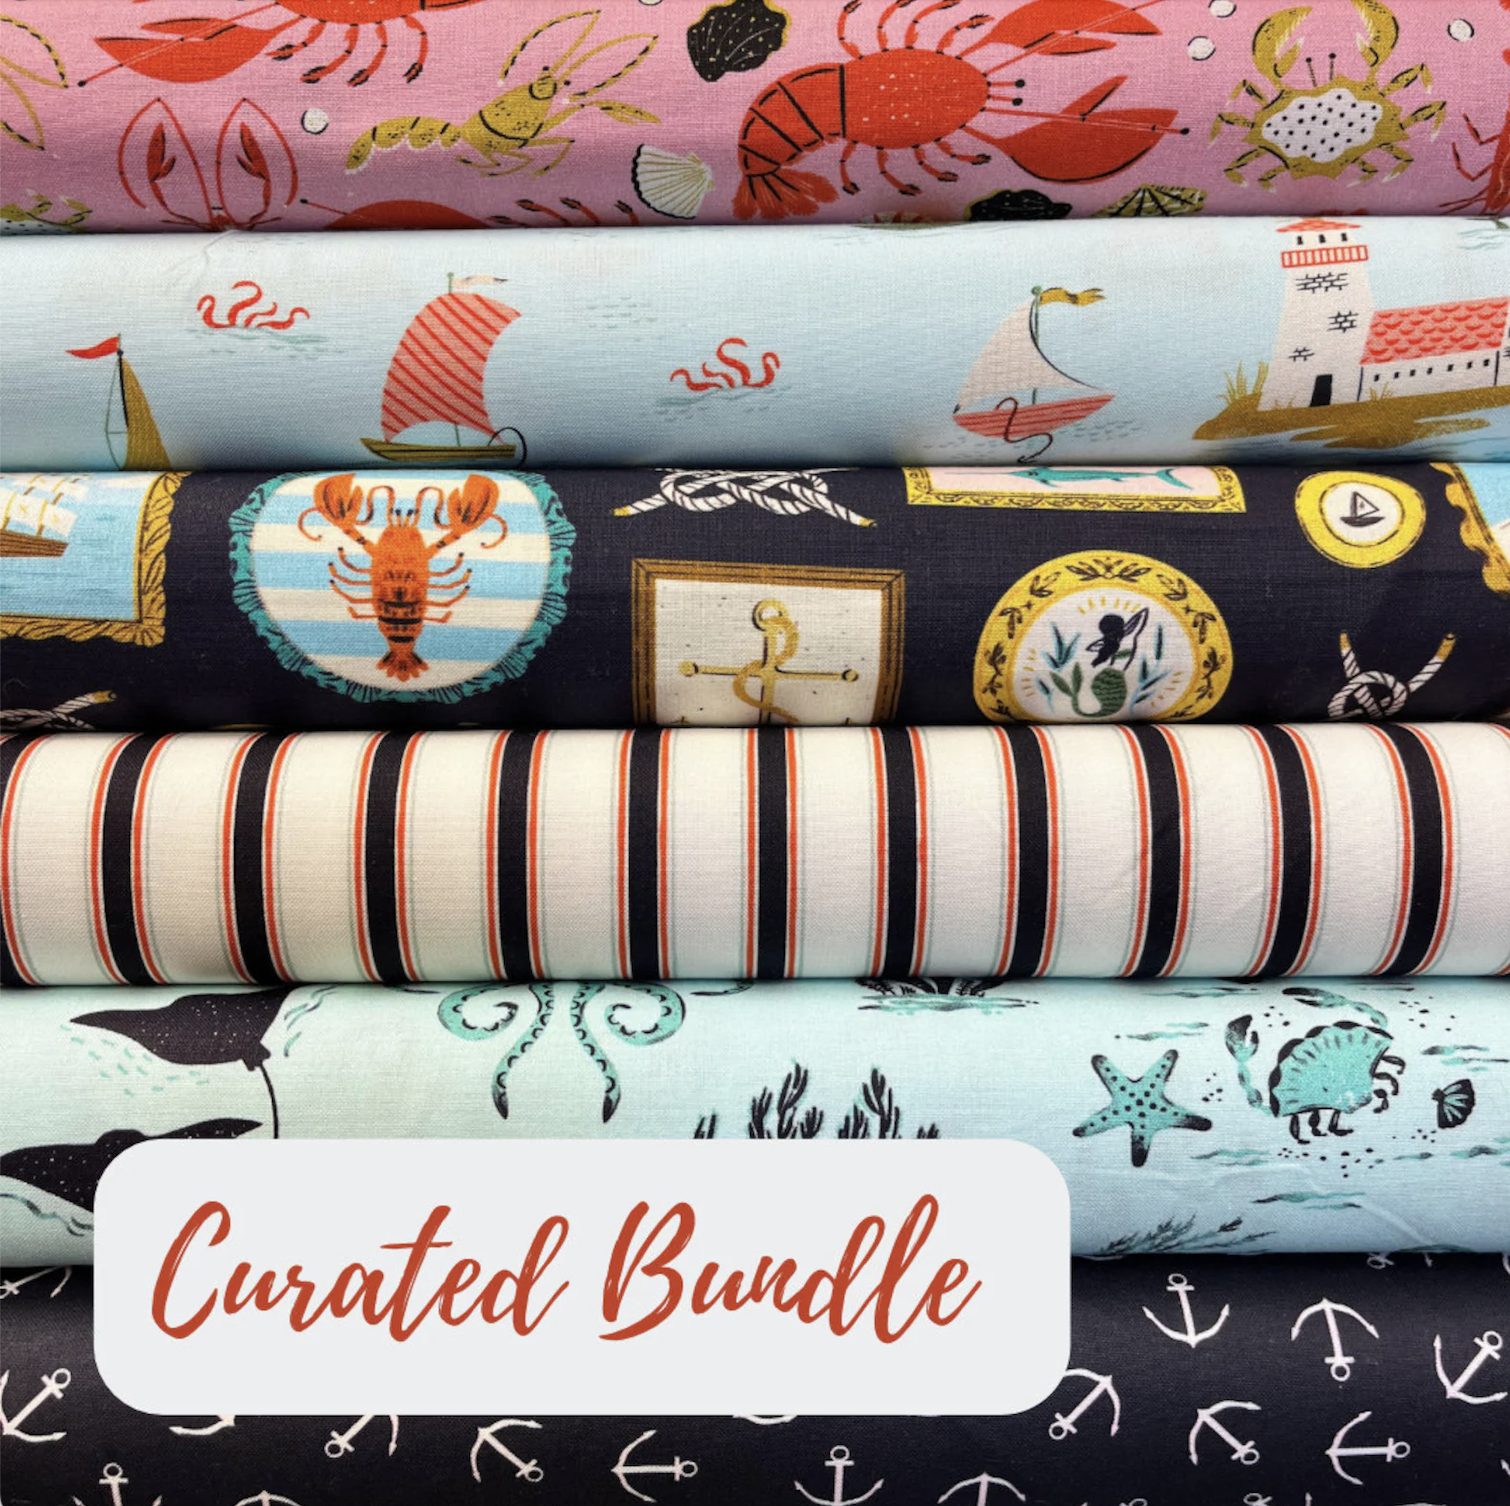
Are you also feeling the call of the sea? Snag the Seafarers collection by Faye Guanipa for Dear Stella Fabrics. Curated bundles and yardage available now at Quilt Sandwich!

In keeping with the soft and feminine vibe, I quilted Lady Quinn with flowing ovals and diamonds. It is a medium density quilting treatment, which quilts nice and even over the whole quilt. That keeps the quilt soft while adequately reinforcing the patchwork.
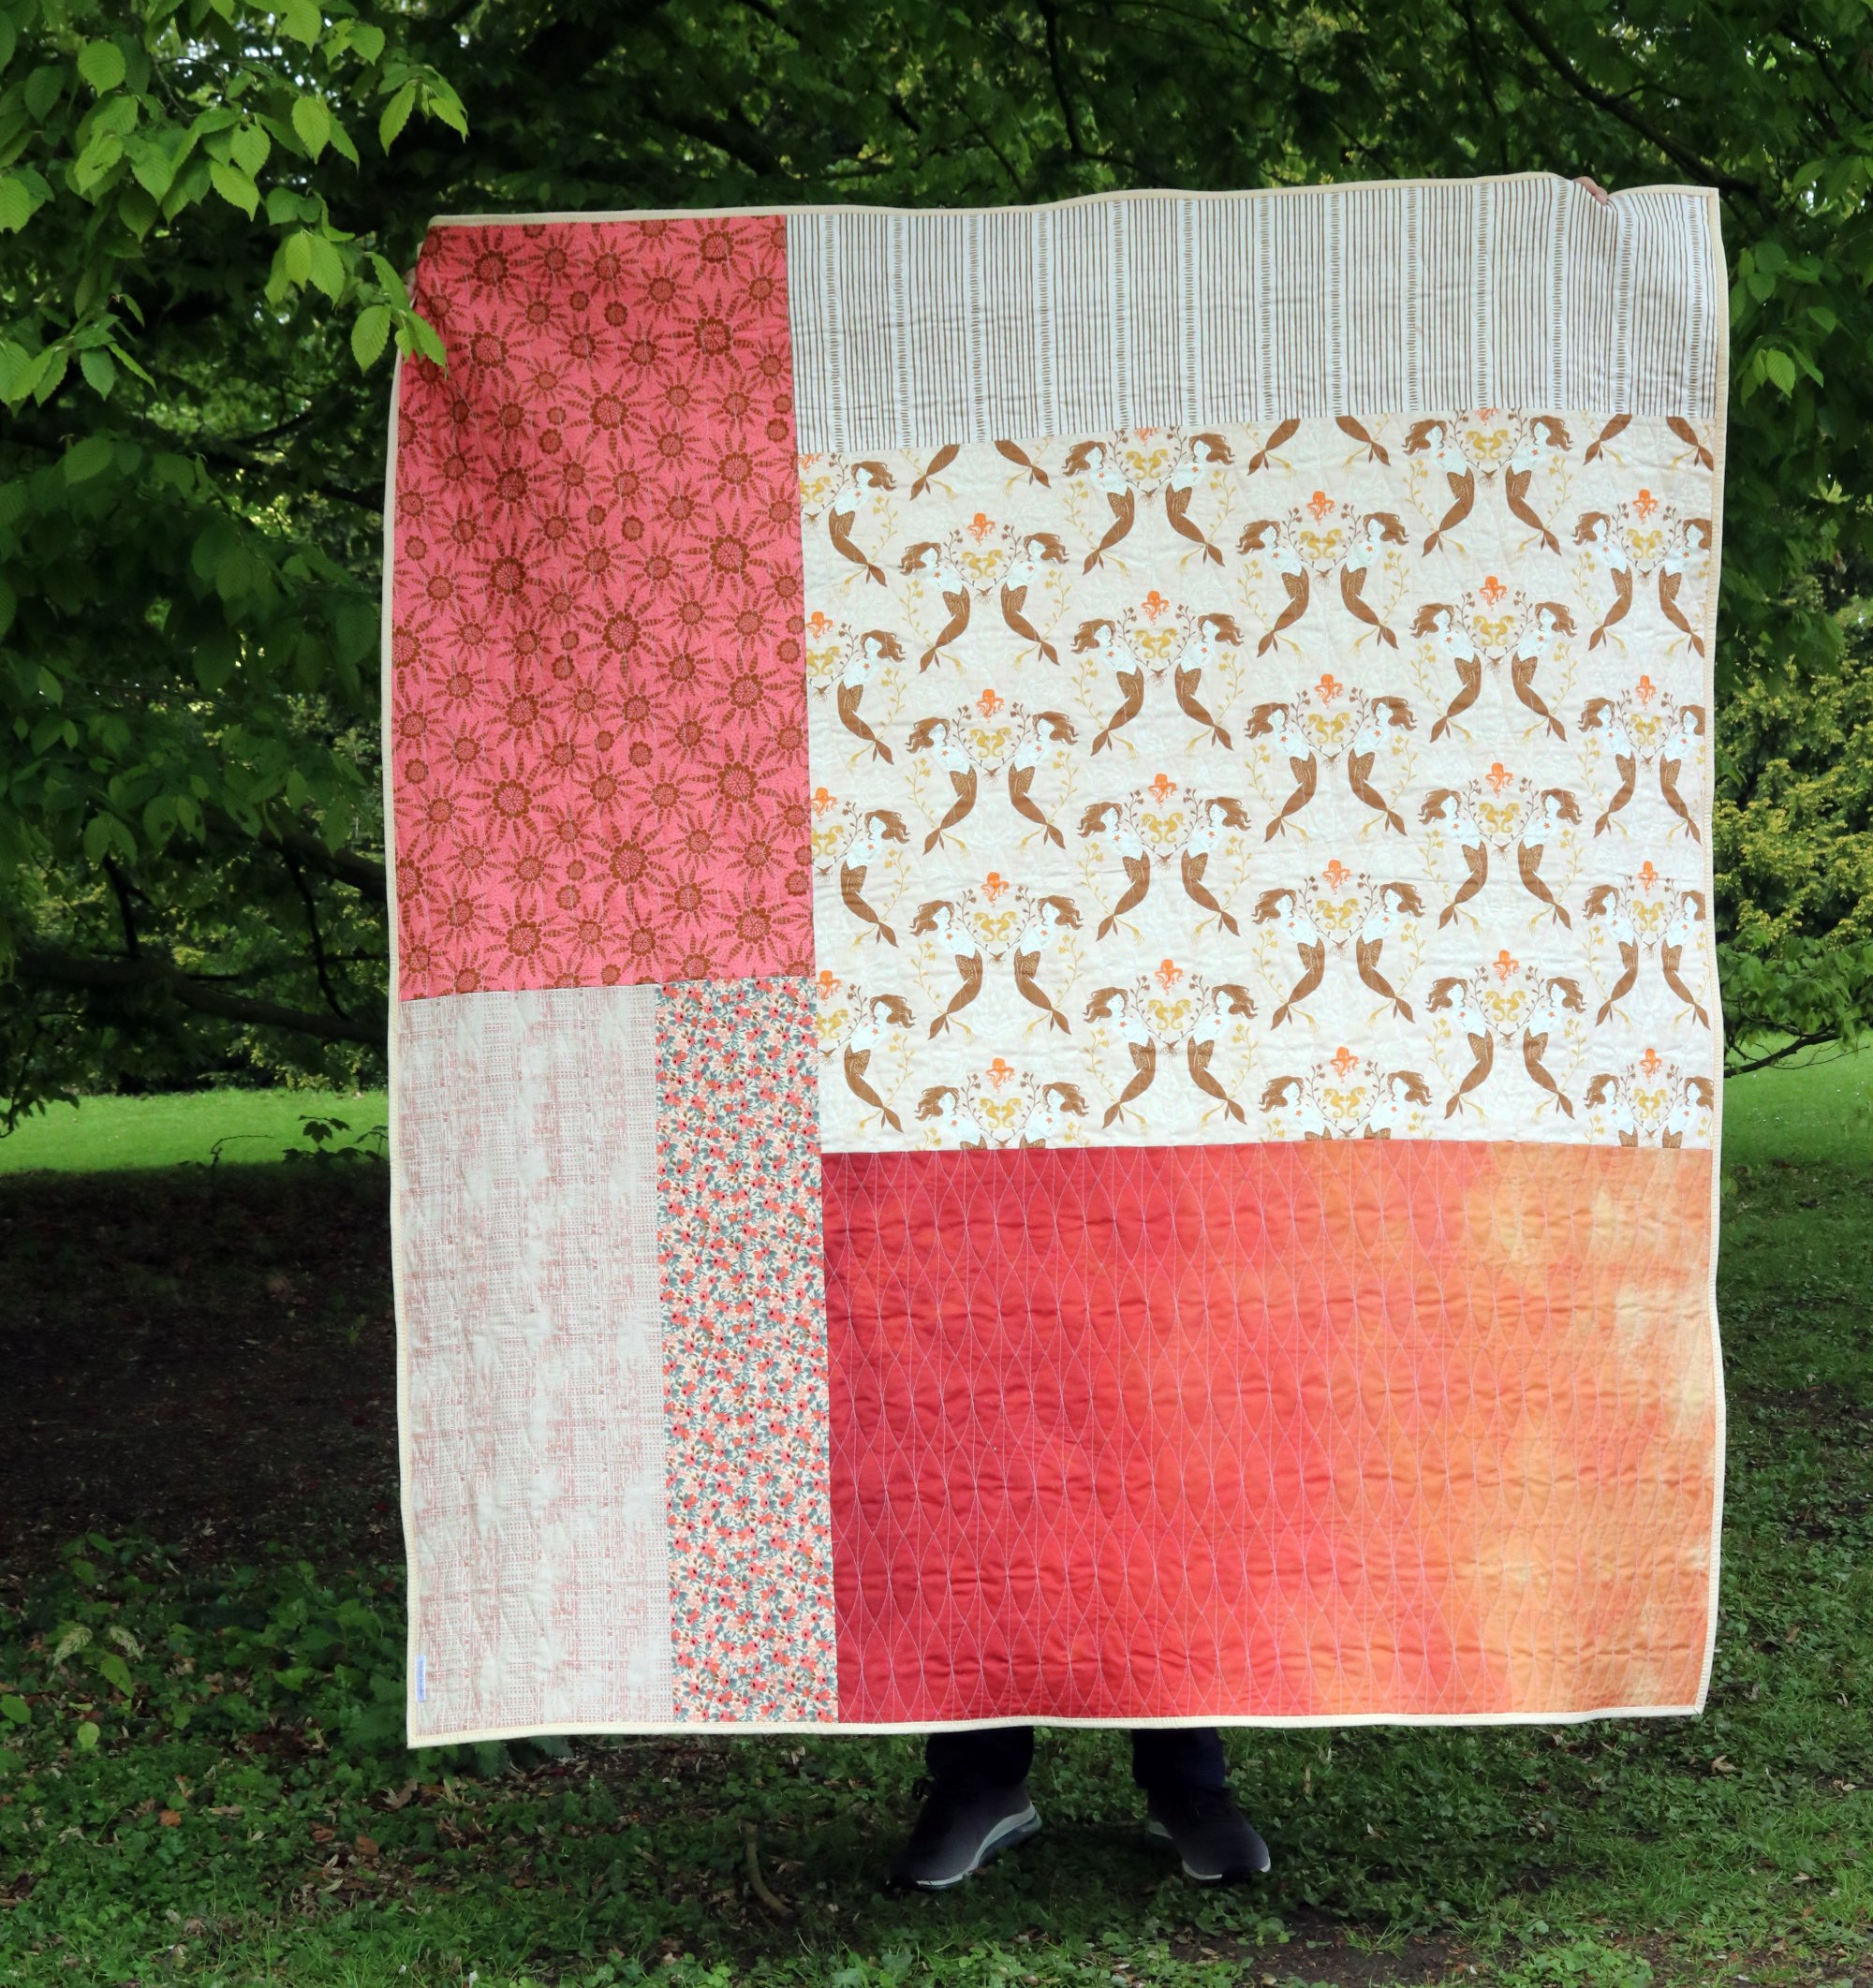
I created the quilt backing using some fabrics which I had originally chosen for the quilt front. Those Heather Ross mermaids, for example, and the coral floral print, are exactly the right colors for the quilt top. They were too loud and busy as diamonds, but they do nicely on the back. Remember how the quilt color palette was inspired by the sun setting over the ocean? Now the quilt back has mermaids and sunset shades, with those coral flowers reminding me of suns. Serendipity!

Making this quilt was a refreshing departure from everything on my to do list. It was created purely for pleasure and a pleasure it was from start to finish. I have listed it today in my Handmades shop in hope that it will find a home where it can be used and loved. Many thanks for reading and for supporting my work!
I do love how this quilt came out! The colors and patchwork make a lovely impression whether viewed from close up or from far off. With more distance the sunny yellow center absolutely glows. I love how the colors blend horizontally in both directions like the sunset reflecting on water.

I absolutely adore it so far! The colors are so exquisitely beautiful and joyful, and I am happy with the composed, elegant and ladylike vibe. That’s why I’m going to call this one not “Harlequin” but “Lady Quinn.” She’s all lady, don’t you think?

Ah, a new quilt! Starting one is the very best sewing treat, wouldn’t you say? I already knew I wanted to work with diamonds and before long had gathered a pile of fabrics to cut. I began confidently cutting only to find that diamonds aren’t as easy as I thought.
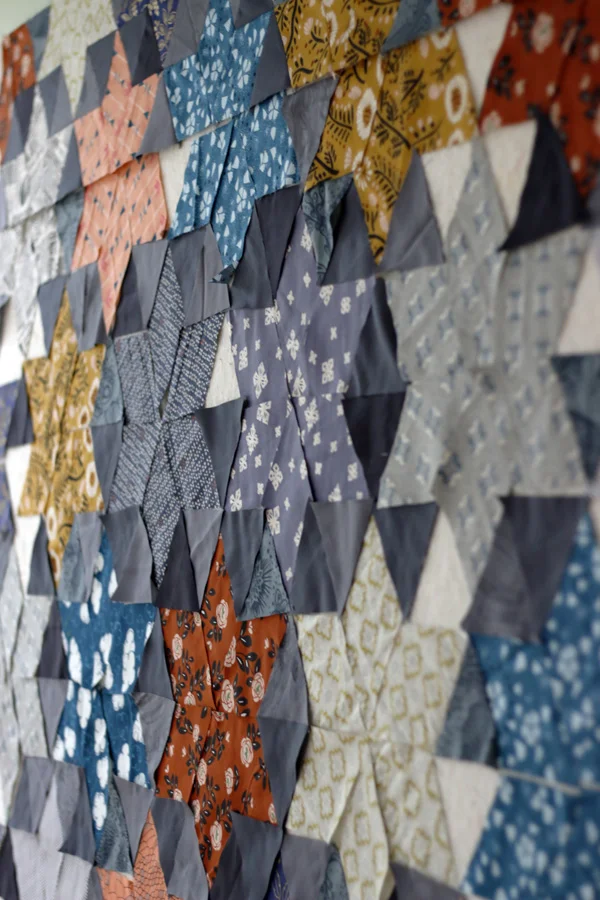
There is a point during the making of most of my quilts where I second-guess my design choices. With this quilt the wheaty-brown backgrounds felt like a quiet gamble. But now that it’s all sewn together it has exactly that autumn wheat field flavor for which I was aiming. Phew. And yay!

Wow, am I love-love-loving your Starbright Stars quilts! This week I am featuring some of YOUR quilts in progress on my blog. Thank you for sharing and spreading the happy patchwork inspiration far and wide!

Week 3 Sew-Along Goal: Sewing more Blocks. Are you in the sew-flow? I like that in this stage of a project everything is cut and chosen so that I can simply plop myself behind the sewing machine and whirr away my cares.

Week 2 Sew-Along Goal: Sewing Blocks. On the pattern cover is a smaller, more square-ish throw quilt. I received an enquiry about how to layout the rows to match that cover quilt, and figured there may be more who would like to hear about that. So, here we go!

Week 1 Sew-Along Goal: Cutting. I always start my Starbright Stars quilts by cutting the diamonds. They’re the most fun, of course, and when you arrange them as stars on a design wall it feels like a quilt is really happening! This post walks you through how to cut diamonds on directional fabrics to cool effect.

So, you have heard a bit about Angled class, but what is it actually? Glad you asked ;). This digital class is ideal for developing quilters who want to really master angled patchwork piecing skills. You will grow to understand the why’s behind what works and to be able to put those principles into practice in your own designs.

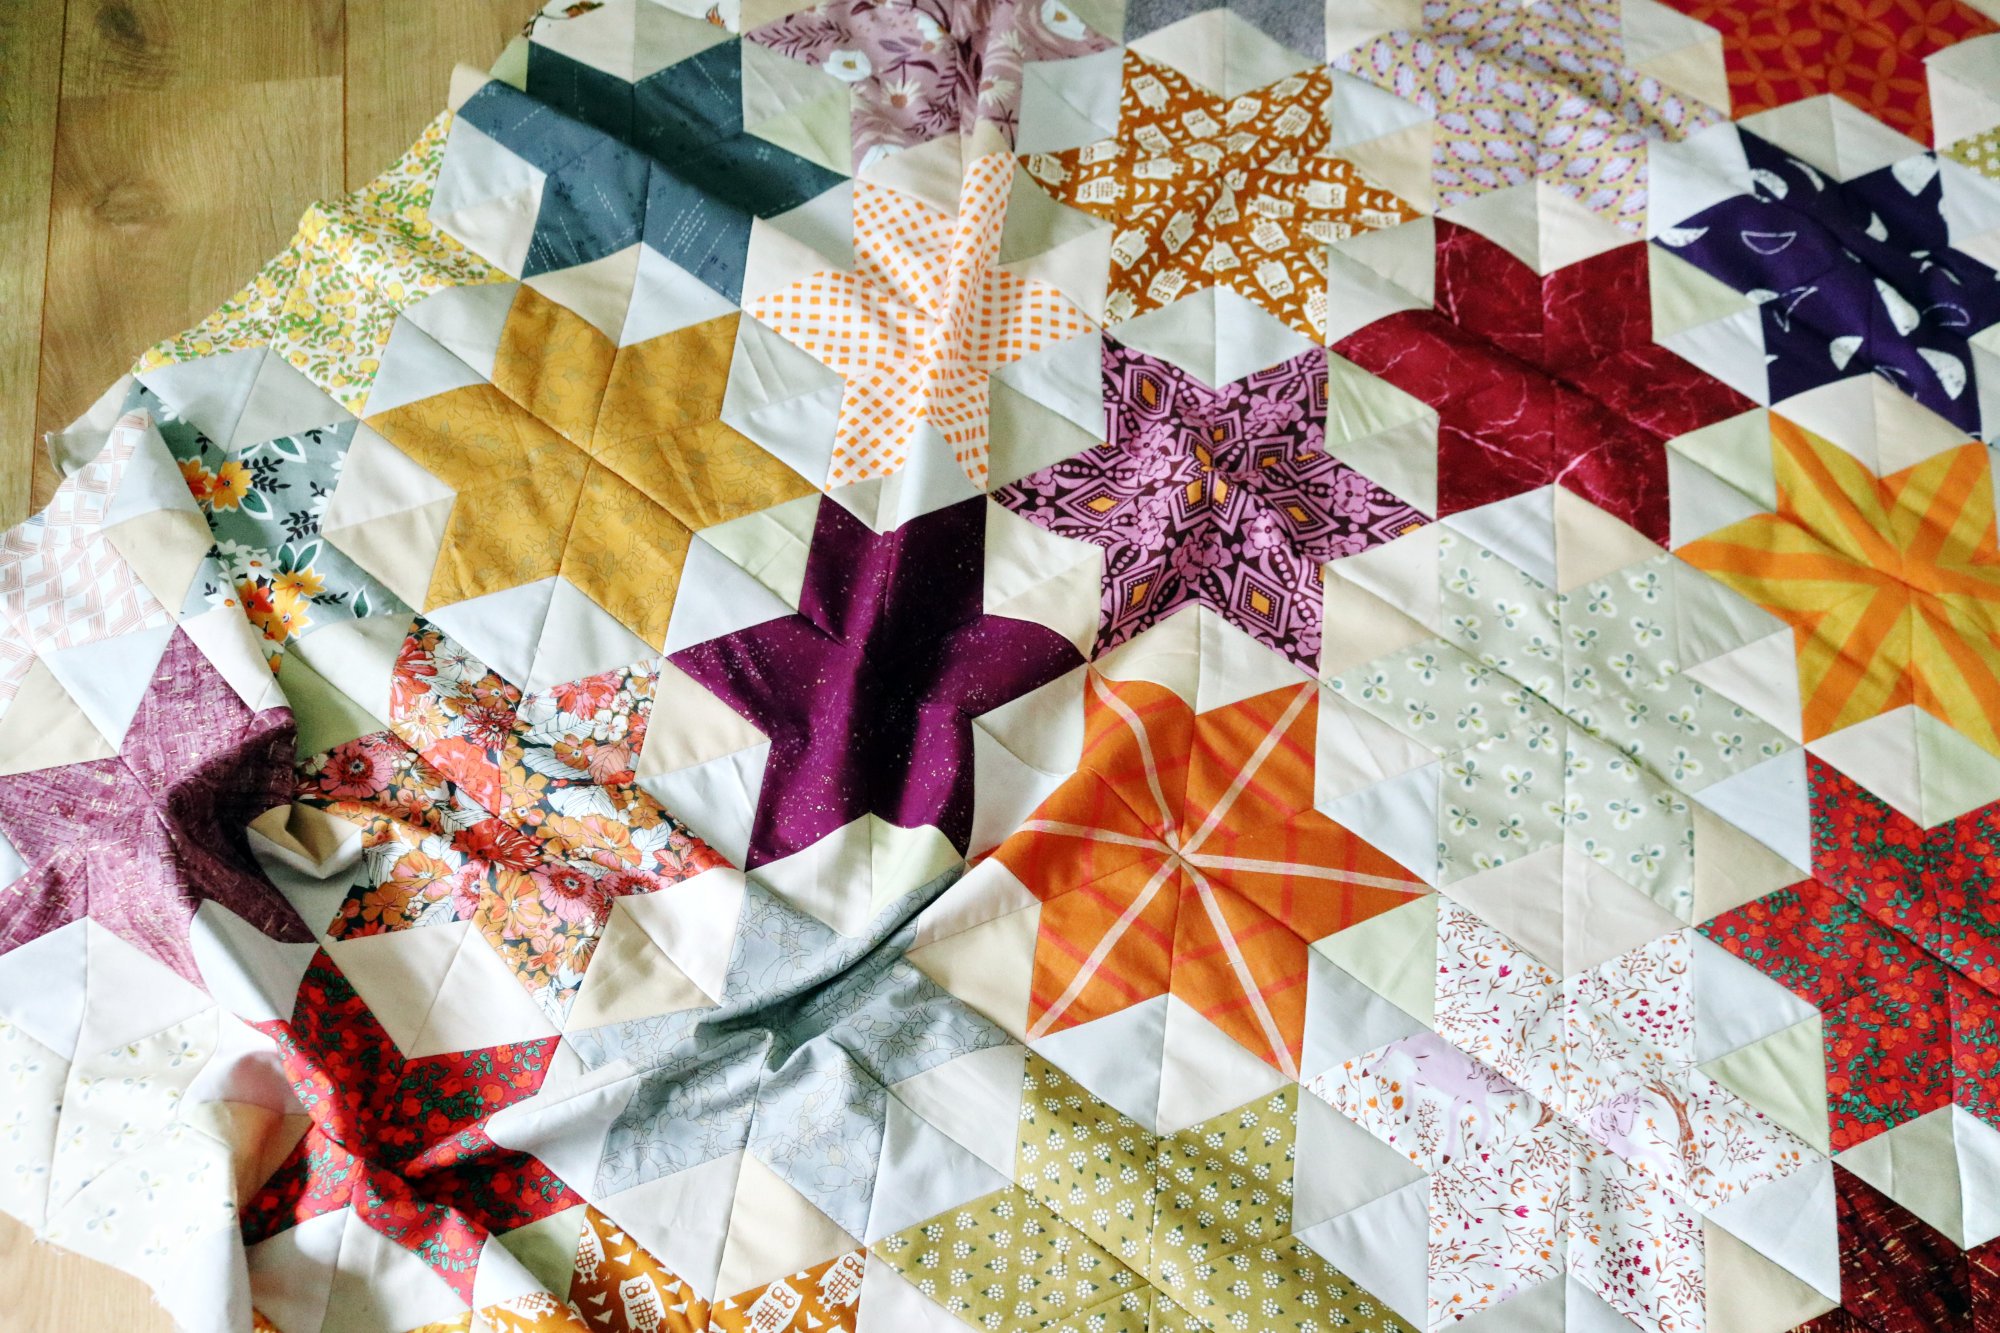
Woah, how did this happen so fast? Thank you Mr. Design Wall, Spotify and the energy of green sparkly stars. I’m pretty darn excited with how this is looking. But then, I think that Starbright Stars would rock in any monochromatic color scheme! I wonder, what color stars would you choose?

I am in love! Come see the first block I made using my Tangential star pattern, from Angled course: I mean, wow! I think that it came out so well! The colors are absolutely divine. I love Anna Maria Horner’s saturated, dramatic tones with the Kona Avocado background.

Stitch, trim, press and repeat. Here comes a quartet of Double Diamonds, one of February’s blocks in this modern sampler quilt. Today I finished my sewing for the February edition of the Penny Sampler pattern club.

Happy Friday, friends! There are just two days left to join the Penny Sampler Pattern Club at the kick-off discount. If you’re on the fence, I thought you might be nervous about the machine paper piecing. Let’s talk more about that.

I started this quilt in December, when bright leaves were clinging bravely to the branches of our maple, sweet gum and pistache trees. Autumn faded so beautifully this year, as it does every year, but the knowledge that…

Angled Course is here, self-paced and full of rich content to explore in new year. On sale at $55 for one week only. Enroll now and start when the time is right!
I got so excited after our chat in November, because I realized I could deliver my upcoming Angled class in a self-paced format!!! If you had stopped by that next evening, you would have found me curled up with my journal…
Even though I have made a lot of progress, it’ll likely be slower going from here. But I’m pleased! There are stars on my table, and while I waited for the longarm to process just now, I snuck in a few more seams.
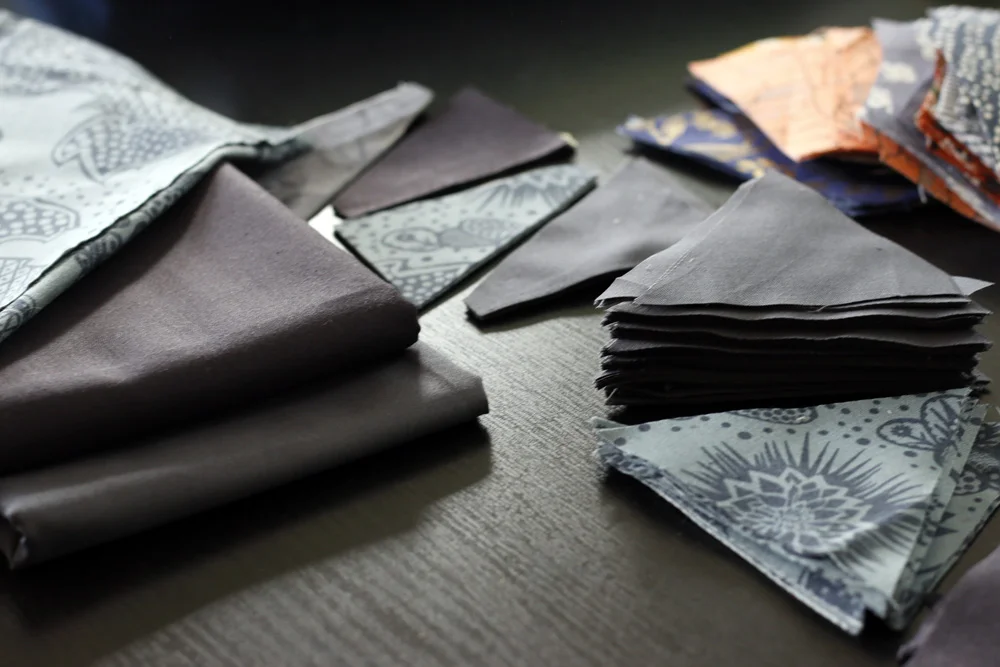
Remember that stack of fabric that arrived so serendipitously from Fiddlehead Artisan Supply? I’ve been anticipating working with it, and I think I’ve picked the perfect pattern!

Ready to transform all these pieces into the beginnings of a quilt top? We'll be joining 60 degree diamonds and partial diamonds to make a squared-off quilt top center.
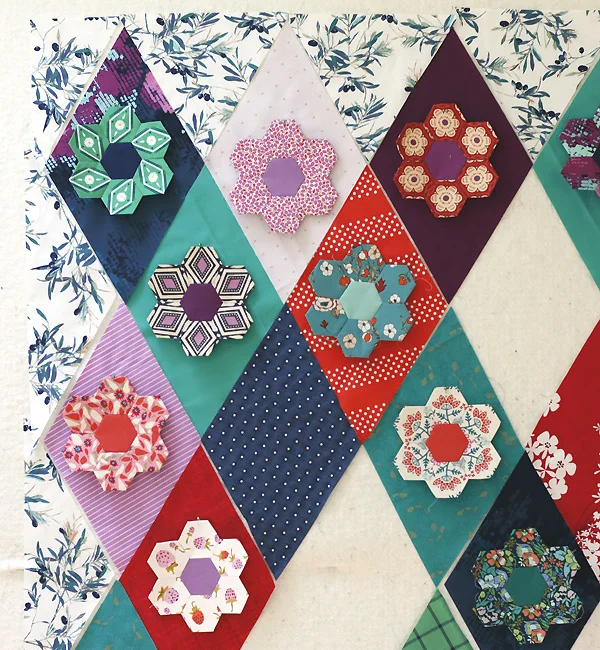
Today I'm chiming in with a tutorial for cutting diamonds for the Kingfisher quilt. The center of the quilt is composed of 60 degree diamonds. Since this is a common quilting shape, you might like to follow…

Guess what? I got an early Christmas gift! Brandon and I painted the kitchen a soft, dusty teal called Starry Woods by Valspar. Oh my gosh - I love it! The kitchen instantly feels...
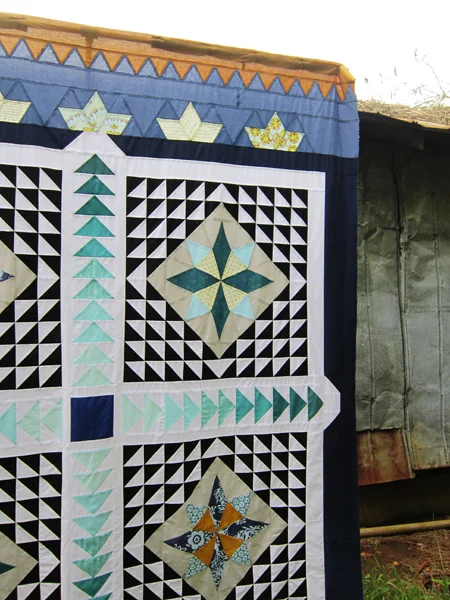
I love my Crossweave quilt design with its playful X’s and pointy diamonds. And then to sew it in fabrics by my very favorite designer, Anna Maria Parry; well, that was the cherry on top!