Teeter Totter: Week 2 Sewing Blocks

Today I enjoyed a browse on Instagram via #TeeterTotterQuilt to see what you all have been up to. There are some very promising Teeter Totter beginnings in all sorts of color palettes. Exciting!
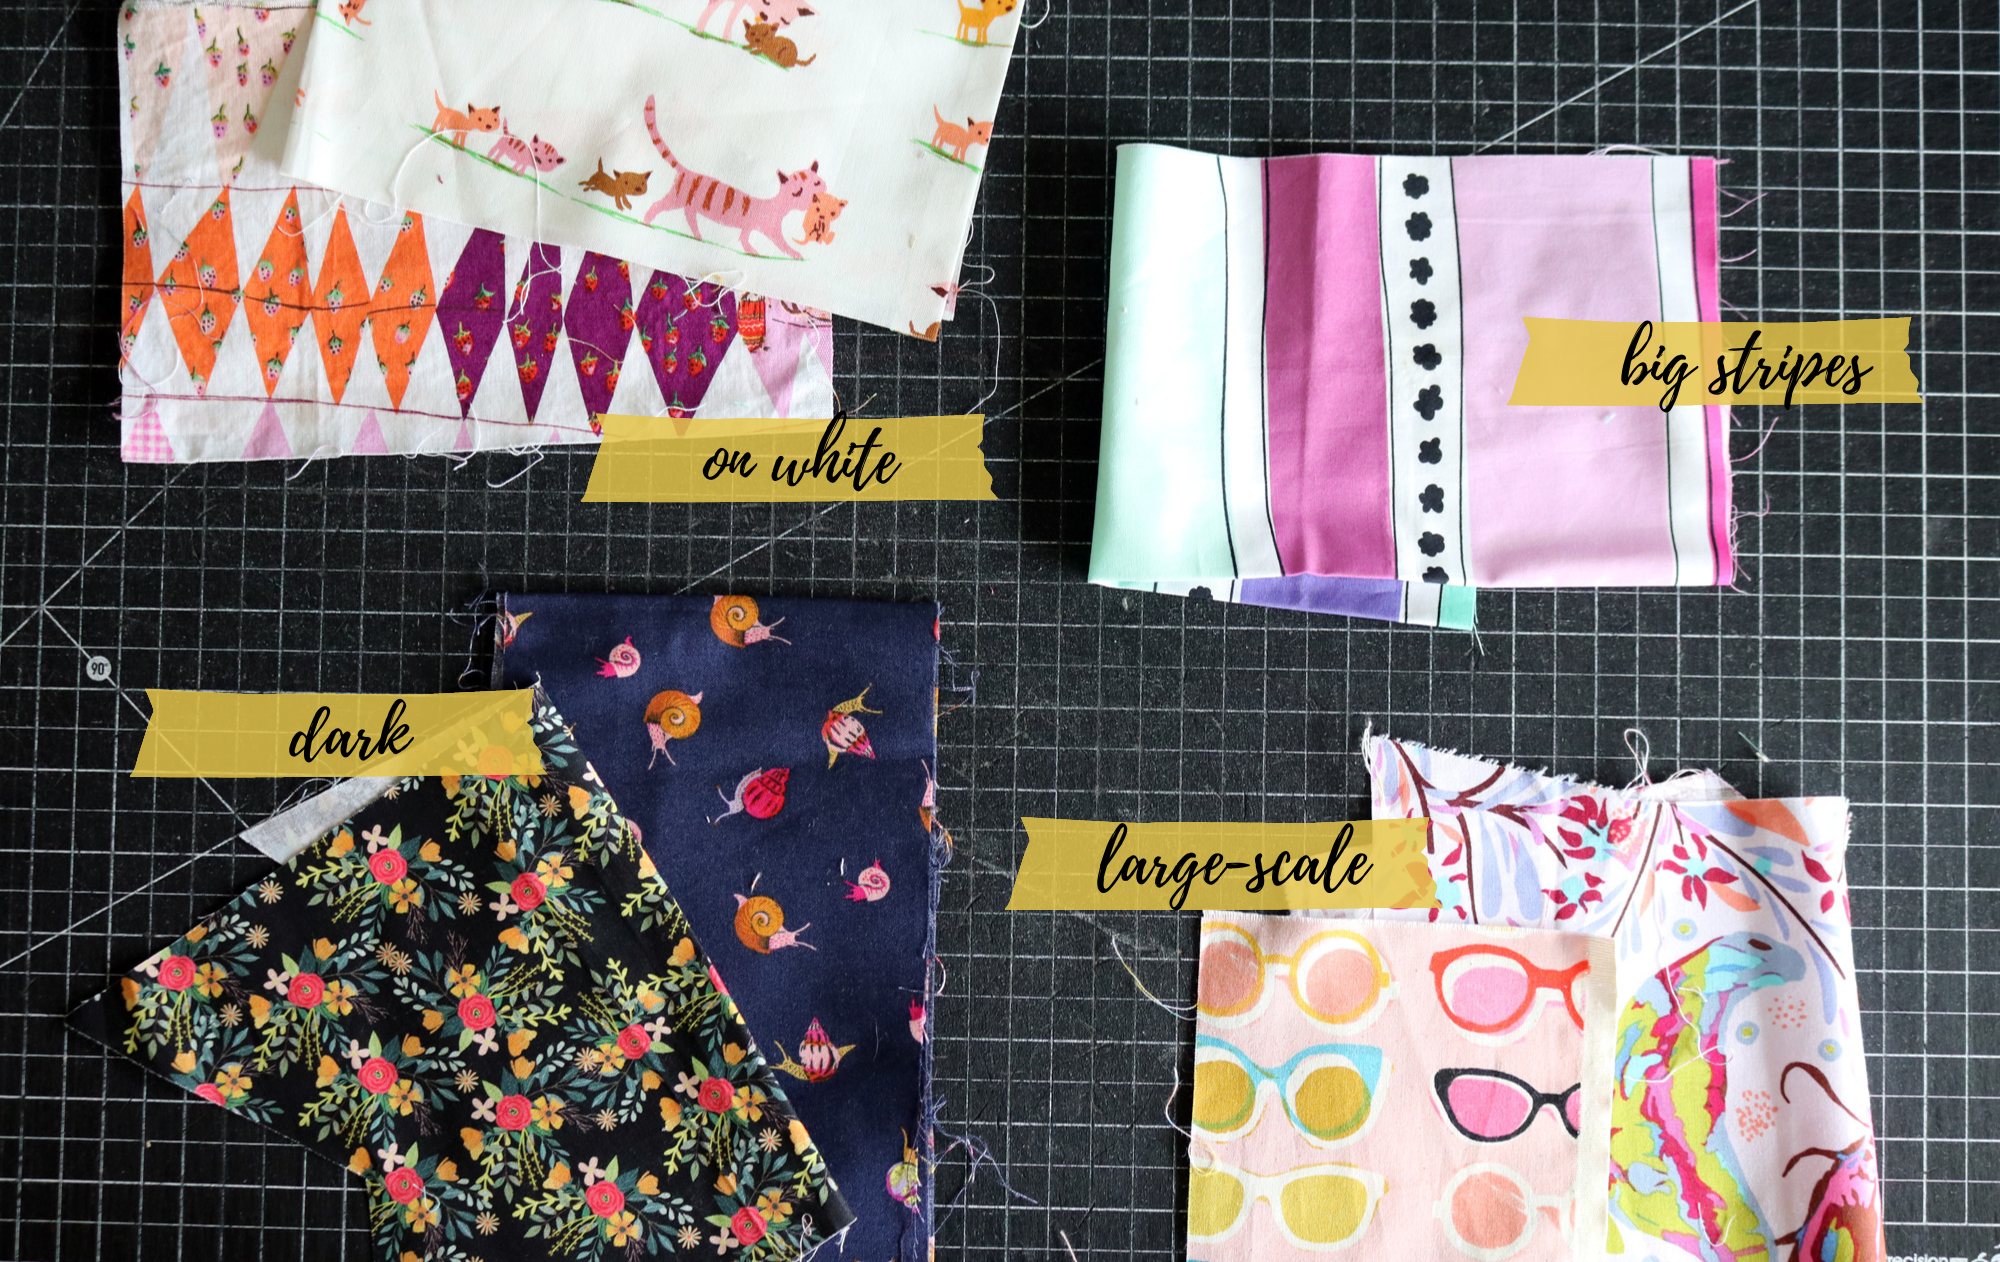
We’ve just started a beginner-friendly sew-along, chock full of happy-go-lucky triangles. I am pleased to see you rooting around in your stash and scraps to bring something creative to life.
It’s not too late to join the Teeter Totter sew-along. Just click over to the master sew-along post. It’s a digital pattern, so you can grab it in a flash and sew right along.
Week 2: Sewing Blocks
So! Last week we set ourselves up for a series of efficient sewing sessions. Your width-of-fabric sashing strips are cut and your triangles are sitting around all perky, just begging to be sewn. Scroll your copy of the Teeter Totter quilt pattern to pages 7 and 8. That’s where we jump in this week.

Step 1: Sew Blocks
Most of us are making a throw size quilt with a consistent background fabric. This week, sew 42 teeter totter blocks. Now, don’t let that number scare you. With just two seams per block, these are quickies. You should use 7 width-of-fabric strips in total.
If you are making an ombré background quilt, pay attention to the second half of page 8. Here you will find how many blocks you should sew in each background fabric for a nice distribution of color.

Put on some music or a podcast and relax into chain-piecing. Enjoy the groove!
Step 2: Trim Blocks
Efficiency is my jam, so I like to work in batches; but, 42 blocks is quite a big batch. I opted to split it into two sessions. After chain piecing my first batch of blocks, I pressed aaaall the seams open (while the sashing is still one long piece) and then trimmed my blocks.

Don’t you like trimming slivers? I always think they’re pretty.
Step 3: Cut Short Sashing Pieces
Each week we’ll also cut some of the short sashing pieces needed for quilt assembly. This way we break up the boring cutting into bite-sized chunks. See page 5 directions for Vertical Sashing. If you are sewing a throw-sized quilt, cut 48 vertical sashing pieces to round out this week’s tasks. Or, if you’re not into counting, just dice 6 width-of-fabric strips into the short sashing pieces and call it good.
Week 2 Sew-Along Goal: Sewing Blocks
Sew 42 blocks and cut 48 short sashing strips. It’s a very good start!
Weekly Giveaway
Last week’s winner is @Serindip. She prepared triangles with a soft and joyful Spring vibe, with a touch of inspiration from my book. Aww - - - I’m smiling at the many scrap triangles finding their way into this quilt. Way to use those pretty pieces!

Share to win!
This week share a photo of your teeter totter blocks in progress with hashtag #TeeterTotterQuilt.
Your photo enters you into a giveaway for a Willoughby Quilt Kit by Tales of Cloth. This is Jodi’s brand-new pattern, and you get the paper pieces and acrylic cutting set too!
Willoughby is the best of both worlds. The EPP is relaxed and fun and enjoyed in all the little moments where you want to be more present, but once the blocks are done, you just want to be done! Willoughby allows you to trim your EPP blocks square, and machine sew them into the quilt top in an afternoon! Win-win!

Winner will be announced next week and giveaway is open worldwide.
good luck, friends!