Wild Oranges: Cutting

Cool wind, rustling leaves, drizzly days interspersed with bright sunshine - autumn is in full swing in The Netherlands.
This time of year is one of the best for beginning new projects. There is a sense of gathering in and gathering together to face the challenges that lay ahead. Maybe the time is ripe for a new creative challenge - to tackle applique for the first time? You might be surprised how doable it is! The orange peel block is certainly a beginner-friendly shape.
To find out how to join the Wild Oranges sew-along, click over to the master sew-along post. It’s a digital pattern, so you can grab it in a flash and sew right along.
Week 1: Cutting
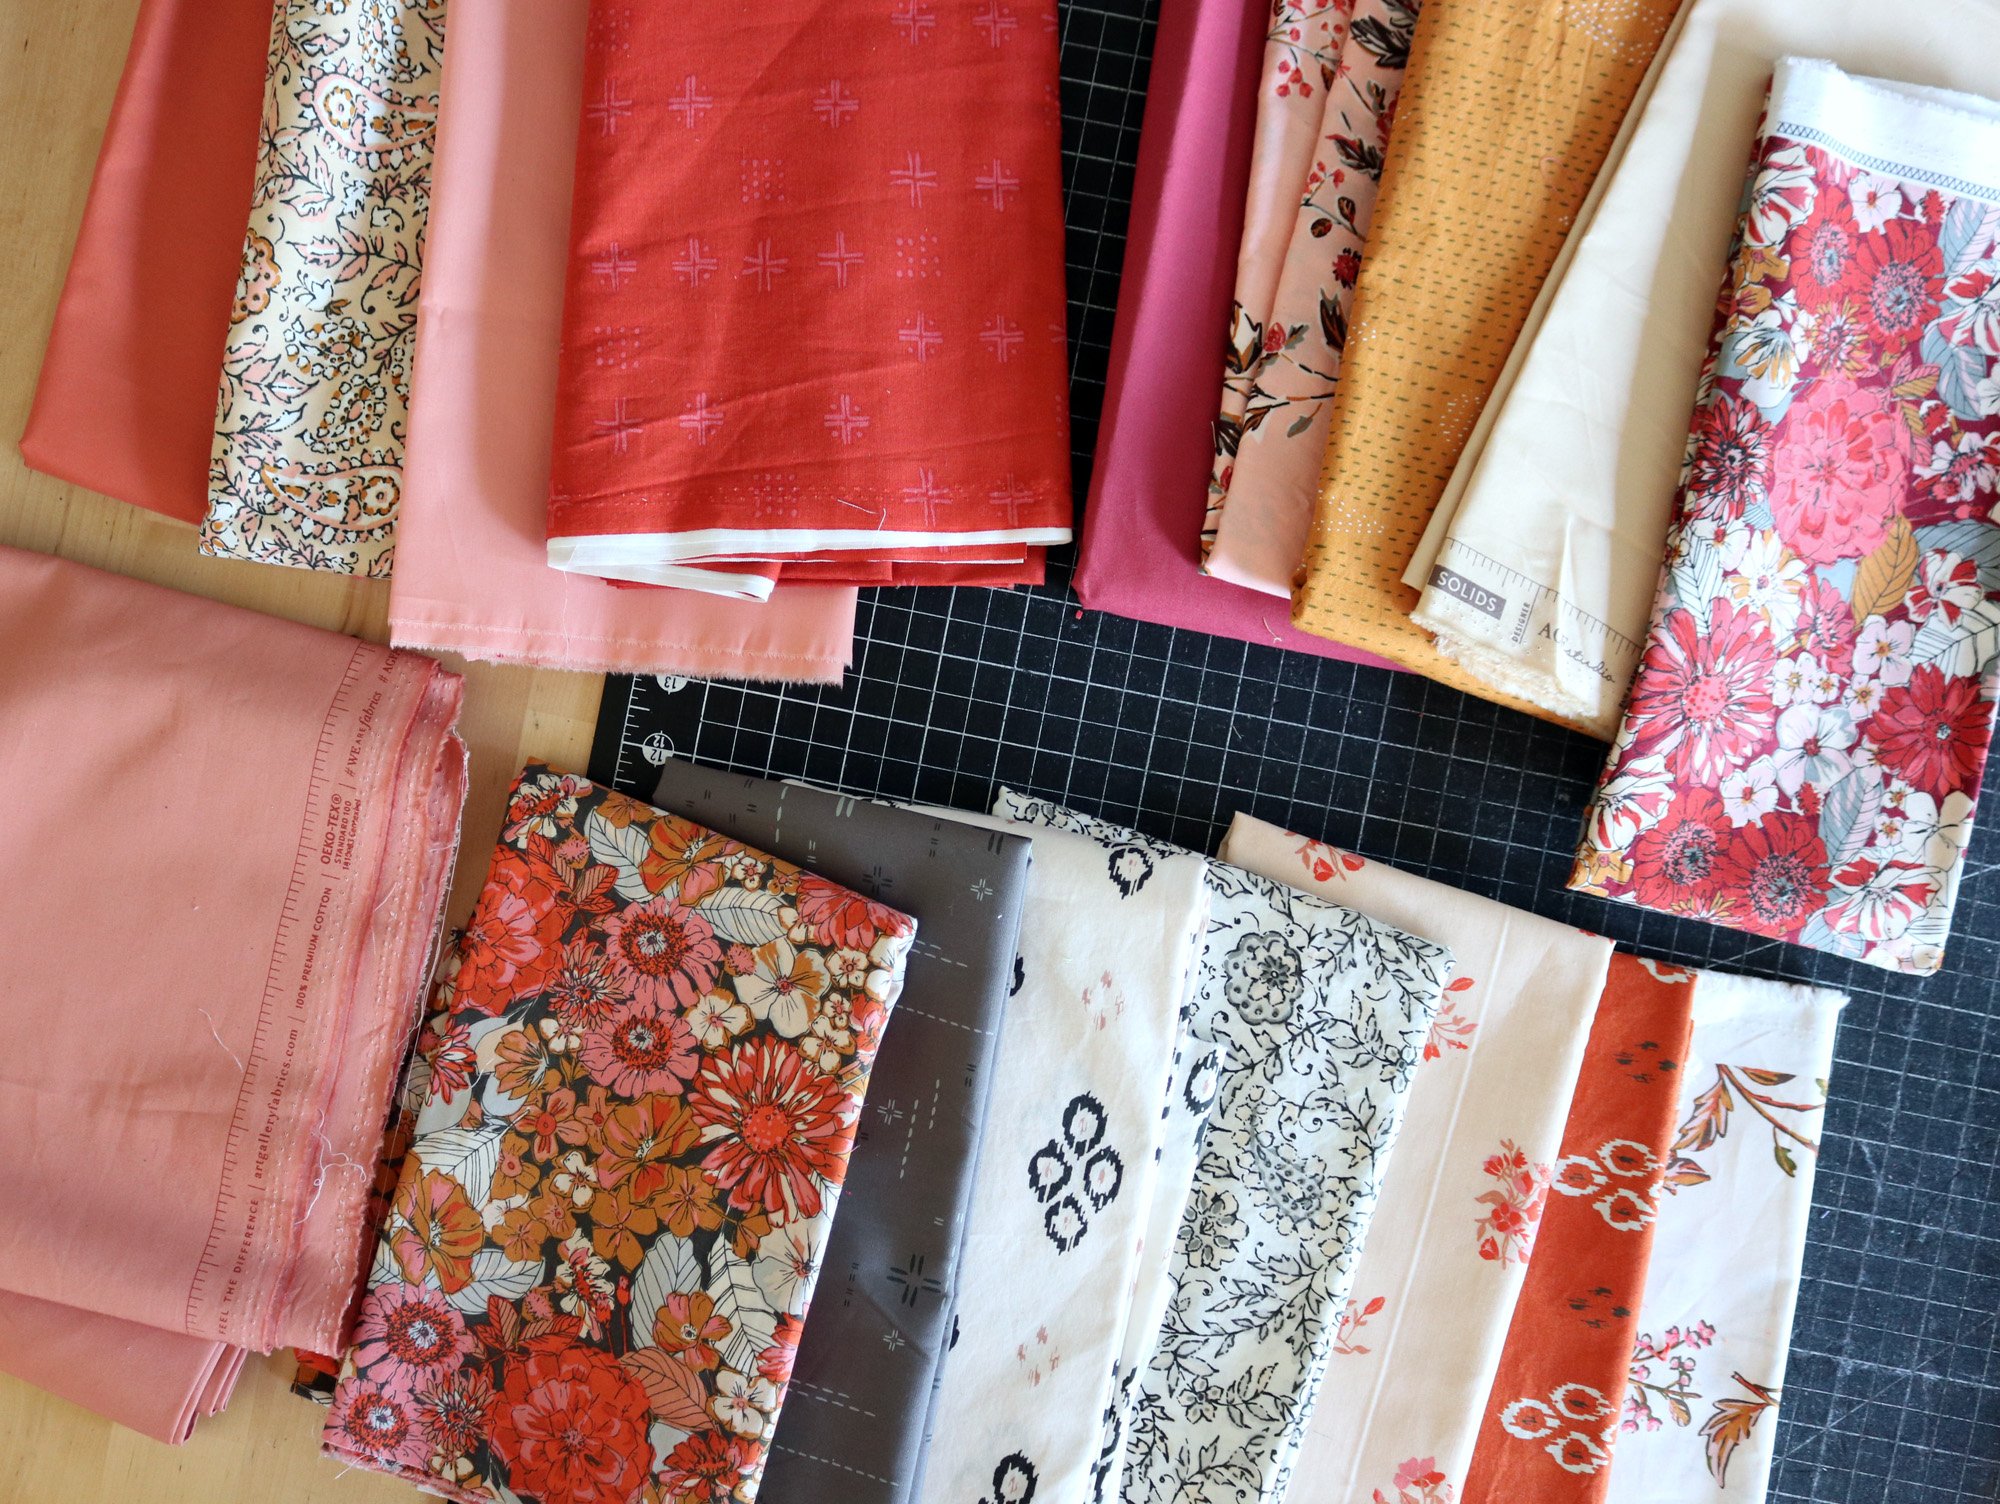
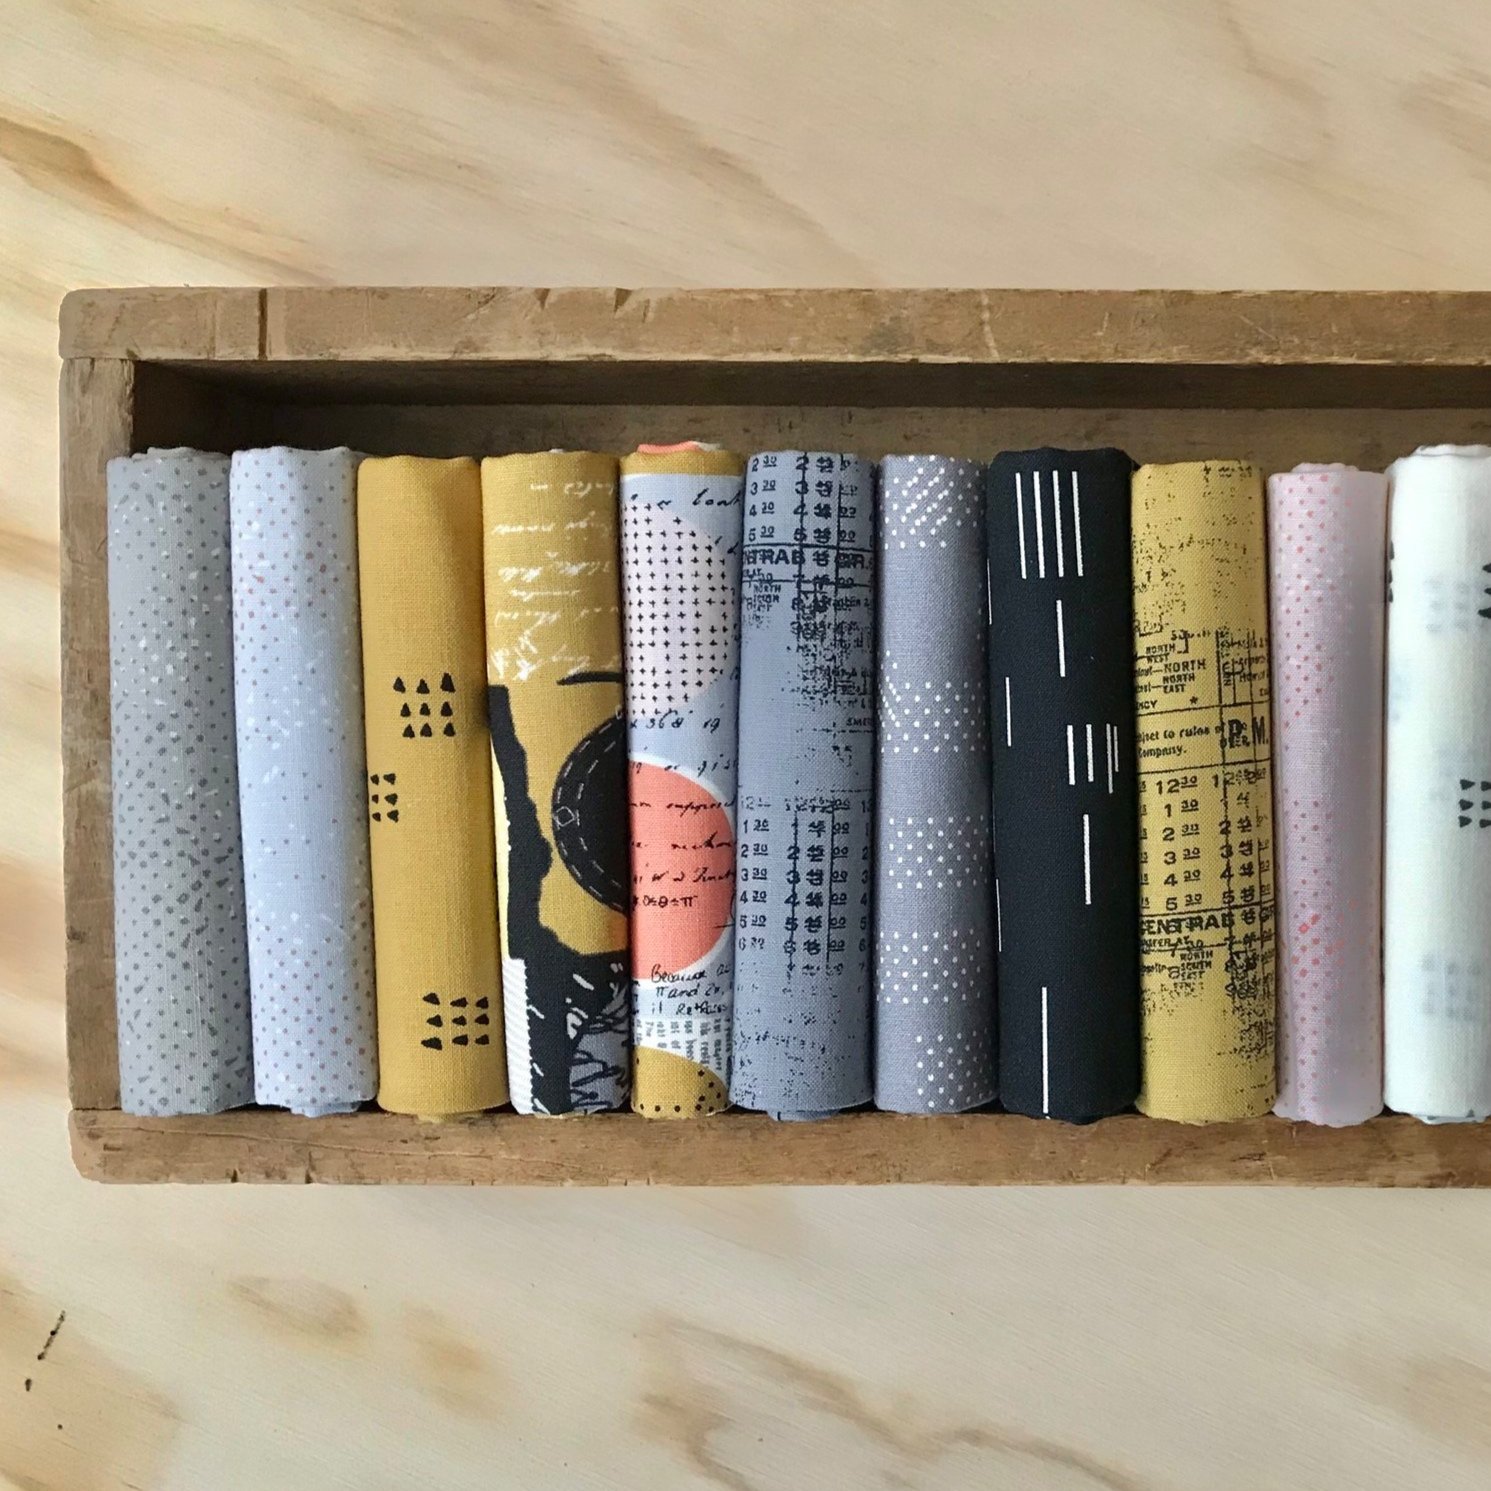
In the last few weeks we’ve talked about choosing fabrics for the Wild Oranges quilt pattern. I shared general fabric tips and also demonstrated how I selected fabrics for my second go at Wild Oranges. Now your fabrics should be organized on the Fabric Key so that you can see at a glance which fabric you’ve currently chosen for each roll.
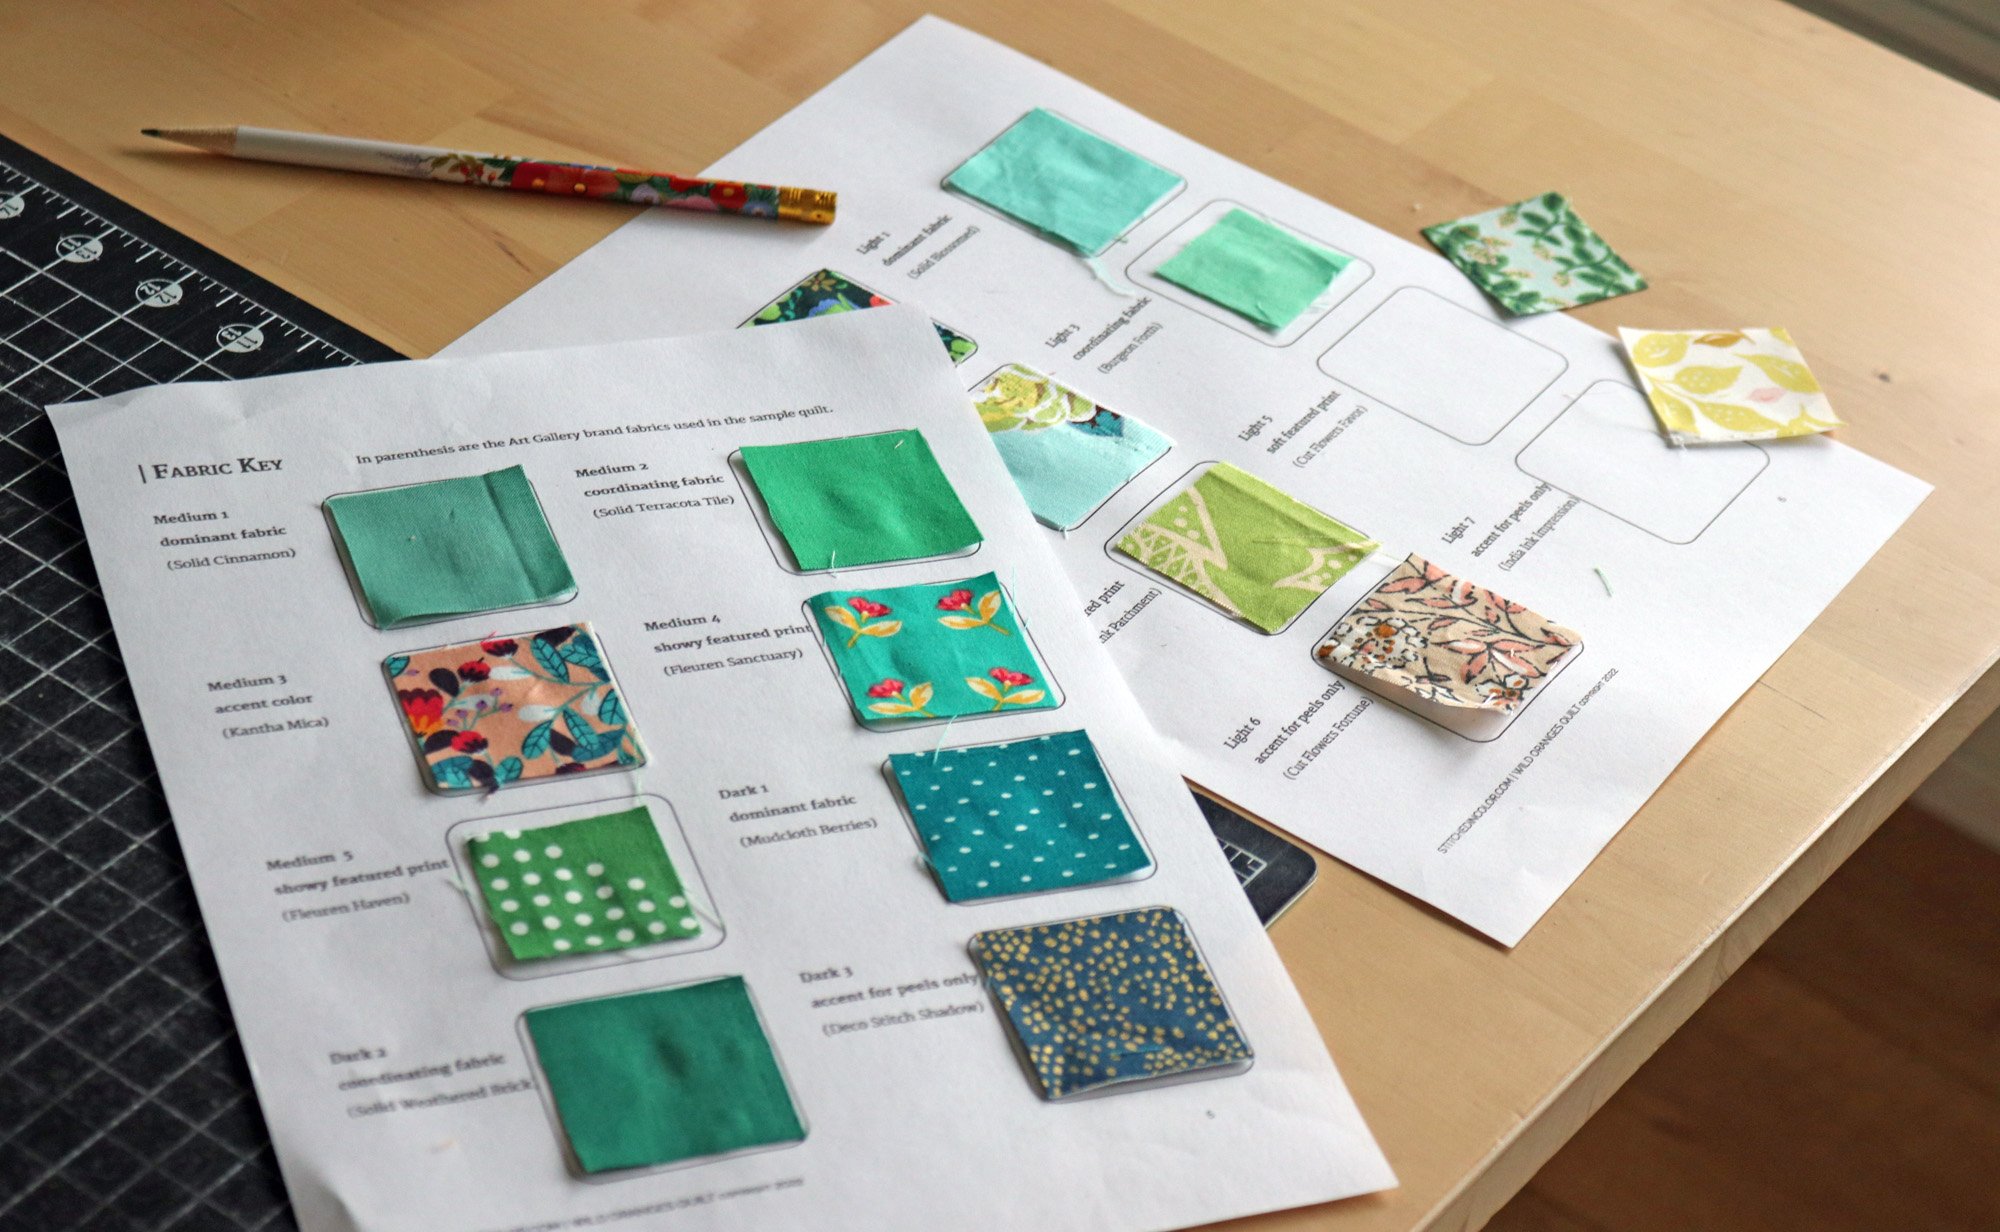
Isn’t that nifty!
Ok, let’s get cutting. This week I suggest that you cut all the background squares and orange peel slices for your entire quilt. First read over the short cutting directions on page 7 of the pattern, then reference the cutting list for details of what’s needed from each fabric. If you’re making the Kismet Wild Oranges quilt, there is a dedicated Cut Sheet on page 10 that makes it absolutely clear what you need to cut!
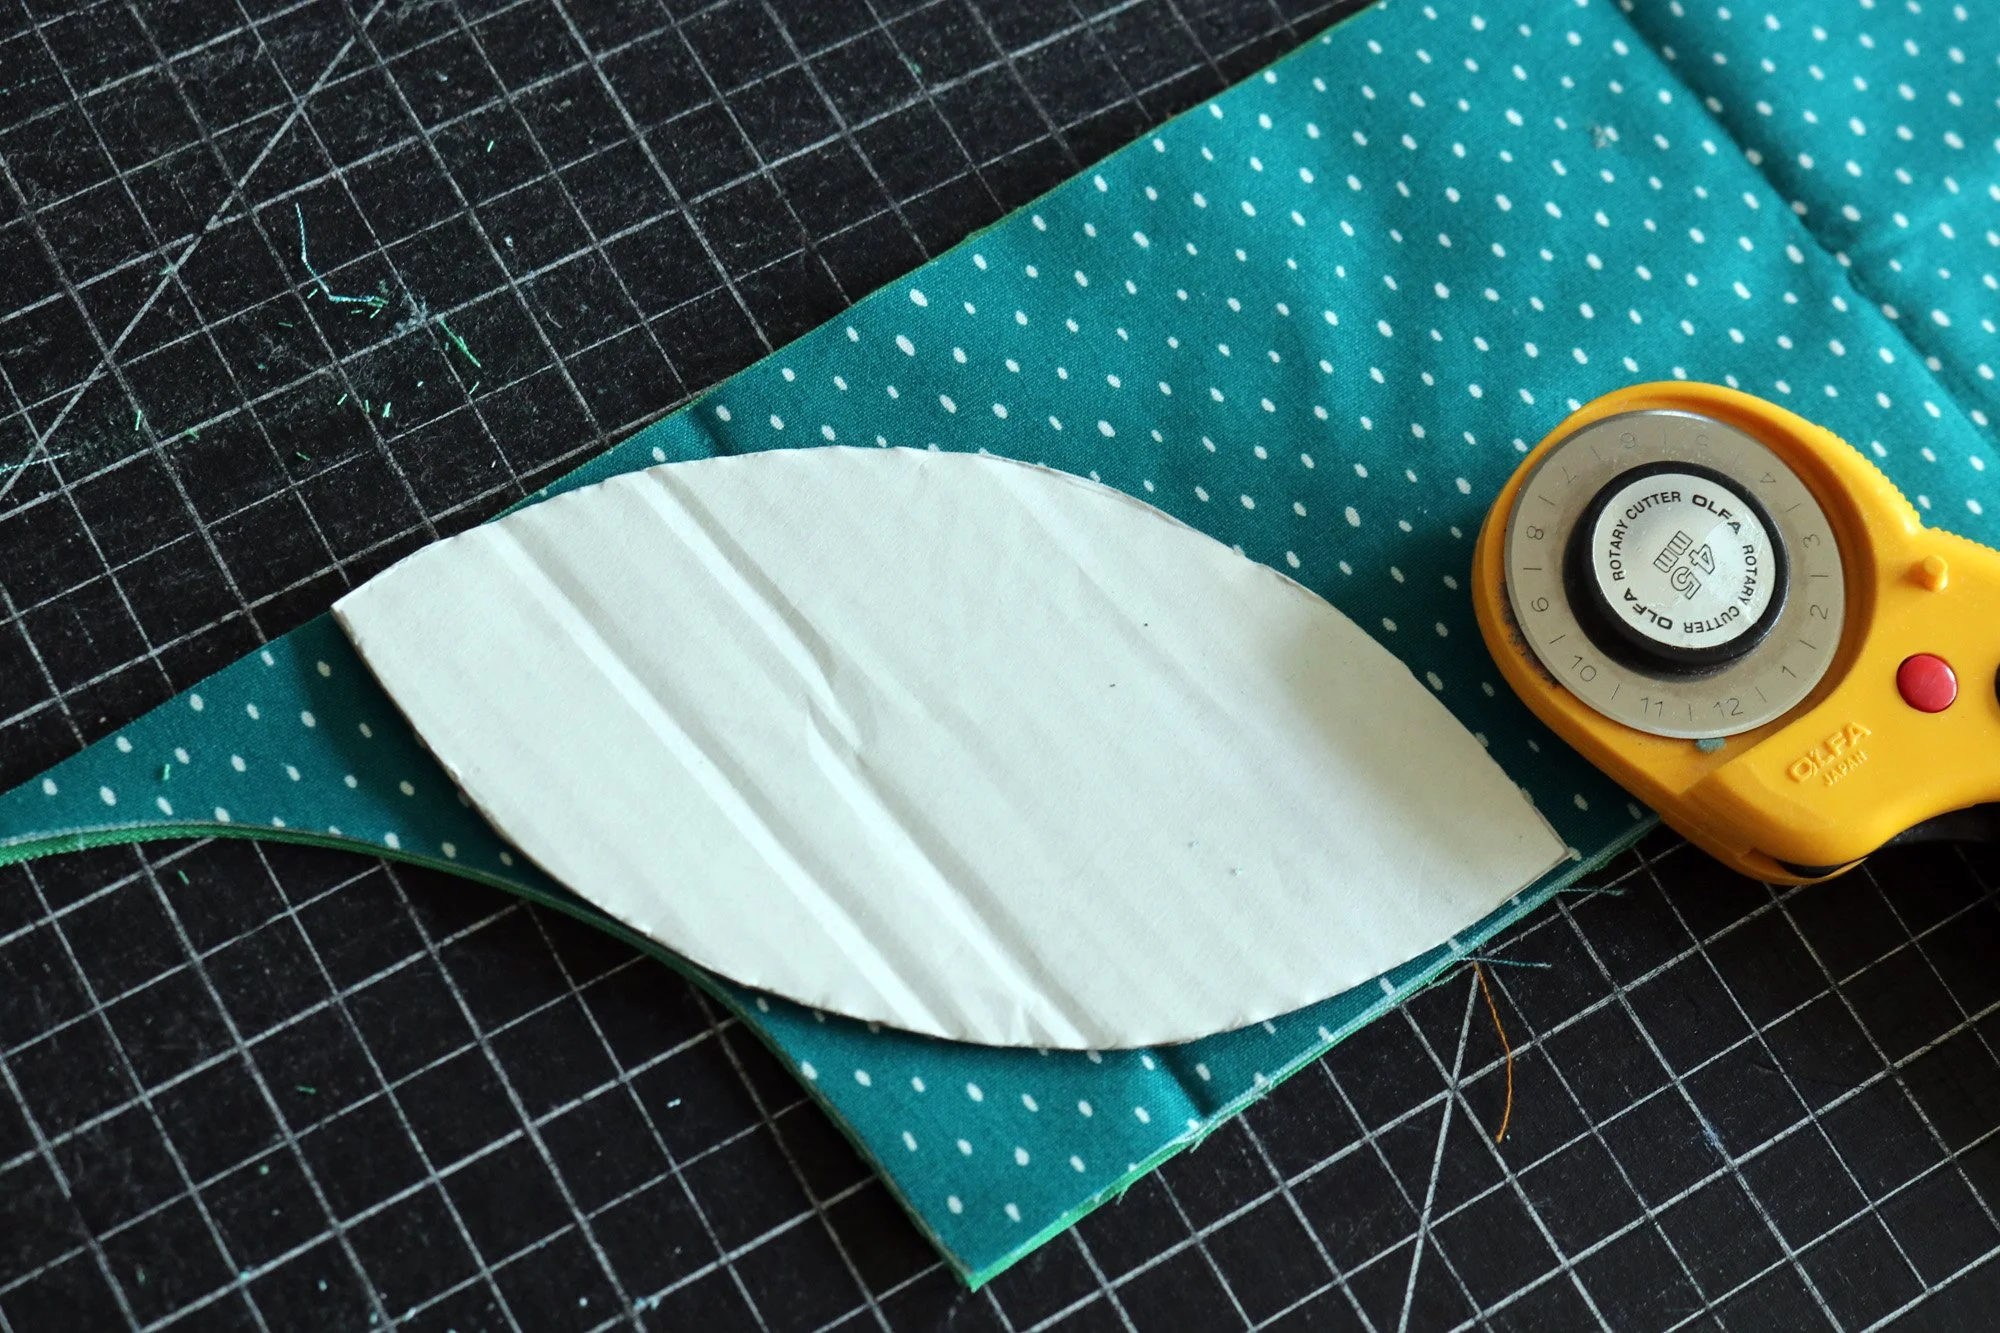
Cutting for Wild Oranges is really straightforward. One important tip: cut the background squares first from any given fabric! You can cut orange peel blocks from thinner strips of leftover fabric, but the squares aren’t so flexible. For speed, I like to cut multiple layers of fabrics at once.

Are you feeling uncertain about some of your fabric choices? I was on the fence about a couple of mine, so I get that. Here’s what I did:
First cut the fabrics that you feel confident about. Hopefully, that’s most of them.
Next follow the quilt map to arrange background squares for part of quadrant 1 (or for the baby quilt). Lay orange peel slices on top of background squares, just to create a preview. Leave out any fabrics you haven’t cut yet. How is it looking so far?
Lastly, cut 1-2 shapes in your uncertain fabrics and add those to the preview. In this way test out a few options before you commit by cutting it all.

I changed my mind about my choice for fabric D4. My original choice was a favorite Anna Maria Horner floral (it’s the busy floral orange peel slice at center in the photo above). In the context of this preview I could see that the floral wasn’t right for this particular quilt. I decided to swap that fabric for a solid in order to calm things down and bring more attention to the orange peel shapes themselves.

Here I am auditioning two possible replacement solids in my (partial) quadrant 1 preview. That really helps me to choose! I opted for the teal fabric, by the way, because I found the dark green to be too dark in value.

Week 1 Sew-Along Goal: Cut all Squares + Peels
A pretty stack of cut fabrics is quite irresistible! Can you hardly wait for next week?
Share to win!
This week share a photo of your fabrics with hashtag #WildOrangesQuilt.
If you’re already cutting, maybe you’ll be able to share an irresistible stack of cut shapes!
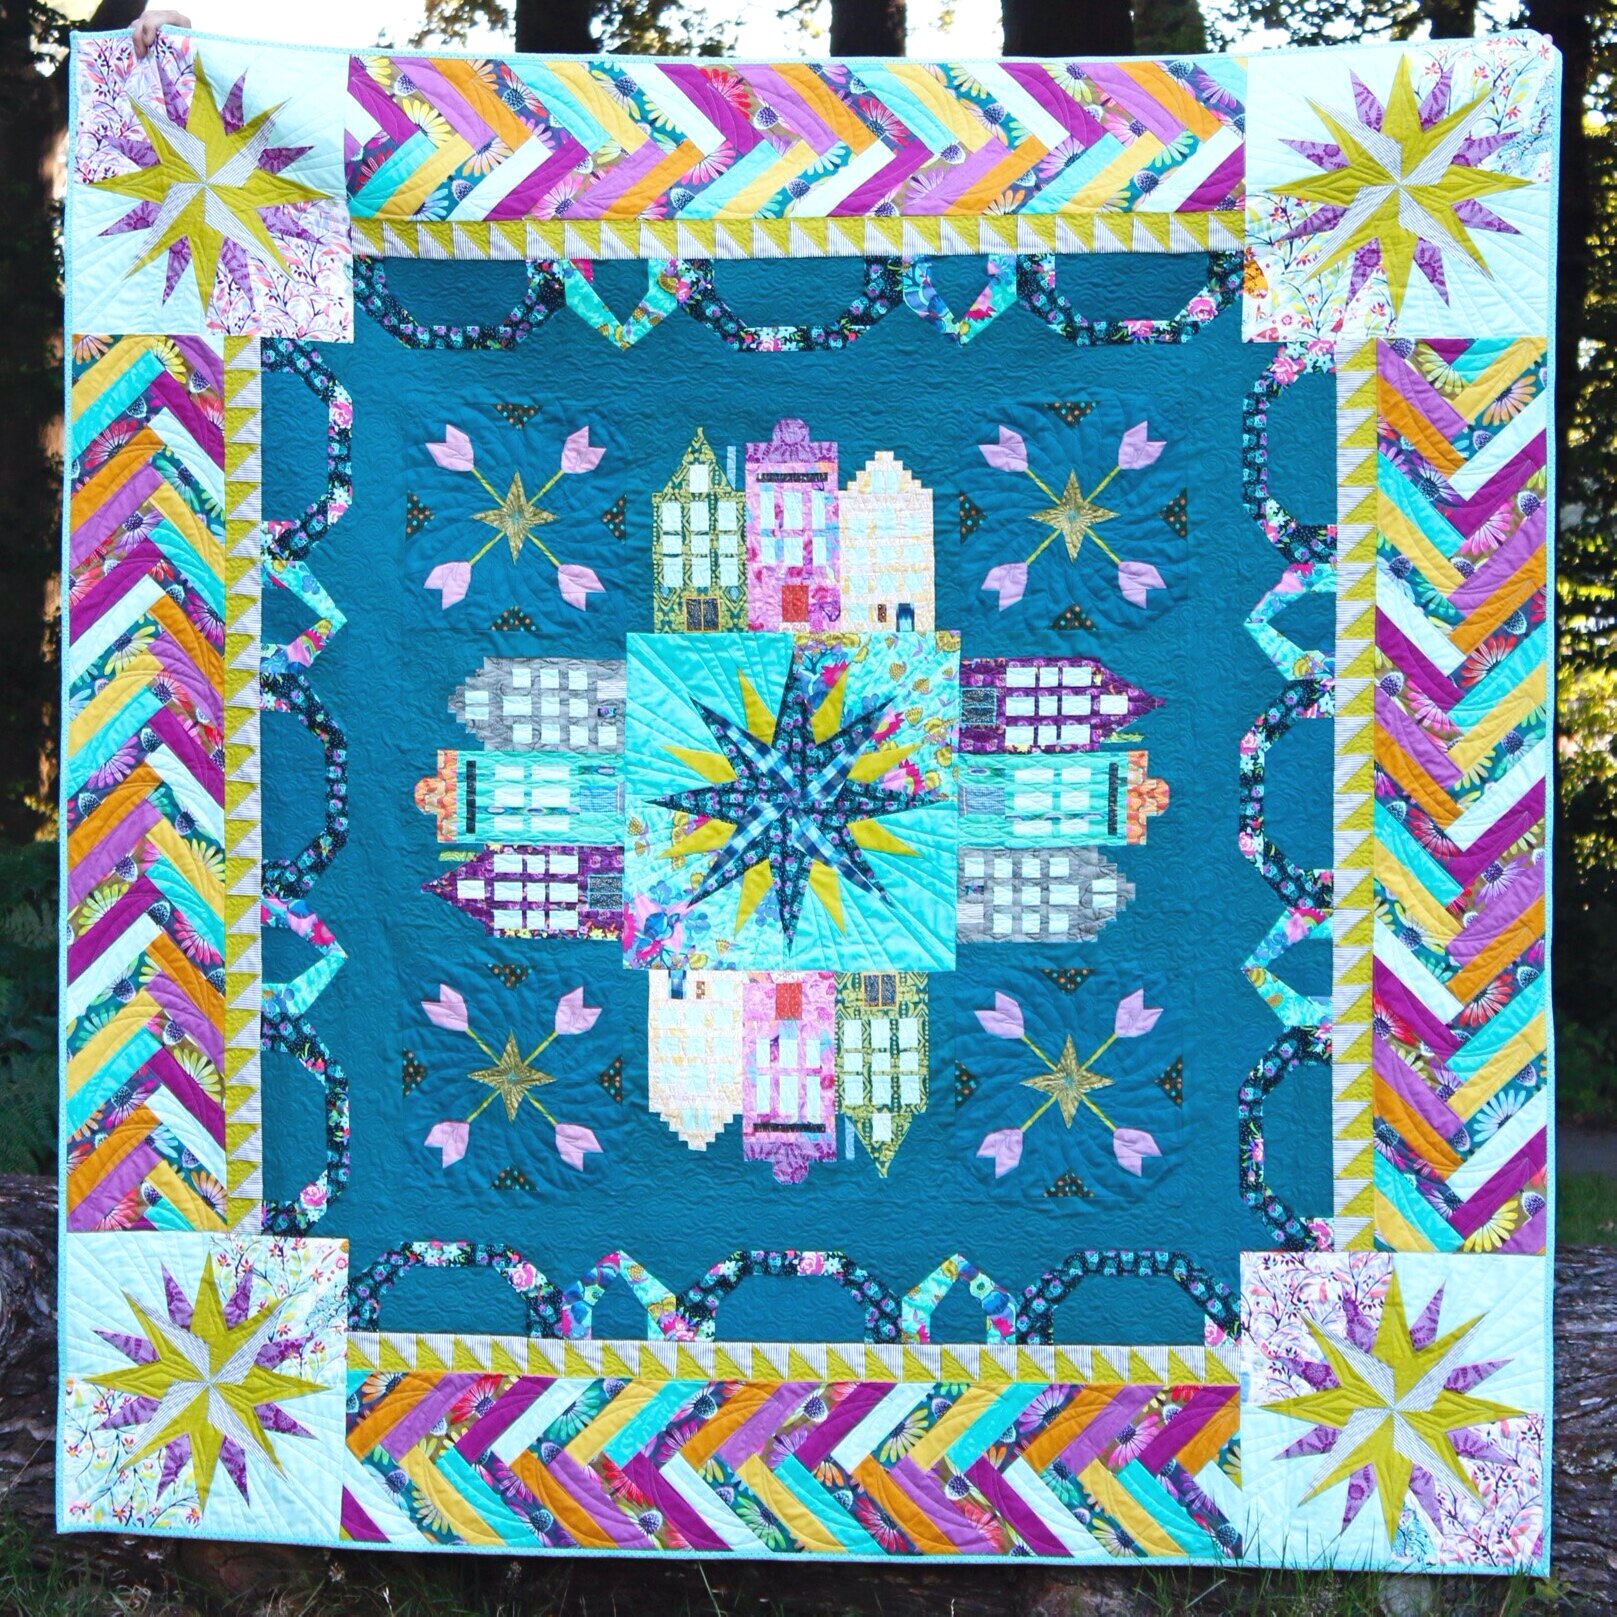
Your photo enters you into a giveaway for my Seafarers pattern! This medallion style sampler quilt is sewn via machine paper piecing. A combination of fanciful shapes and balanced repetition makes the Seafarers pattern ripe for exploration. Includes 5 paper piecing blocks, including the 18” Compass block below. Use them In other projects too!
Winner will be announced next week and giveaway is open worldwide.

good luck, friends!