Monument block tutorial
String blocks are a classic category of patchwork sewn with long, narrow fabric strips. Usually the strings are arranged diagonally on a foundation, whether of paper, batting or muslin.

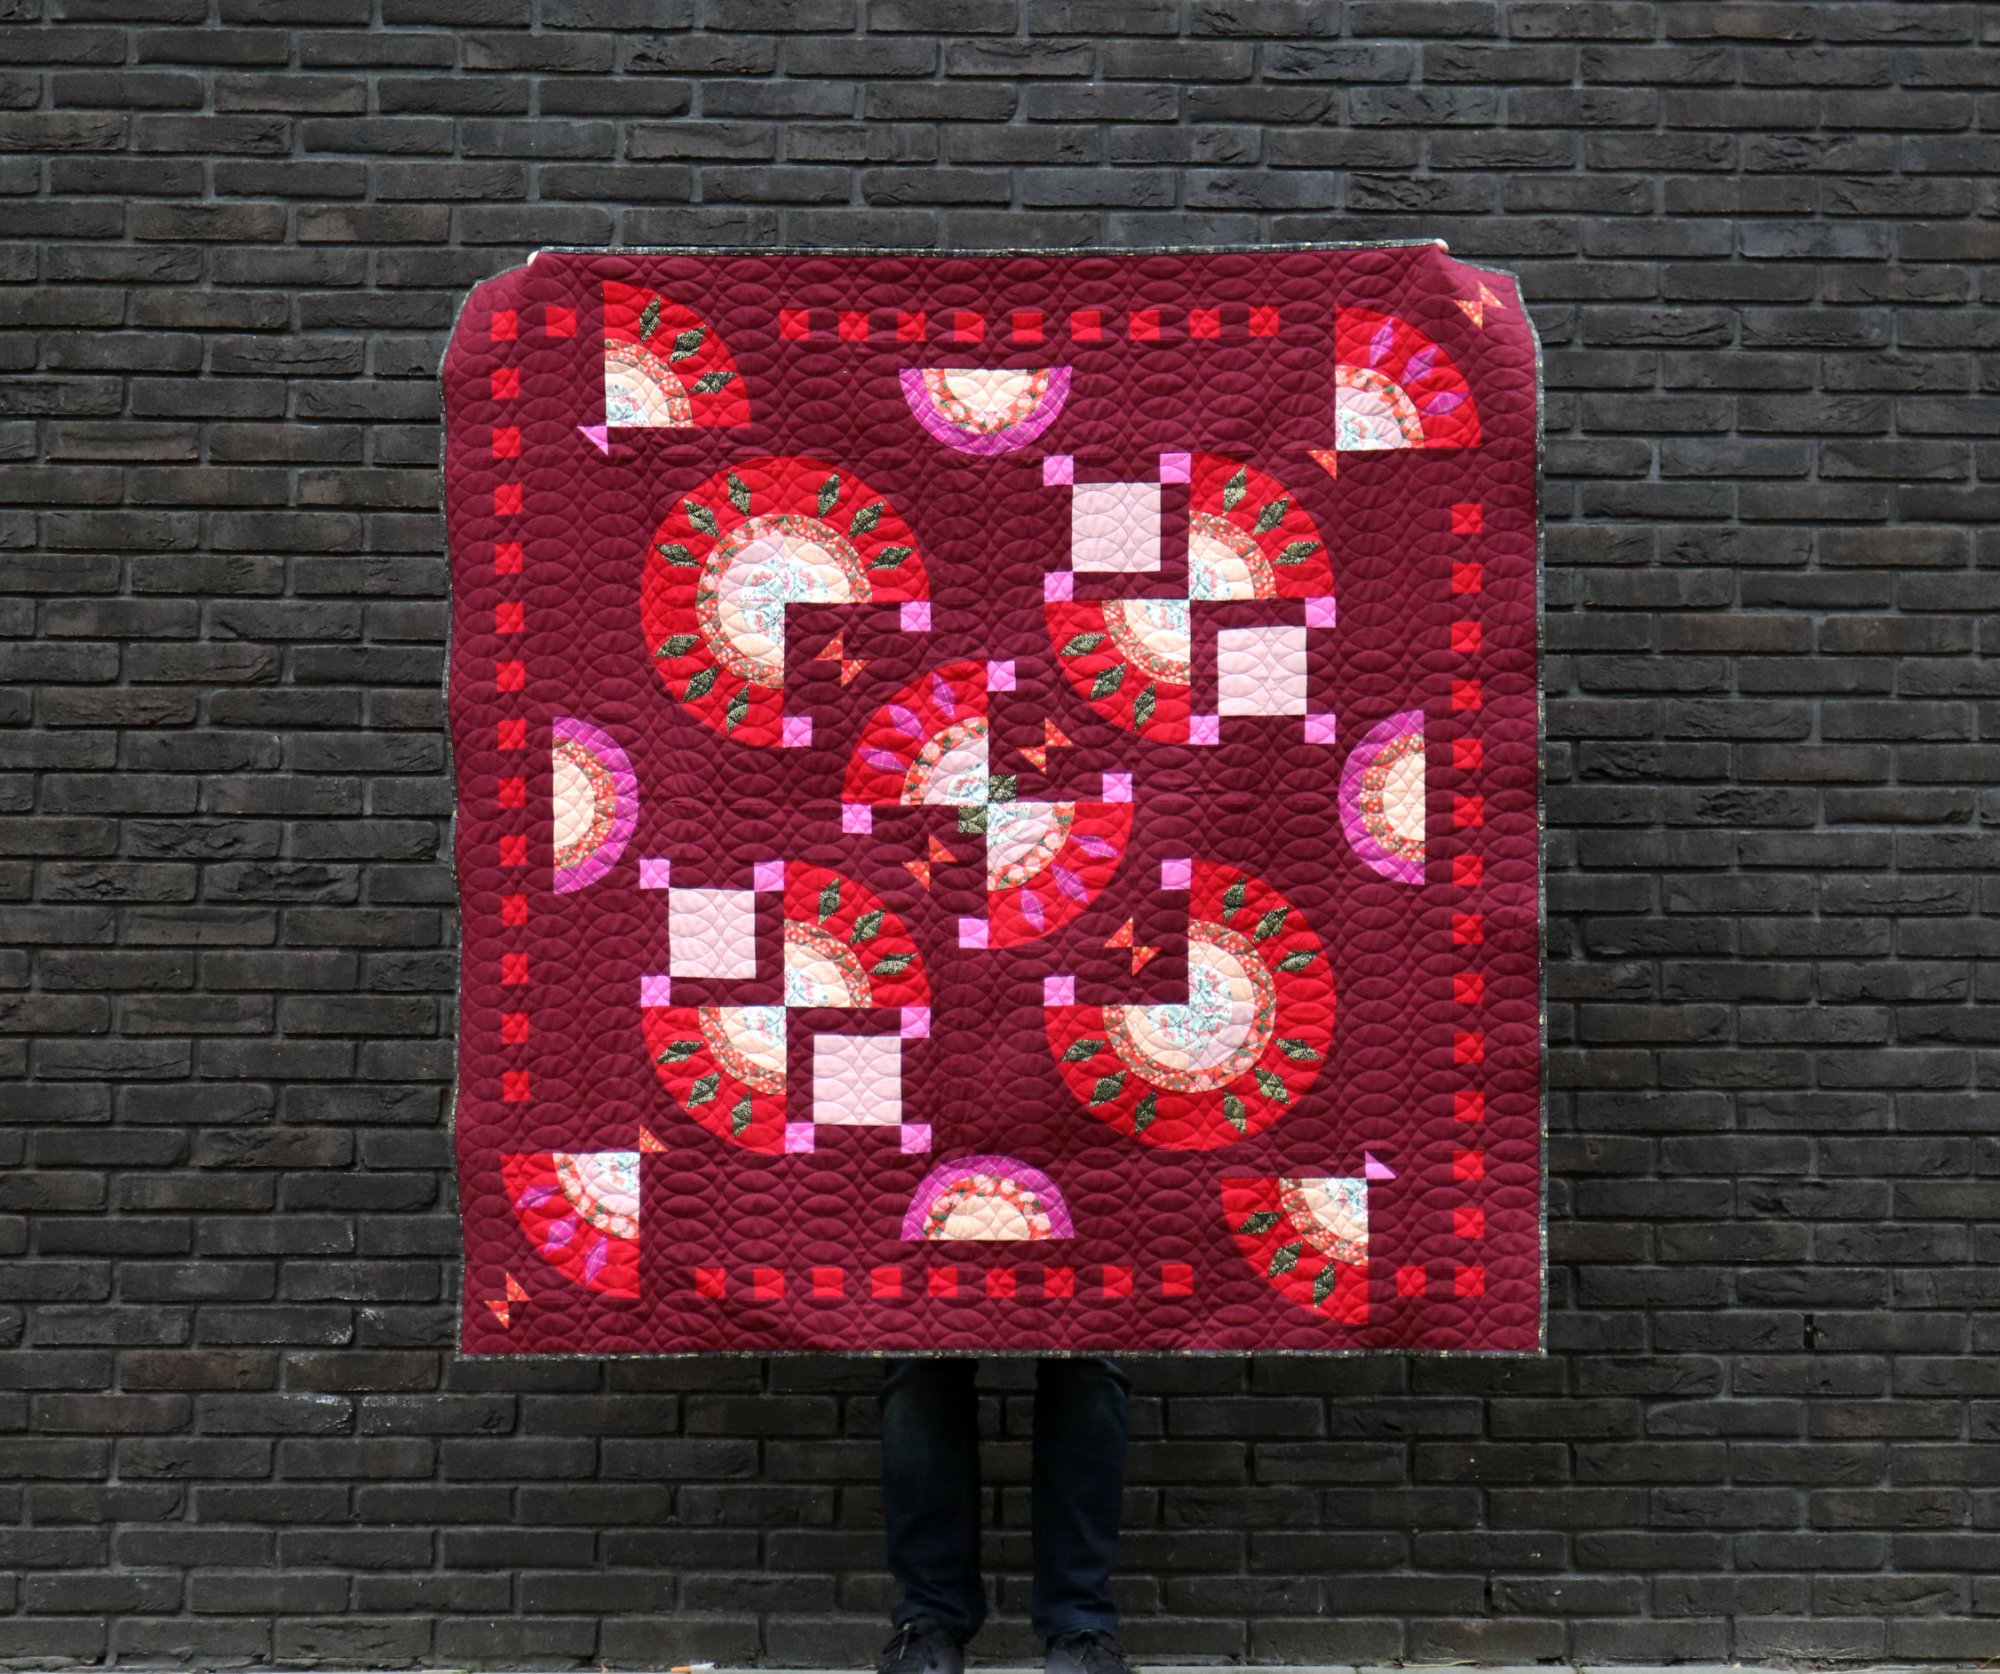
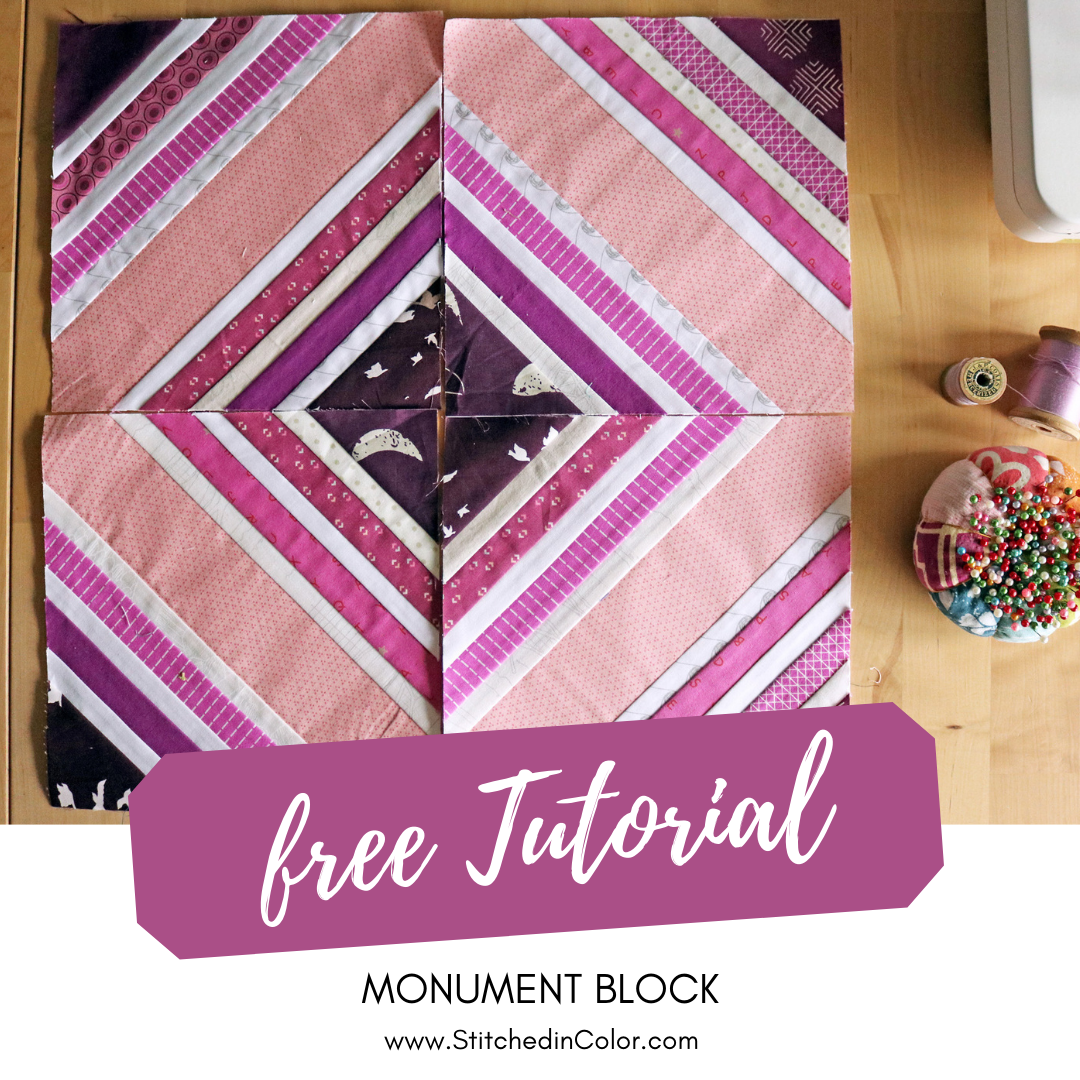
I’ve created a fancy block in the string block style. When multiple Monument blocks are nested together, the stripes form concentric squares, bringing to mind the rhythmic steps and layered facade of a classical building. The block is foundation paper pieced so that all the stripes will match up neatly.
Monument Block tutorial
Yields: 8” finished block, 8.5” unfinished.
Method: foundation paper piecing. Margin-for-error is built-in, since pieces are oversized to allow for easy trimming of the finished block.
Level: intermediate, experience with foundation paper piecing is assumed
Tools: printer + paper
Step 1: Prepare Foundation
For each block, print one copy of Monument paper piecing pattern, which you can download via the button below. Be sure to print "actual size," with no scaling. Check that the 1” square on the print out really measured 1” square. The entire block (outer square line) should measure 8” square.
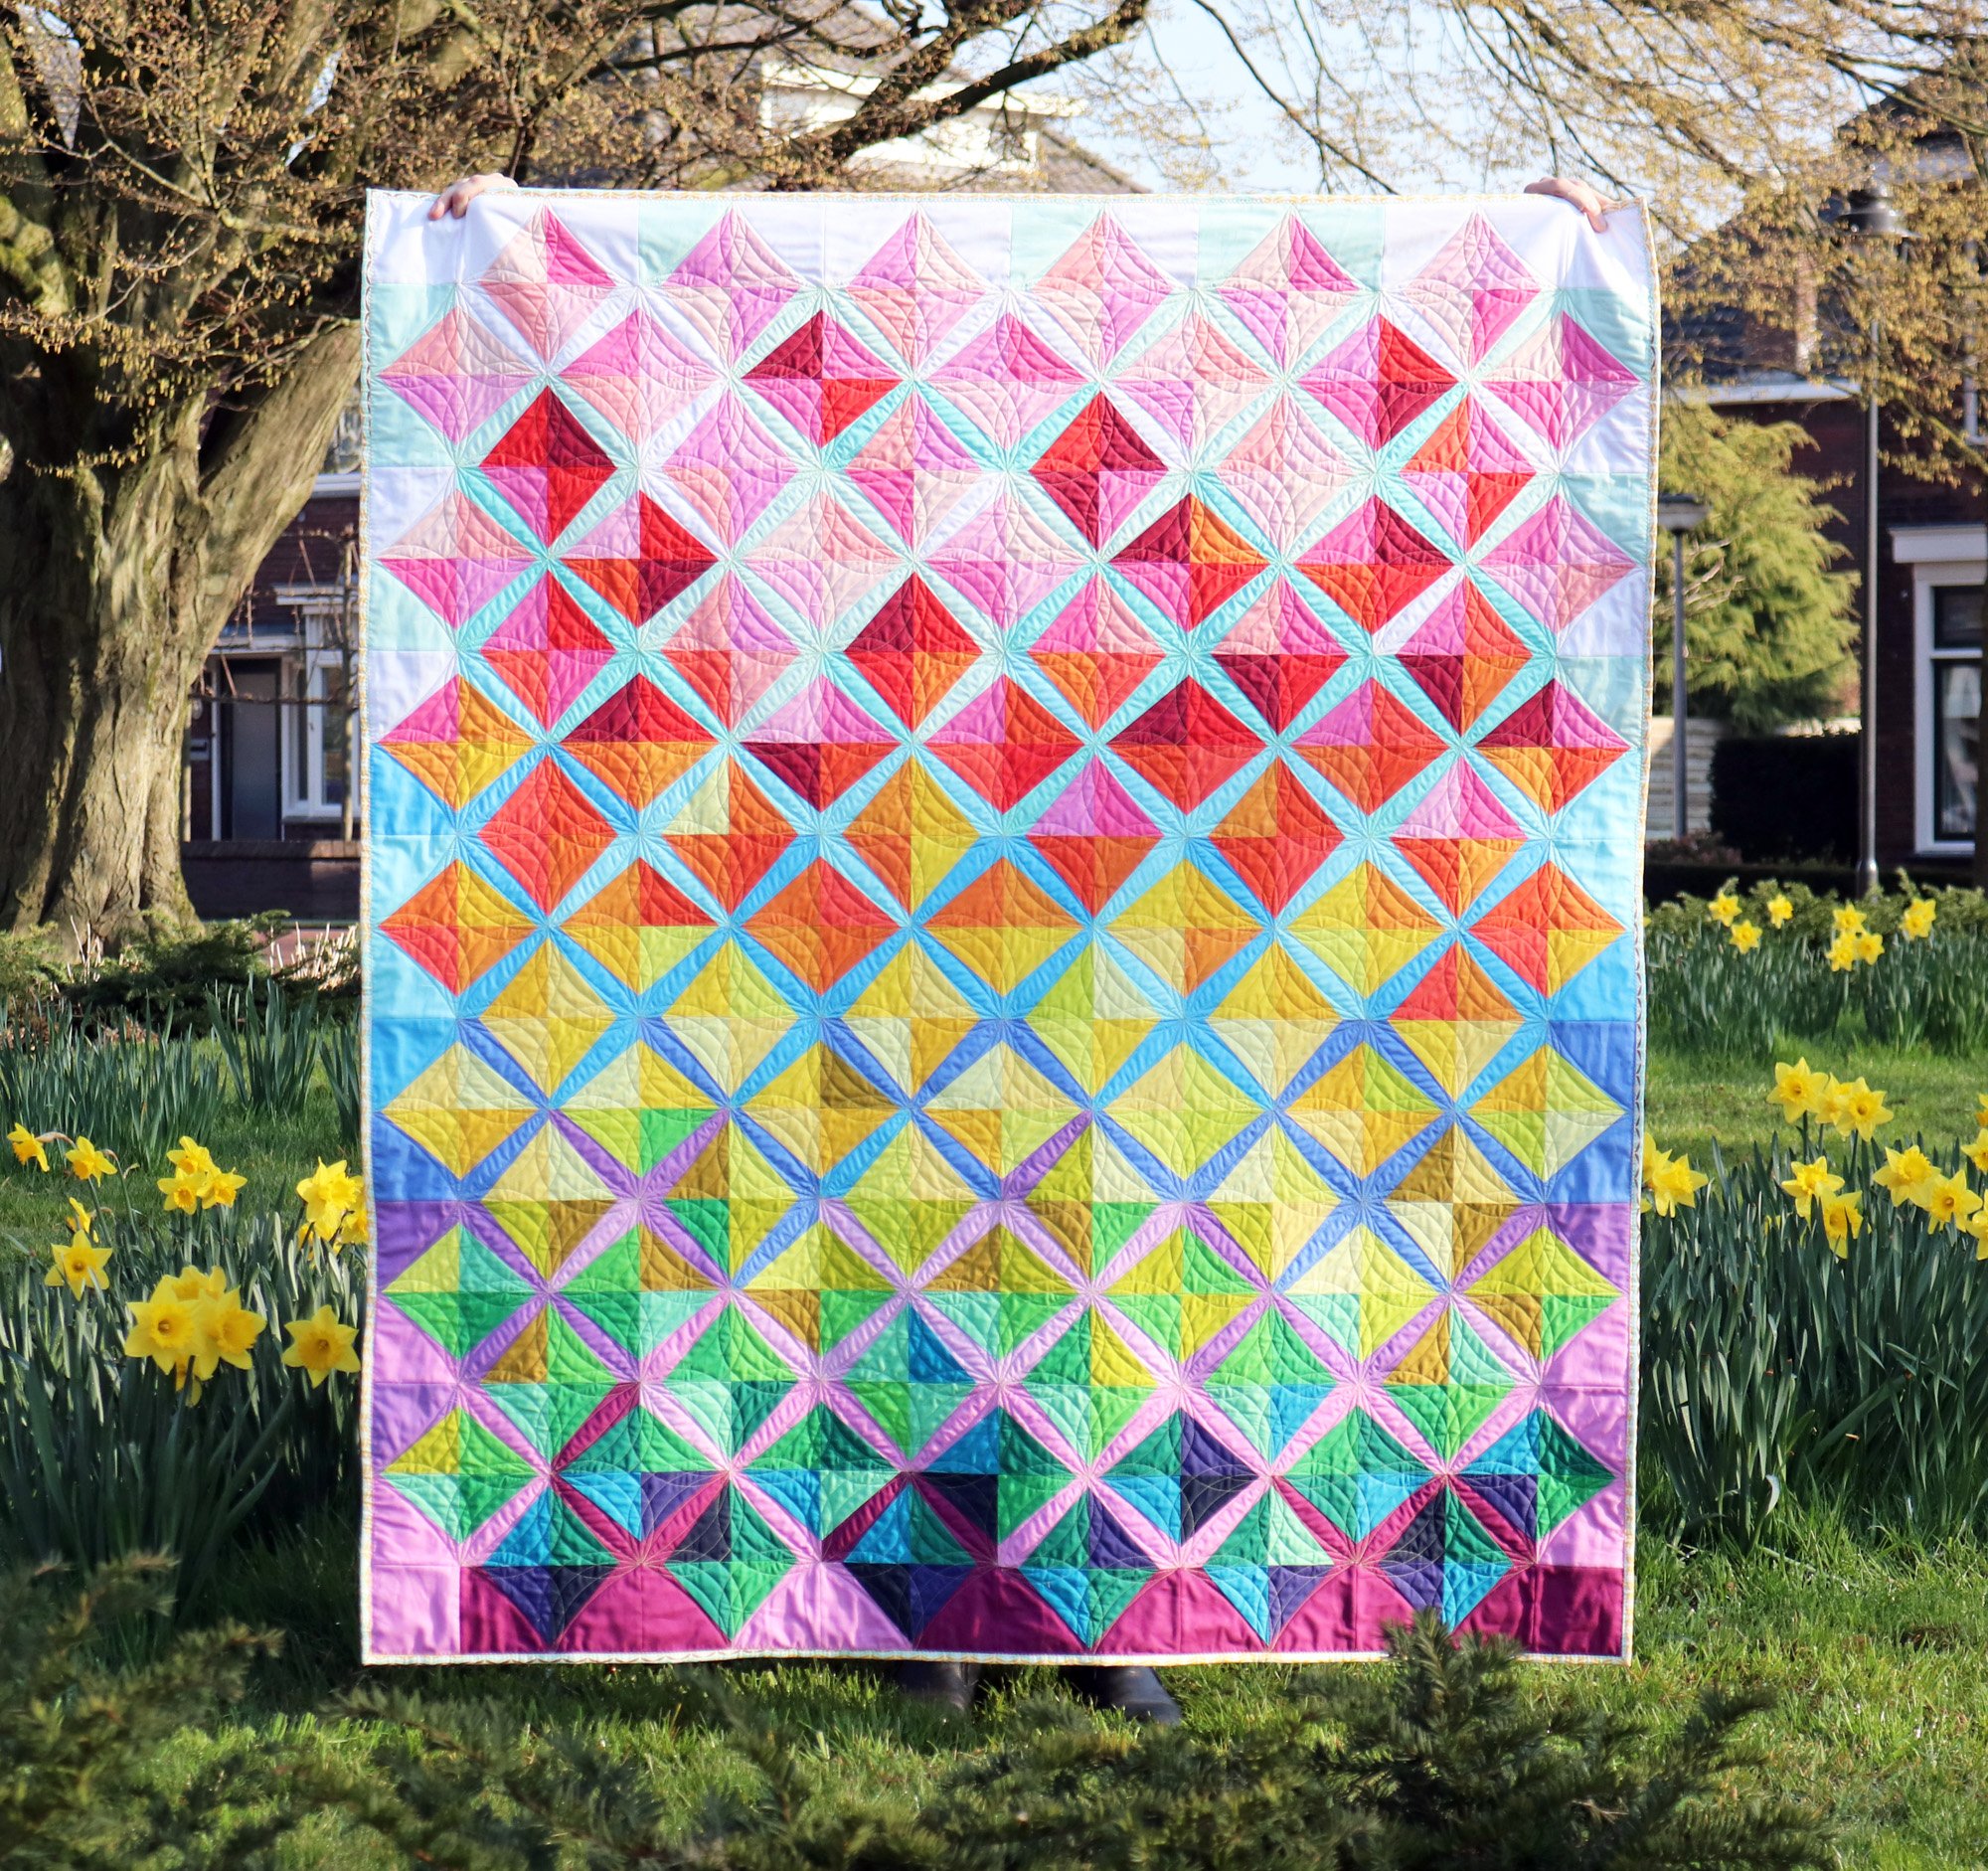
If you would like to sew a throw sized quilt, consider 64 blocks total in an 8 x 8 grid. This would yield a 64” x 64” throw quilt.
Step 2: Choose your Palette
To emphasize the rhythm of this pattern, it’s best to use some consistent colors. I recommend choosing one consistent color for the thinnest stripes, shown here in white. Besides white, gray or navy might be popular options. These stripes give the block important definition. I also suggest a consistent color for the large central stripe, shown here in light pink. This stripe becomes a background of sorts or the avenues between the “monument” buildings.

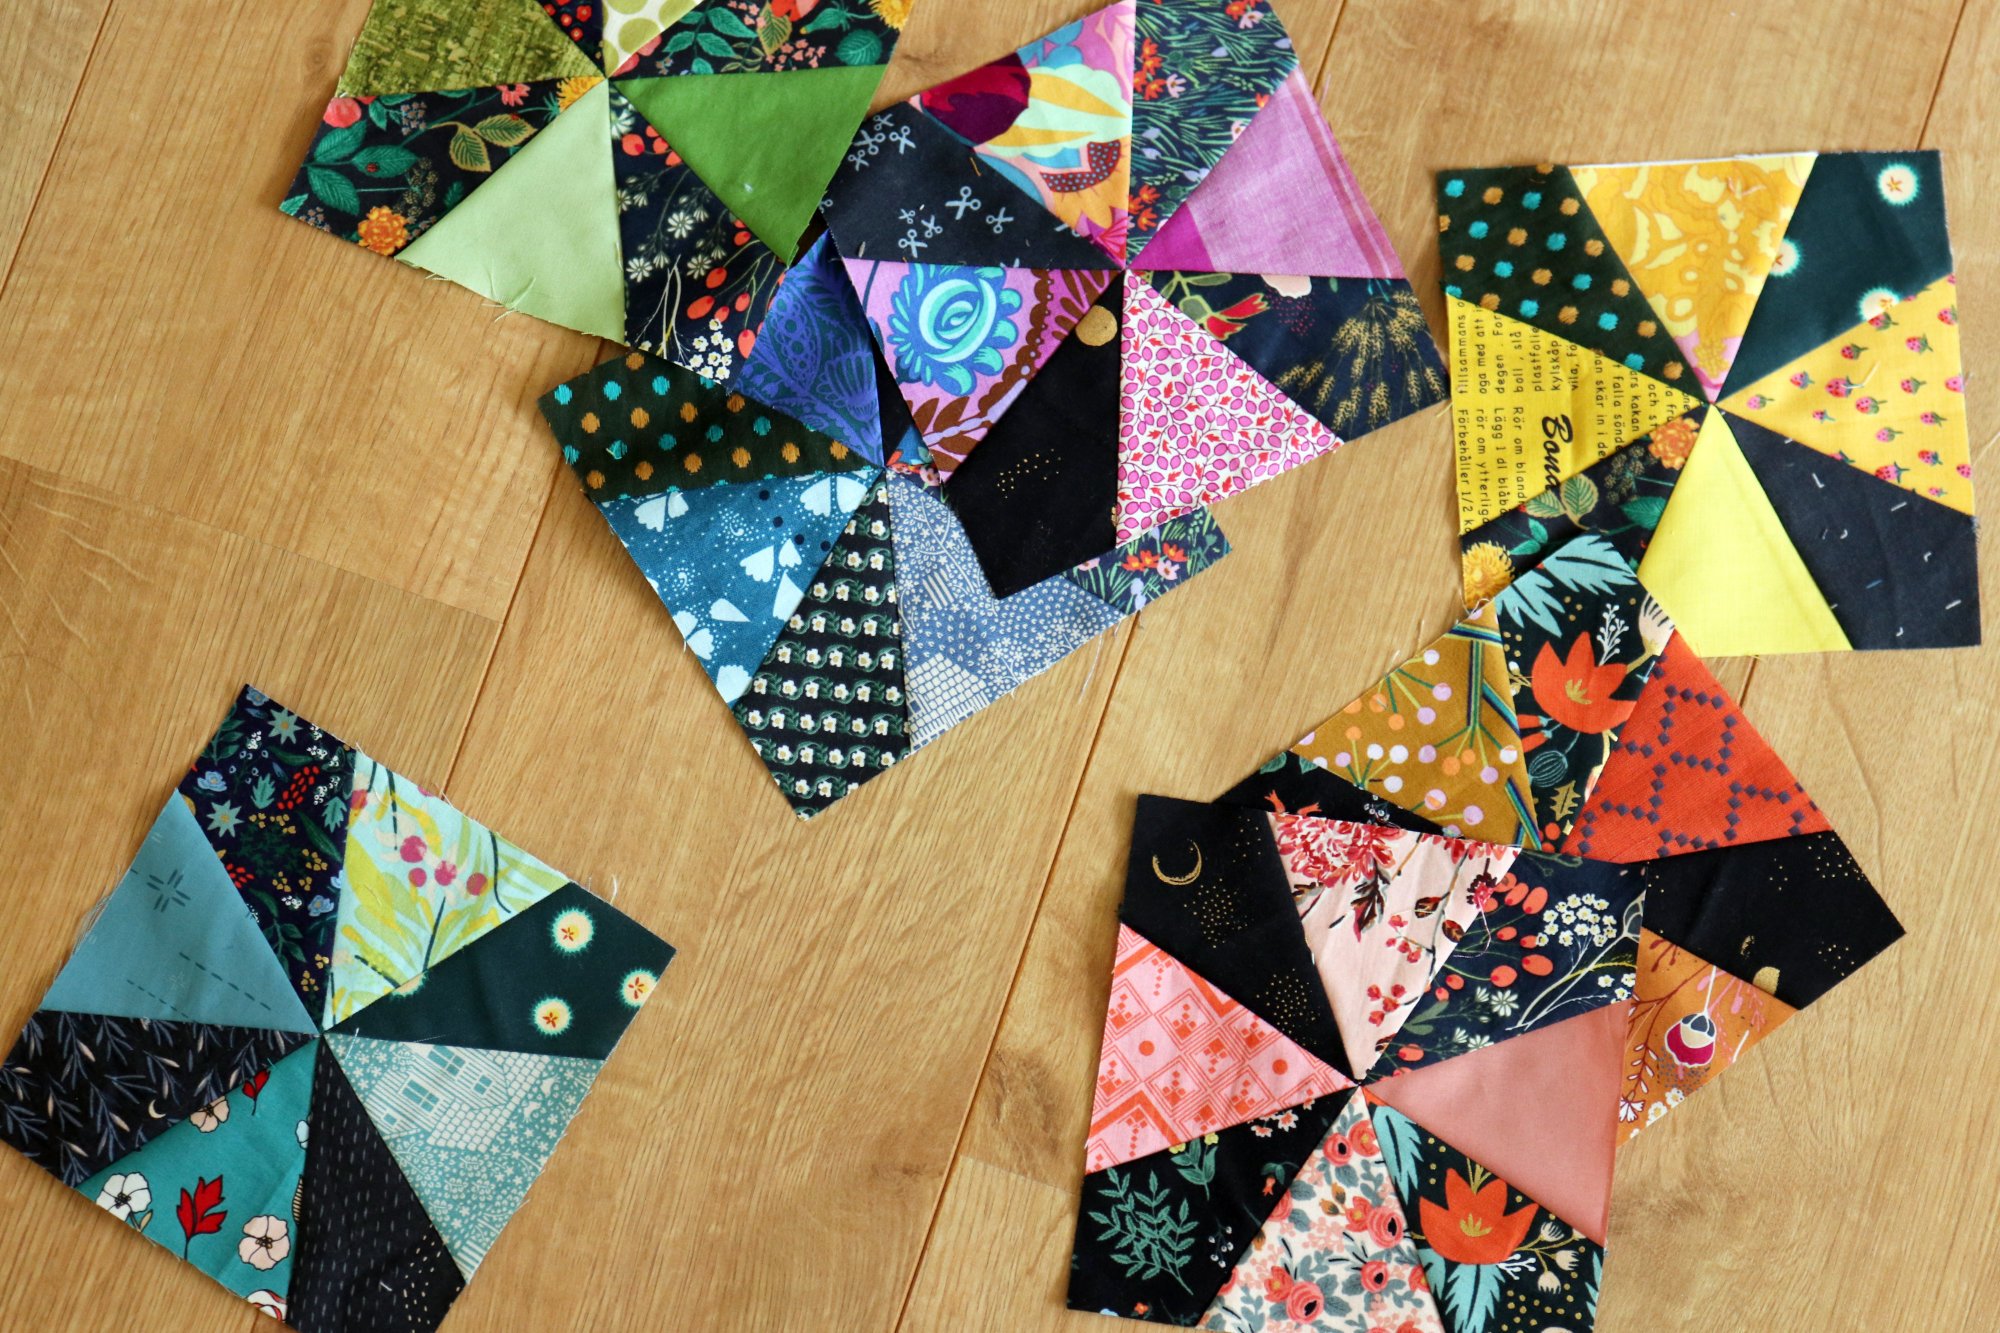
I sewed my first four Monument blocks as samples for my book, The Quilter’s Field Guide to Color. The blocks are examples of an analogous color scheme - a palette where the colors are neighbors on the color wheel. Such a color scheme creates a harmonious and nuanced feeling, quite different than a riot of color. My idea of Monument is a bit stately, so I’d love to see it other analogous color schemes such as:
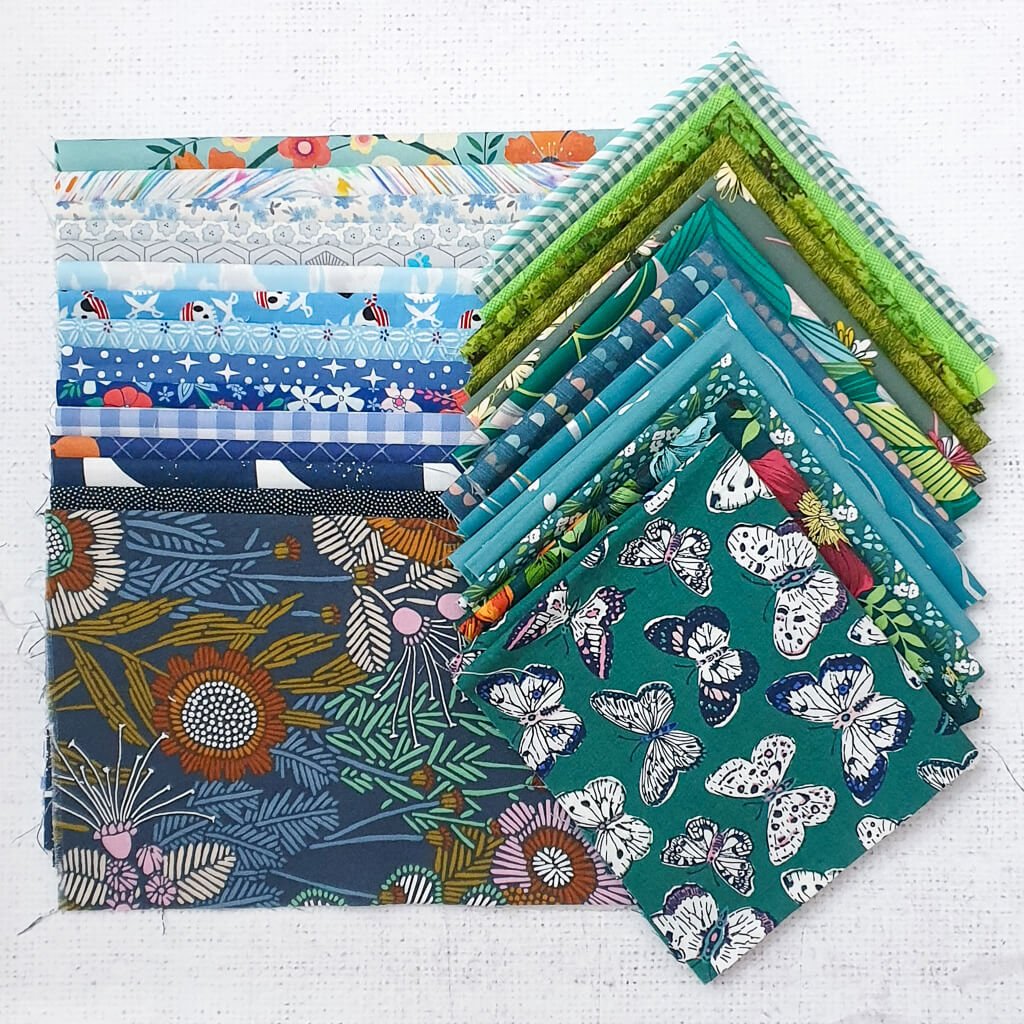
Aqua, teal, royal blue
Emerald green, grass green, chartreuse
Red, pink, peach
Using the color chips from my book, I’ve zeroed in on the analogous colors in my blocks: Milk white for the dividing stripes, Blush and Primrose for the avenues, Chinaberry, Boysenberry and Pomegranate for the steps and Raisin and Eggplant for the building.

Pro Color Tip: For extra drama, arrange your colors by value. In my example Monument blocks, the avenues are light, the steps get progressively darker and the building is the darkest.
In February it is my turn to lead the charity quilt for the Comfort circle of do. Good Stitches. I will ask my bee mates to sew Monument blocks in this color palette, so that we can transform my book’s orphan blocks into a quilt for good!
Sponsor of the Week
Purple Stitches
Eager to sew a scrappy wonder? Start with a beautiful scrap pack in either Warm Colors or Cool Colors, shipping now from Purple Stitches in the United Kingdom.

Step 3: Cut Fabrics
You will find the fabric requirements for each string printed on the pattern foundation. This may help you avoid mixing up strings in the midst of assembly.
Fabrics for 1 Block:
Avenue: (1) 3” x 12.5” for piece A
Dividing Stripes
(2) 1.25” x 11” for pieces B
(2) 1.25” x 9” for pieces D
(2) 1.25” x 7” for pieces F
Steps
(2) 1.5” x 10” for pieces C (slightly lighter fabrics)
(2) 1.5” x 8” for pieces E (slightly darker fabrics)
Building: (1) 4” square, cut in half on diagonal. Note, if you prefer to use strips for this piece as well, use (2) 2.5” x 5.5” strips. FYI: this wastes fabric in comparison to using a square cut on diagonal.

As you can see, I’ll be sewing my Monument blocks from scraps! If you wish to use one consistent fabric for a throw sized quilt (64 blocks), you would need to purchase: 2 yards for the Avenue strips and 2 yards for the Dividing Stripes. The steps and buildings you’ll have to figure out yourself. I encourage you to use scraps and stash on hand!
Step 4: Sew Block
Arrange your step and building fabrics in the intended layout. If you have chosen to add drama by utilizing color value, arrange the steps so that the darker step colors are closest to the building.

Sew the block with basic foundation paper piecing methods. Don’t forget to shorten your stitch length to about 1.5! You’ll begin by gluing fabric A to the blank side of the paper background. Then add fabrics two at a time: sew both fabric B’s, then press; next sew both fabric C’s, then press, etc.

Remember to press seams after adding pieces and to trim excess seam allowance at 1/4” before proceeding to the next set of pieces. As is typical with string blocks, your fabrics will stick out past the foundation on each side. Always sew fabrics centered on the pattern so that there is fabric extending beyond the outer square pattern line.
If you need a refresher on foundation paper piecing or have never actually done this before, try a YouTube search. Foundation paper piecing is a skill best learned by video. Even though Monument looks fancy, this block is appropriate for your first foundation paper piecing experience. You can do it!
Step 5: Trim
When you’ve sewn all the pieces, the fabrics will be sticking out all over! Turn the block over so that you can see the paper foundation. It’s time to trim.

Important! The black square that designates the edge of the block on the pattern printout is NOT where you trim! That black square is 8” x 8”, which is the biggest size that can print on standard paper. In order to yield an 8.5” unfinished block, you must trim at 1/4” beyond the outer seam line.

And, that’s it! Your unfinished blocks will measure 8.5” square. You can remove the paper foundations either before or after joining blocks together to make. your quilt top. Definitely remove all paper before quilting your project.

I hope you enjoy sewing Monument blocks! If you share your creations on Instagram, please add the tag #StitchedinColor so that we can see what you’ve made!