After the Rain: Prep Small Blocks
This post is part of the After the Rain Sew-Along! See all posts.
It’s week 2 of our actively-sewing phase. Are you sewing-along?
I love to see your progress pictures, wherever you are in the process, on Instagram via #AftertheRainSAL. After this week, you’ll have a nice preview of your future quilt to show off!
Make sure you follow @StitchedinColor, and @TheConfidentStitch in order to be eligible to win prizes. More on that at the end of this post!

Week 2: Prep Small Blocks
Over Week 1, you sewed 3 test blocks, working with the medium and large blocks only. This week we’ll shift focus to the remaining quilt columns, i.e. the small blocks. Our task is twofold:
Cut fabrics for small size blocks
Test sew one block each for columns 1, 2, 5, 6
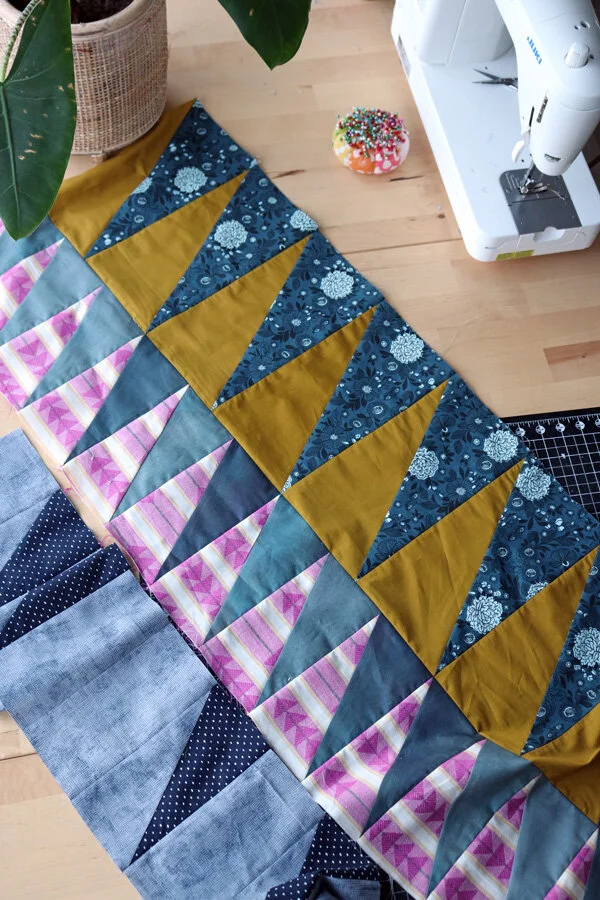
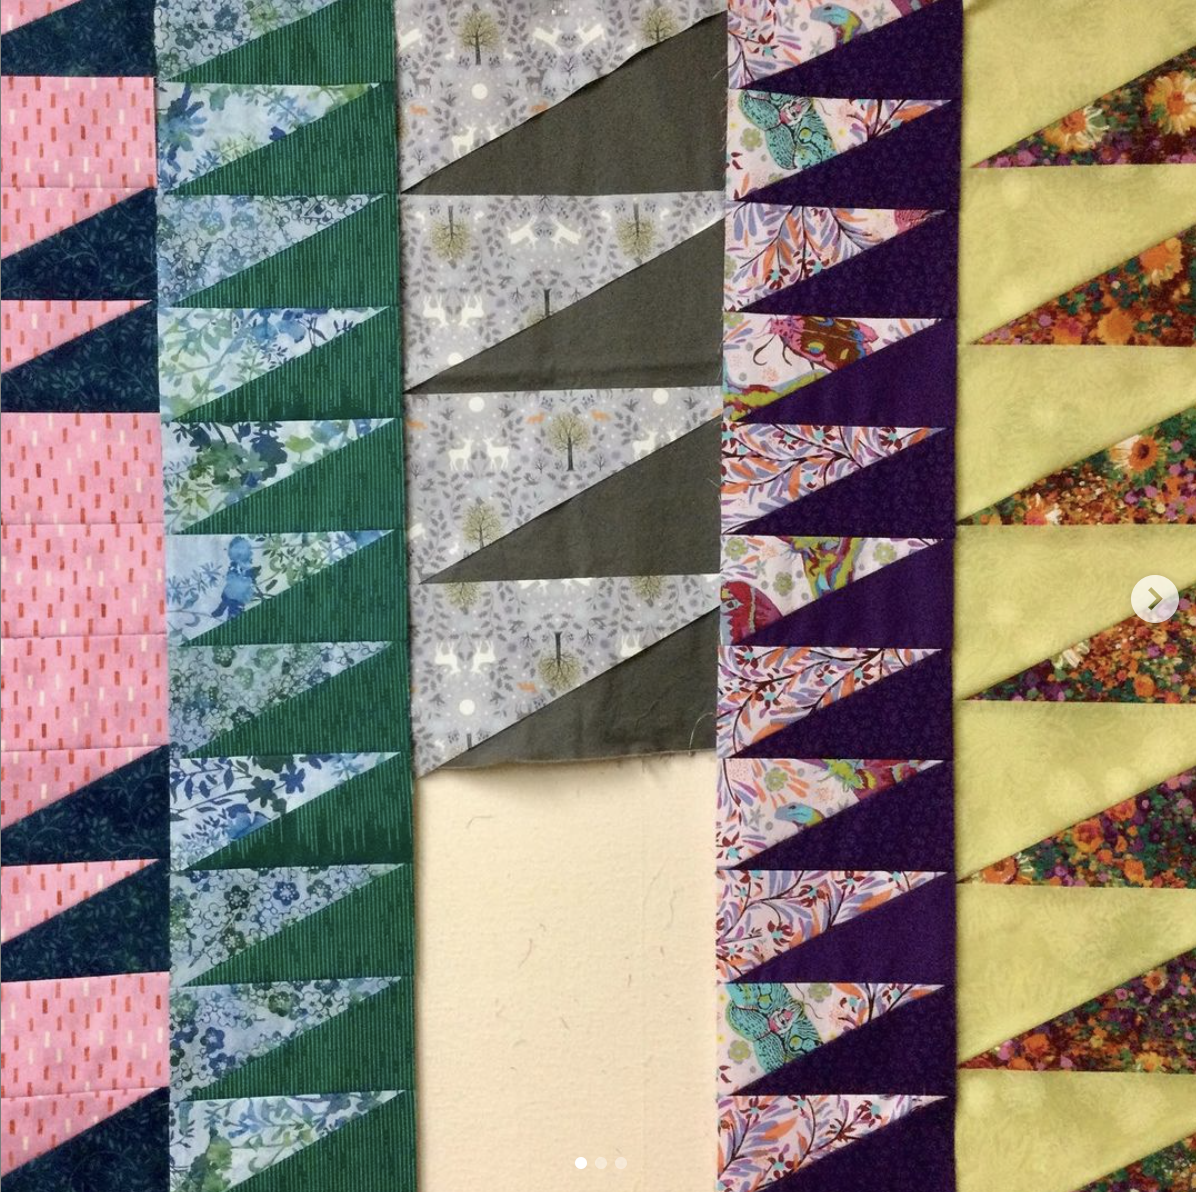
Once you complete these test blocks, you’ll be able to lay out the columns and easily visualize the effect of your fabric choices, before sewing all the blocks.
Start Cutting
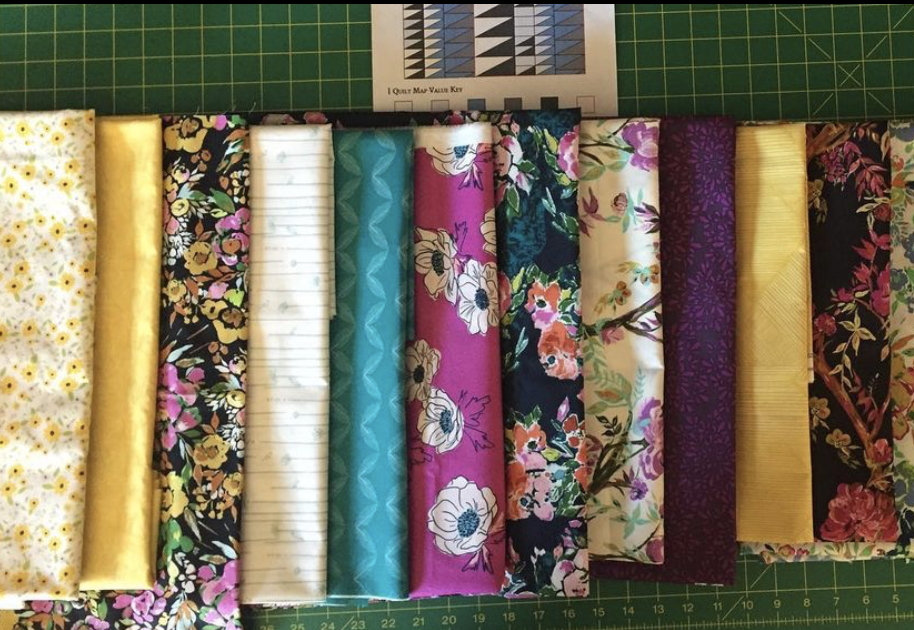
You’ll find the cutting directions on pages 4-5 in your copy of the After the Rain quilt pattern. This week cut fabrics for small blocks (columns 1, 2, 5 and 6 in the throw quilt). Don’t forget:
Cutting a directional print? Think about the way you want the print to be oriented in your quilt, before you cut your fabric into rectangles.
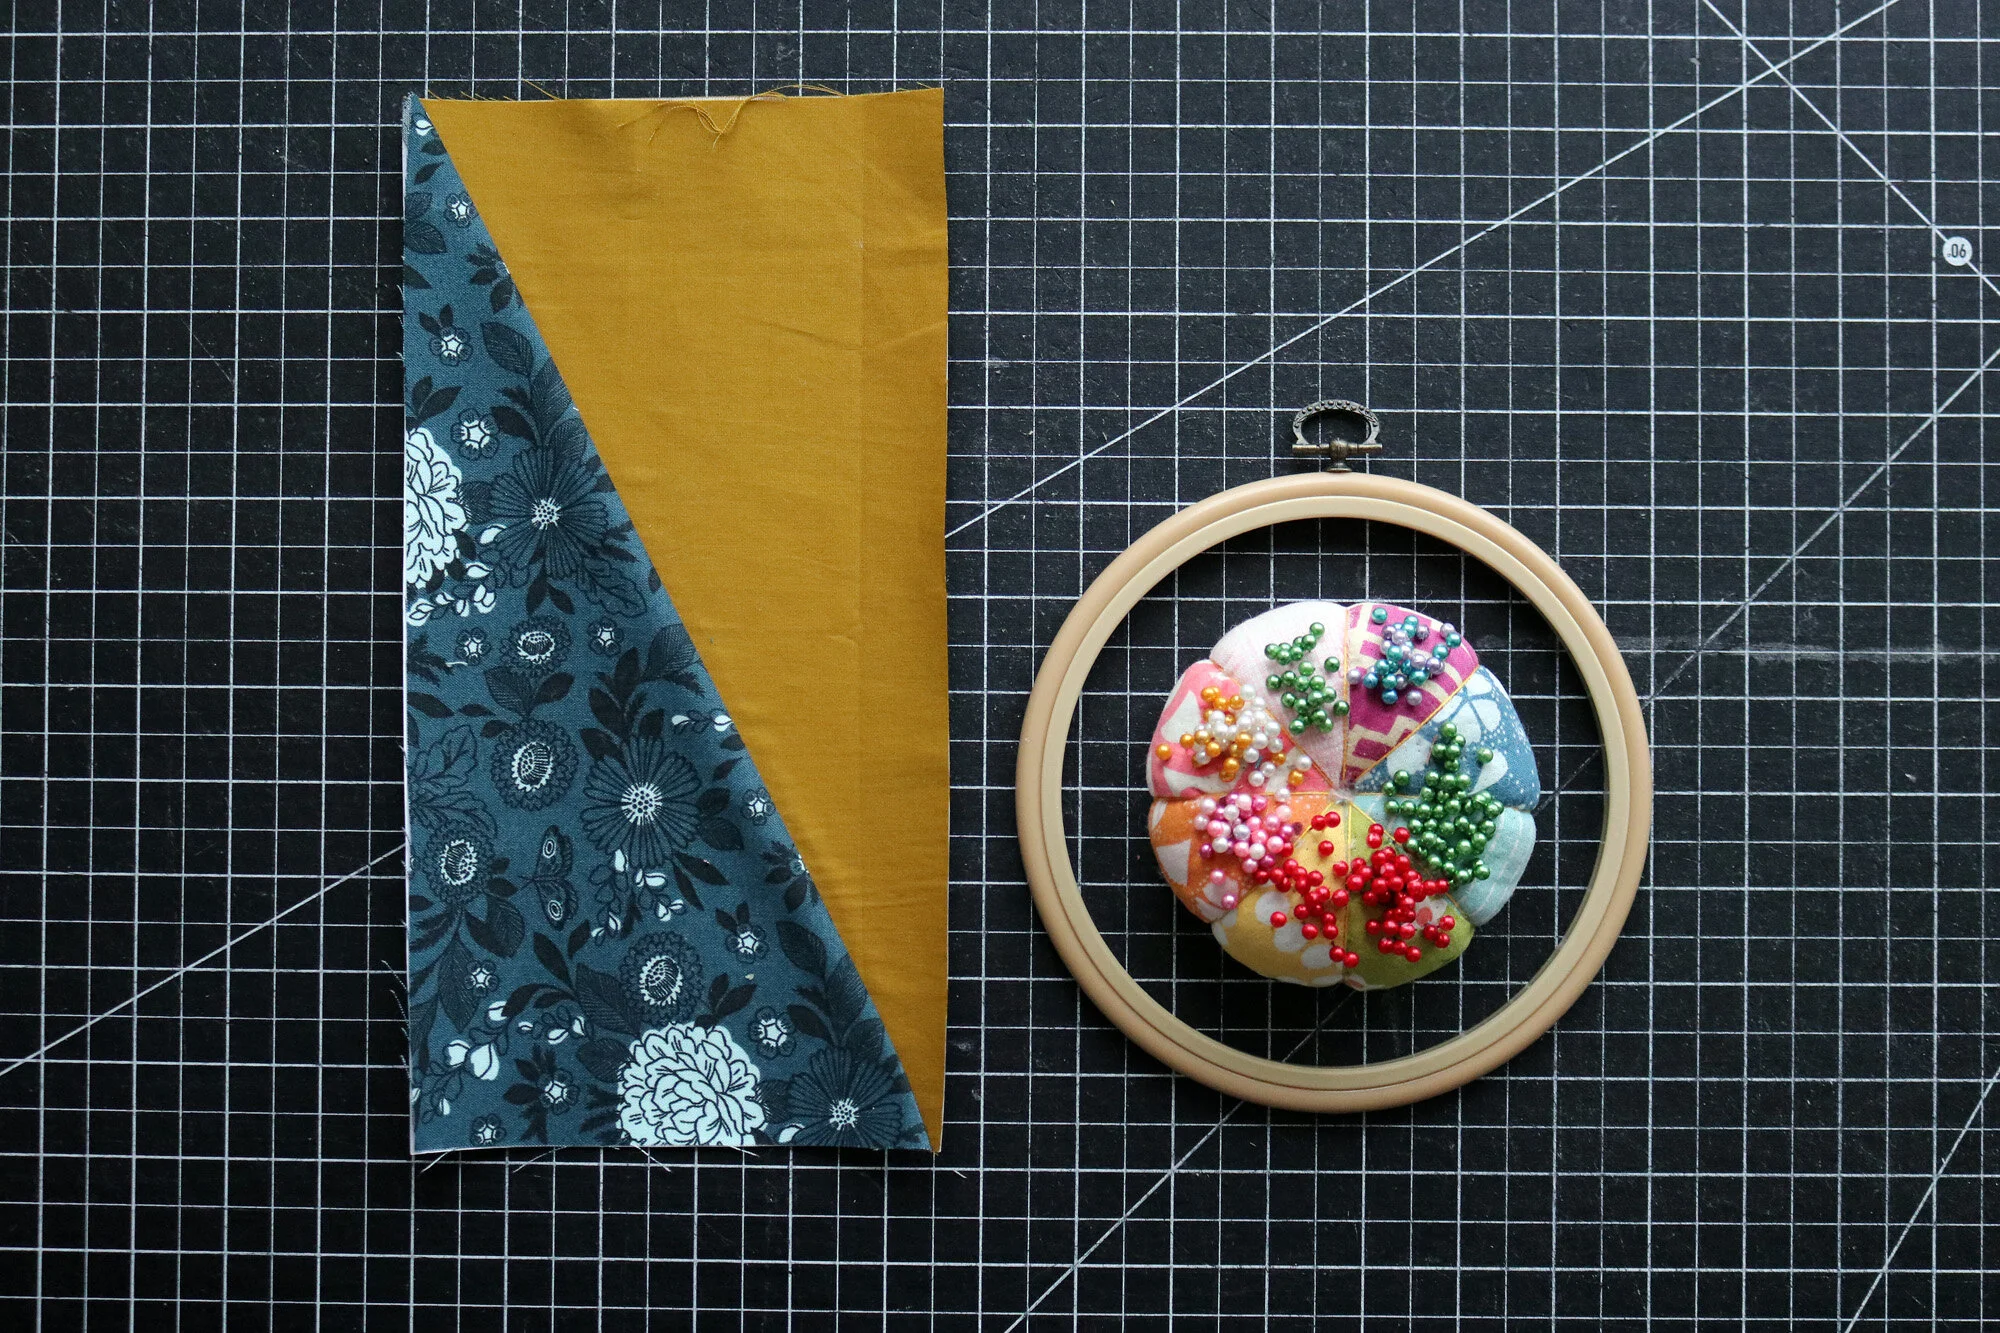
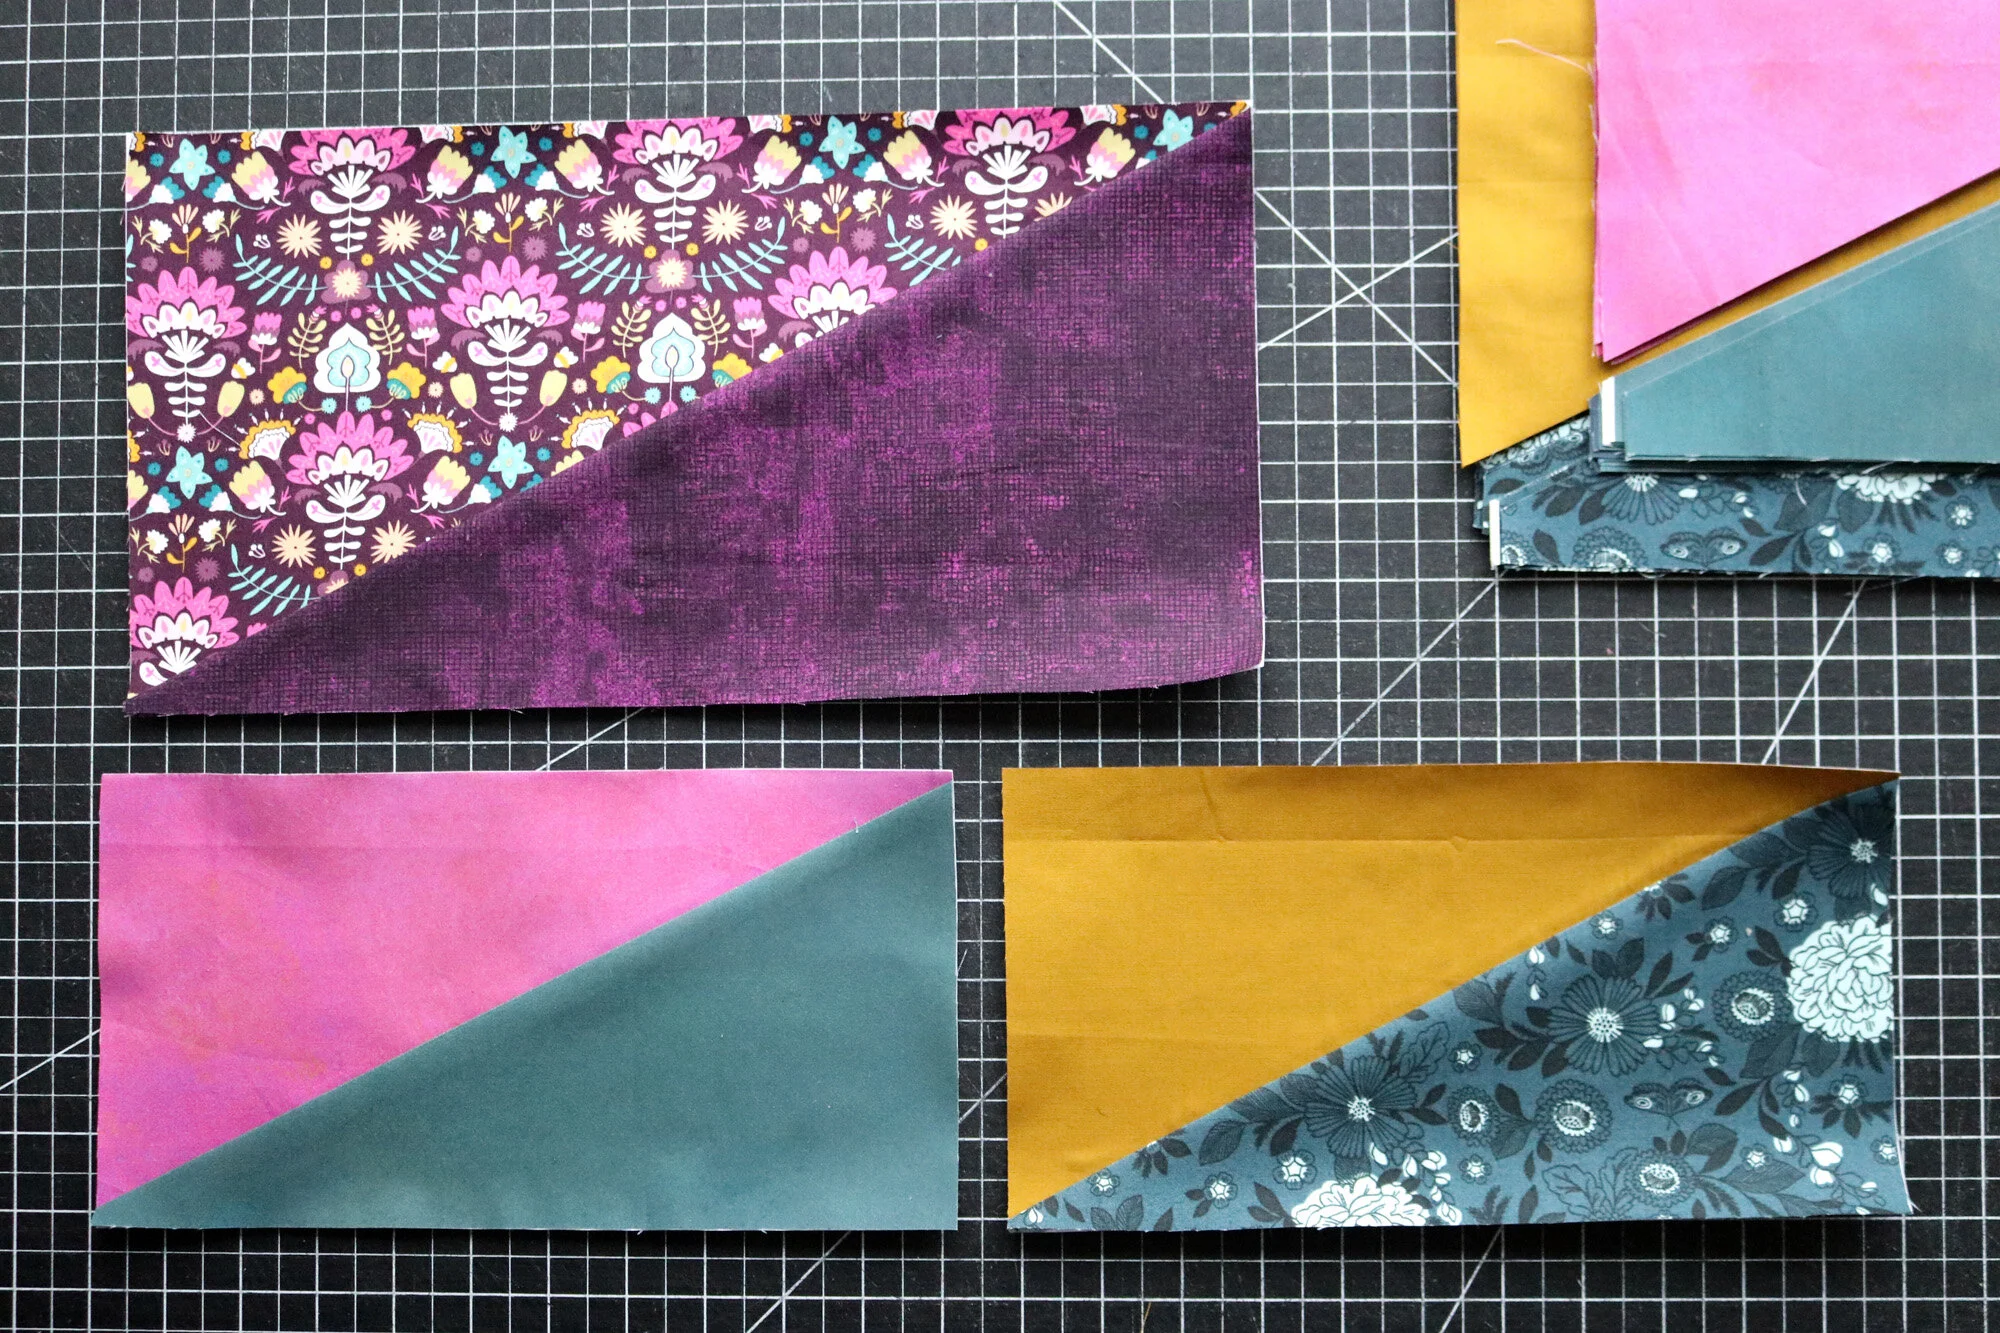
Double and triple check that all rectangle fabrics are FACE UP before you cut the diagonal line that transforms the rectangles into triangles.
When cutting the diagonal line, the pattern intentionally gives different offset measurements for the different size blocks.

Feeling unsure about anything? Just cut enough fabric to sew your test blocks. When you have sewn them successfully and like the result, you can come back to complete this week’s cutting.
Sew Test Blocks
Time to print out paper foundations. Print 4 copies of the size small pattern, at 100%, with no scaling. Seam allowances are not illustrated, so the outer aqua line of the paper piecing foundation is the finished size of the block. Check the 1” measurement on the pattern to make sure that your foundations are printing properly.
You’ll find the sewing directions on pages 6-7 in your copy of the After the Rain quilt pattern. Are you still struggling with the machine paper piecing process? Check out my Instagram video to see the process in action. If that doesn’t help, try searching for a foundation paper piecing tutorial. A video tutorial is your best bet for wrapping your head around this odd, but totally doable technique.

When you’re done sewing your small test blocks, trim the unfinished blocks to 7.5” x 4”. You’ll be trimming beyond the aqua lines, adding the 1/4” seam allowance, just as I did in the video.
Complete Prep
When you’re confident about your test blocks, it’s time to complete your preparation goals for this week. Cut all the fabric needed for the small blocks in your quilt. Note that column 5 also requires some special rectangles cut in your low value fabric. These are for the blank spaces that show up on the quilt map, in lieu of continuous half rectangle triangle blocks. As per page 9 (Assembly), cut 7.5" x 4" rectangles in the appropriate fabric for these spaces. Cut 10 for a throw quilt, 5 for a baby quilt or 15 for a queen/king quilt.
Also, take the time to print out all of the paper foundations for small blocks. You’ll find total counts needed for each block size and quilt type at the top of page 6.

Ok, don’t miss this chance to photograph your test blocks all in a row (or in a staggered row so that they fit in the frame!). It can be helpful to preview that layout with a bird’s eye view, via a photograph, in case you want to make any changes. Plus, it serves as a nice reminder of your layout plan to refer back to as needed.
This Week’s Prize
On Friday, February 5th I’ll select a random winner from among everyone who has posted to the After the Rain hashtag this week.
Someone will win 1 YEAR’S SUBSCRIPTION TO THE CONFIDENT STITCH SWATCH SERVICE!
That’s a curated, tactile, and informative fabric shopping experience delivered right to your door 4 times a year!
Choose your preferred service:
Quilting Cottons
Garment Fabrics Cool Tones
Garment Fabrics Warm Tones
Don’t be shy! Just add #AftertheRainSAL to your Instagram photo caption and you’ll automatically be in the running. Here are two recent additions to our hashtag stream:
The winner of last week’s prize is @Koalas1302. I’ve reached out to her via Instagram messaging. Thanks for sharing, friends!