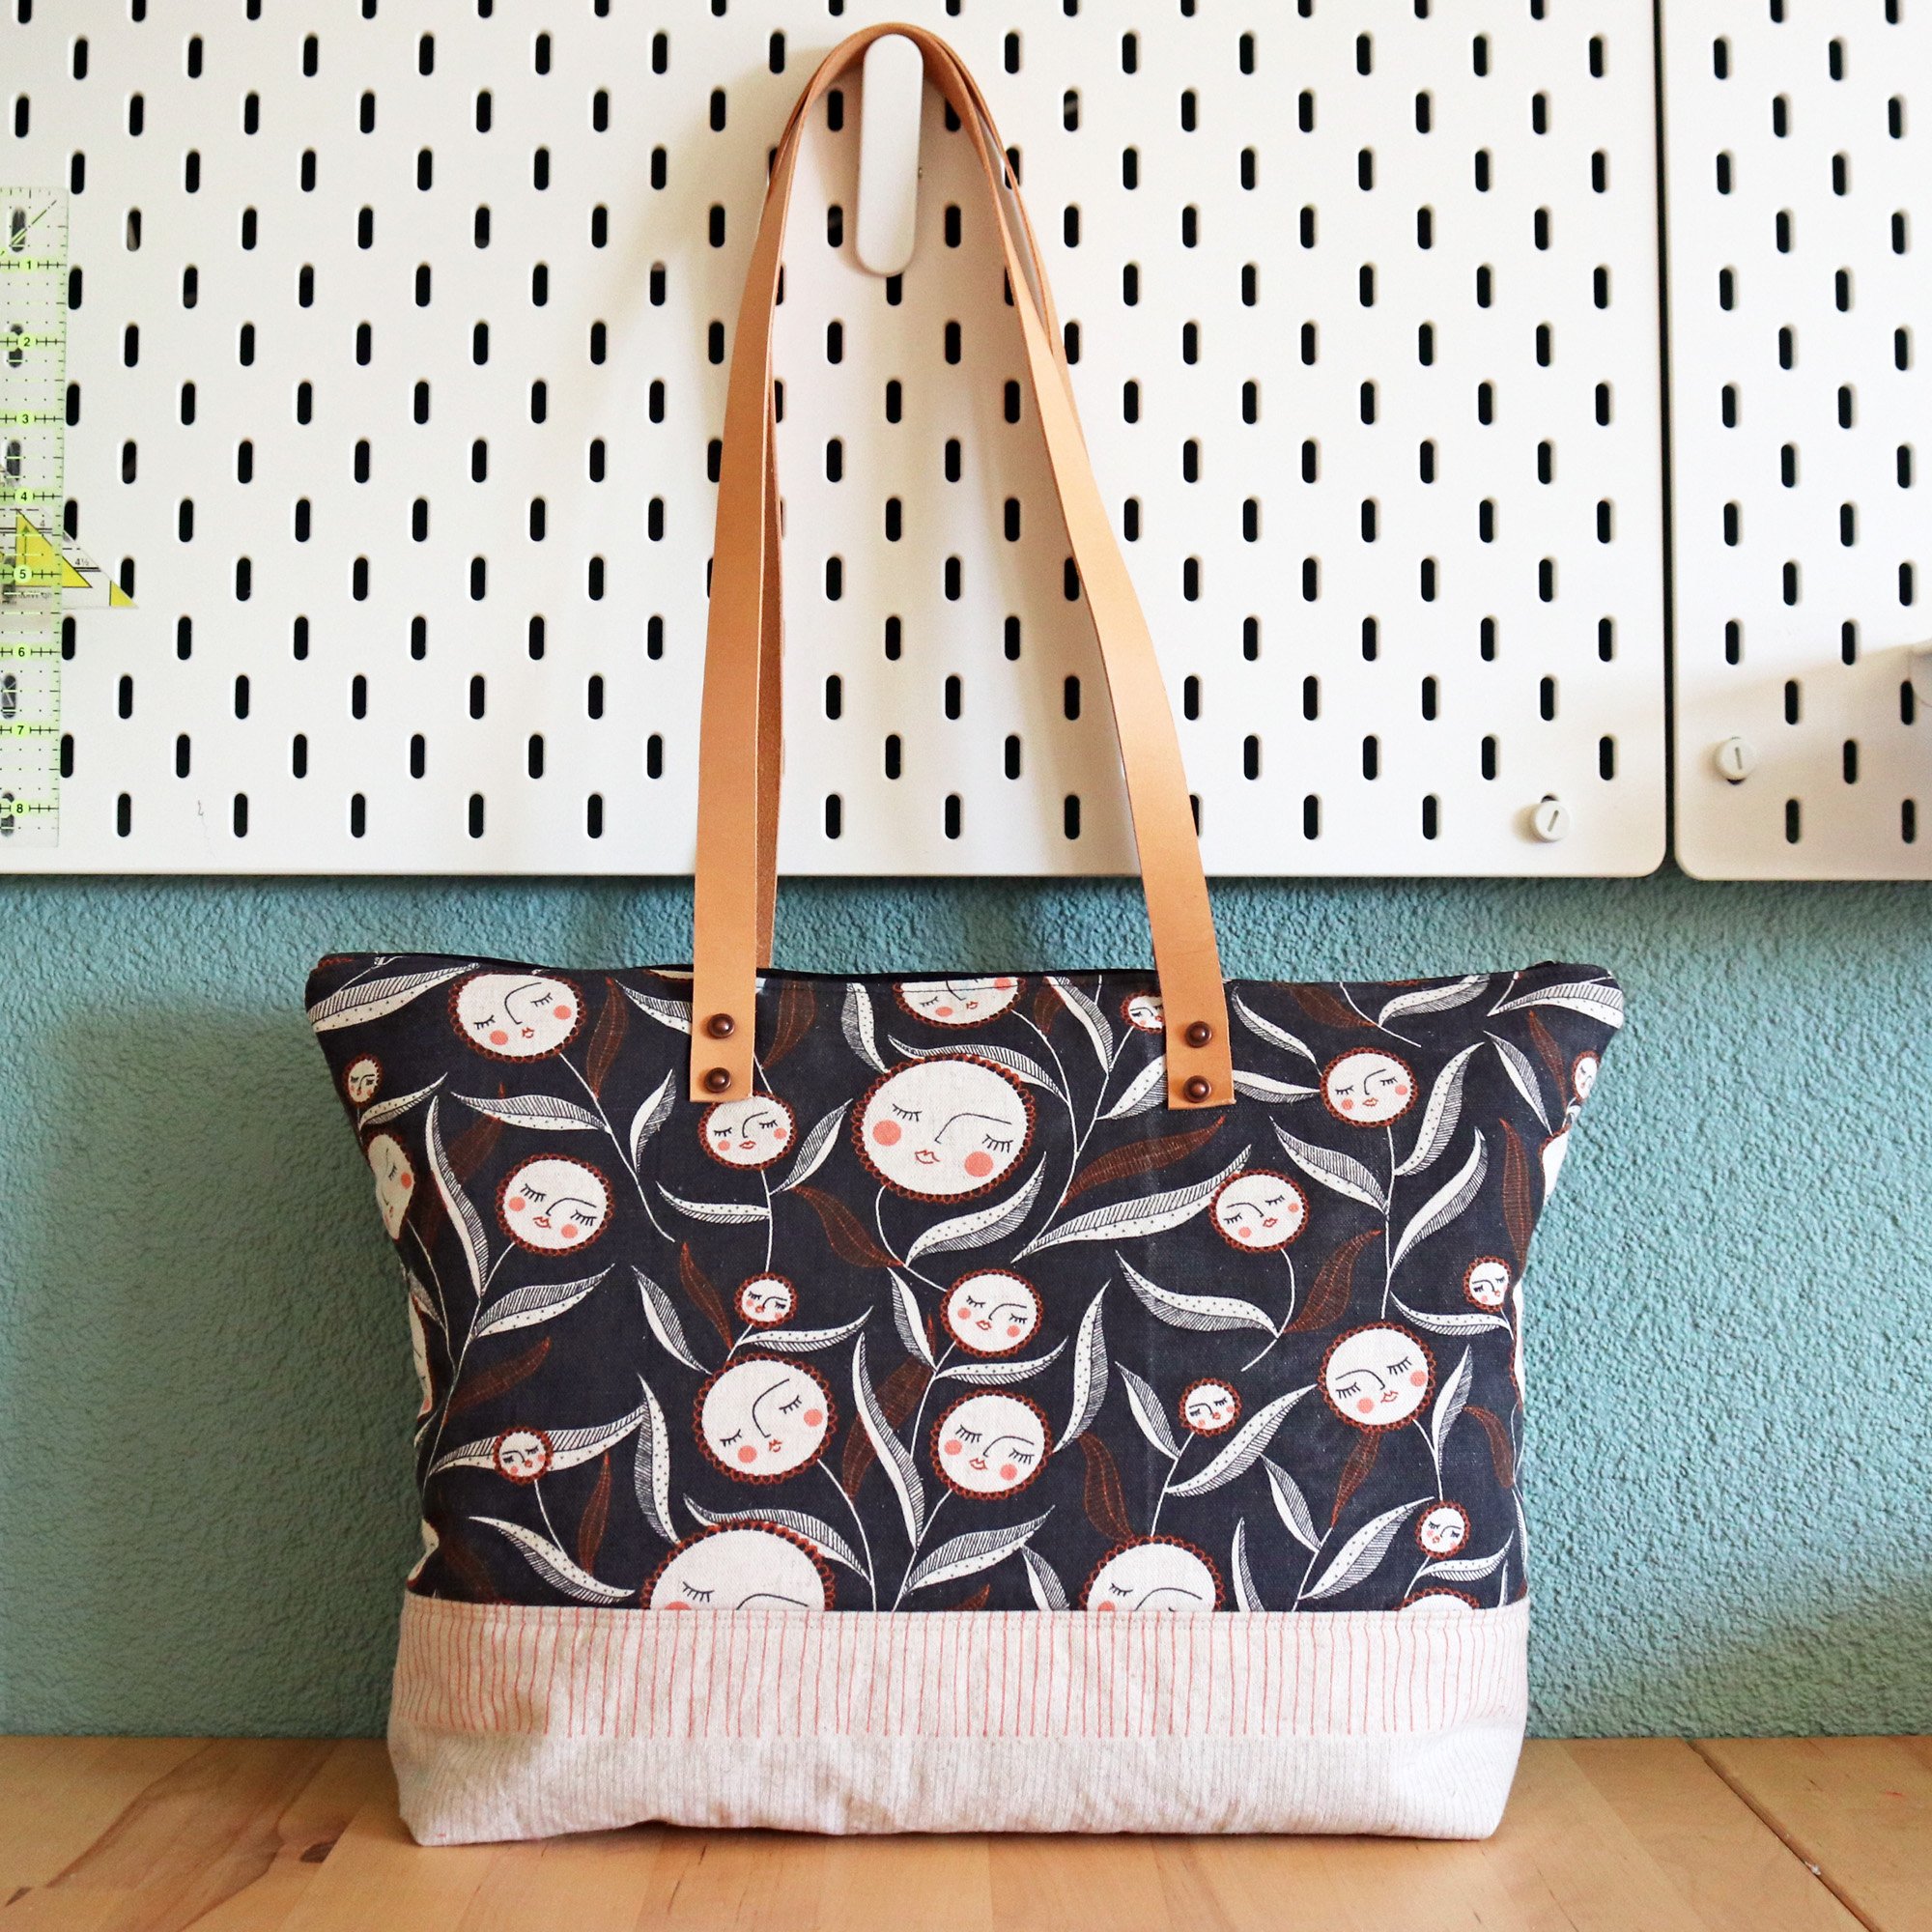
Hexagon Wool Tote
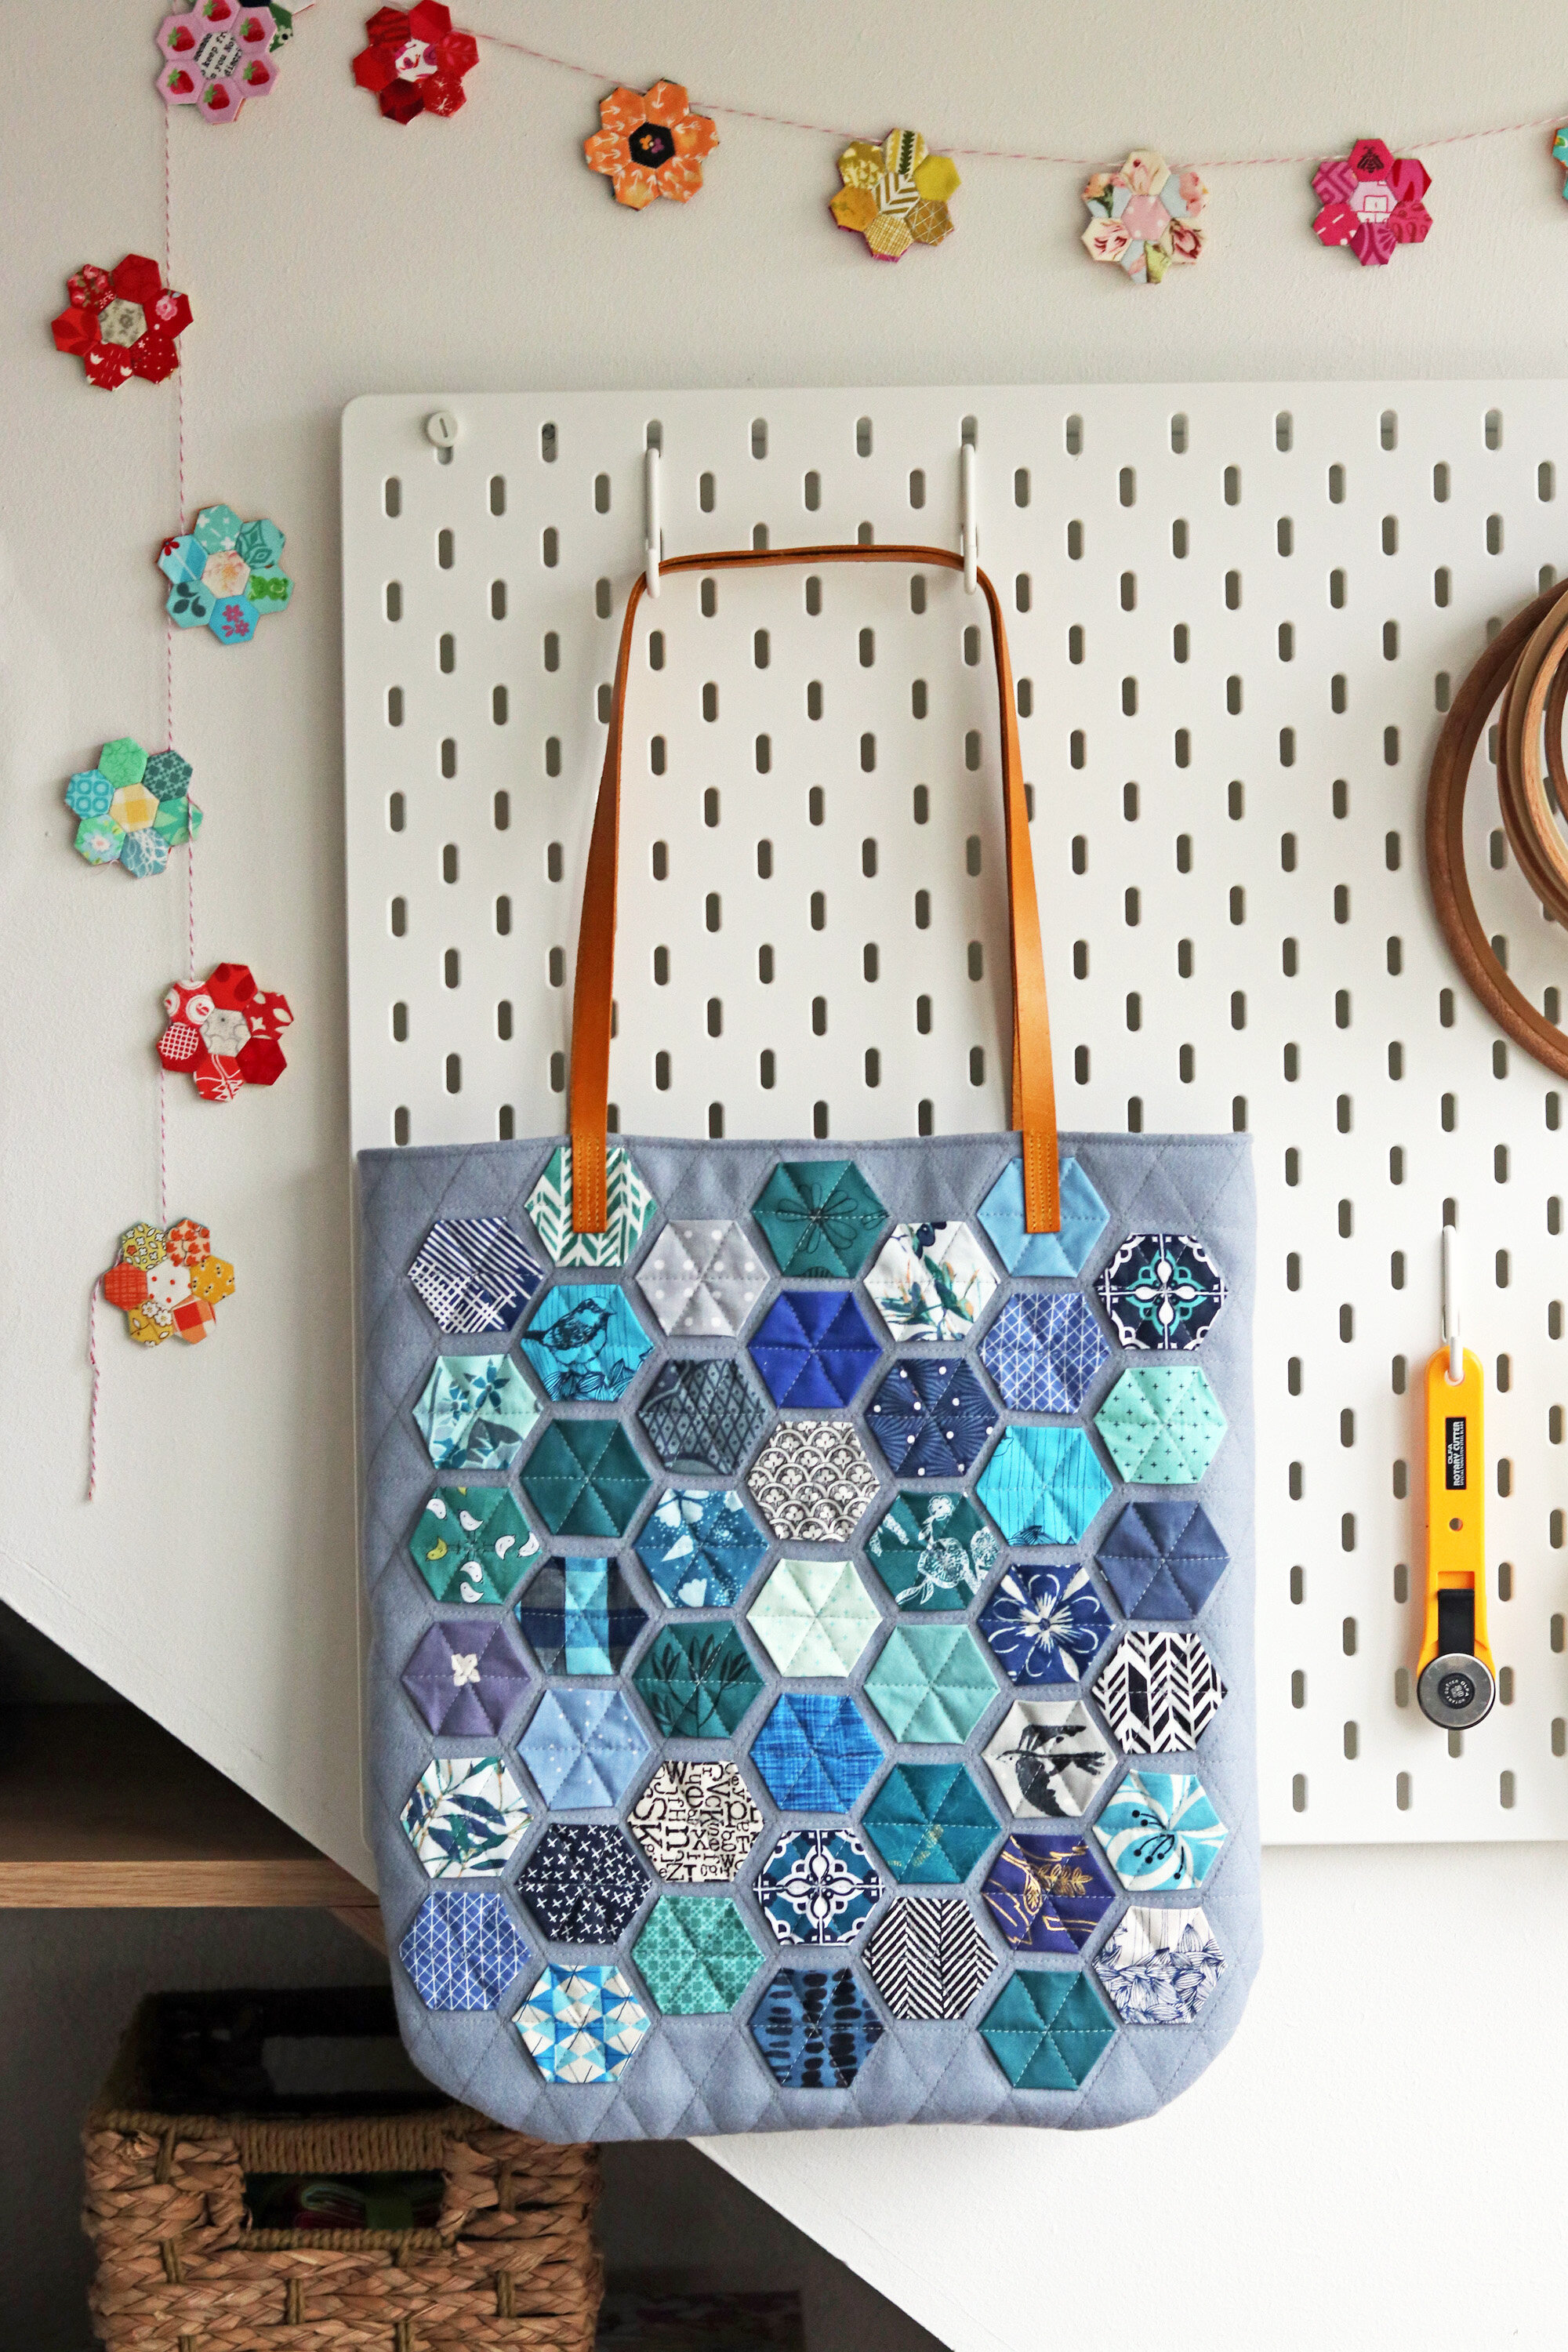
It’s done! I’m so happy with my new tote purse and glad I took the time to make something just for me. I know I’m going to enjoy using it so very much.
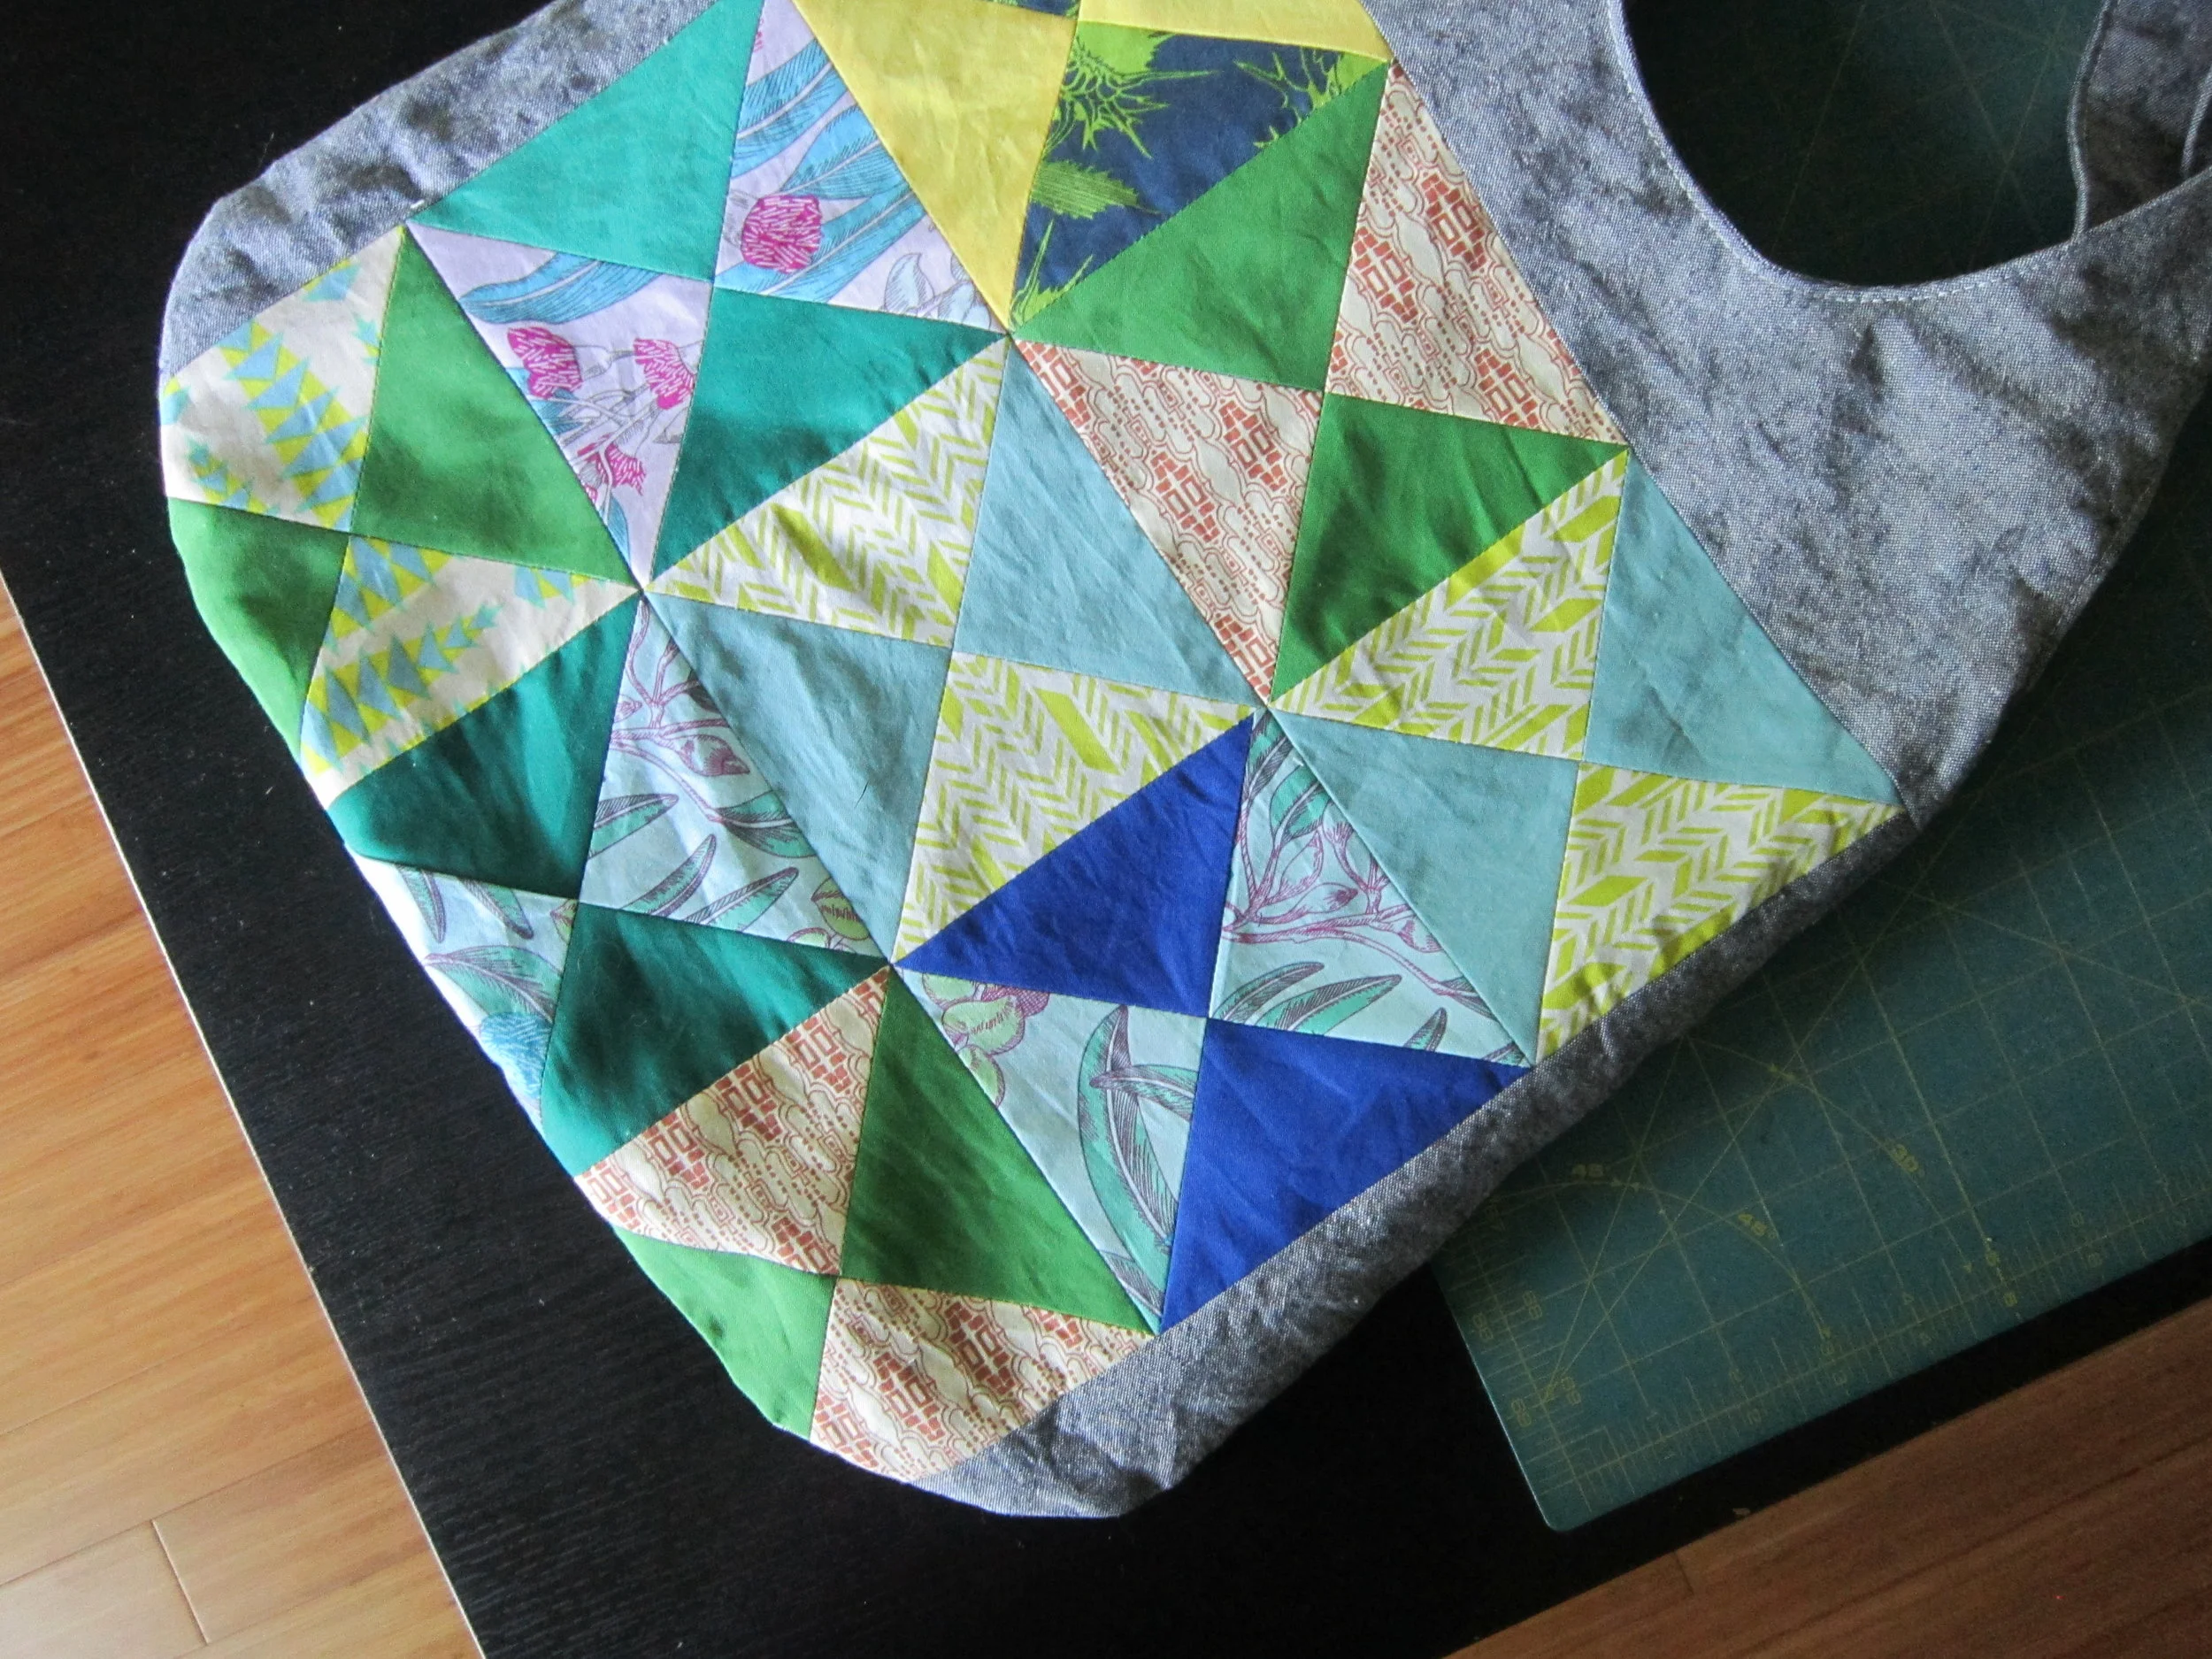
What you’re seeing above is the second side of the bag. I did a few things different on my second go at this type of hexagon applique.
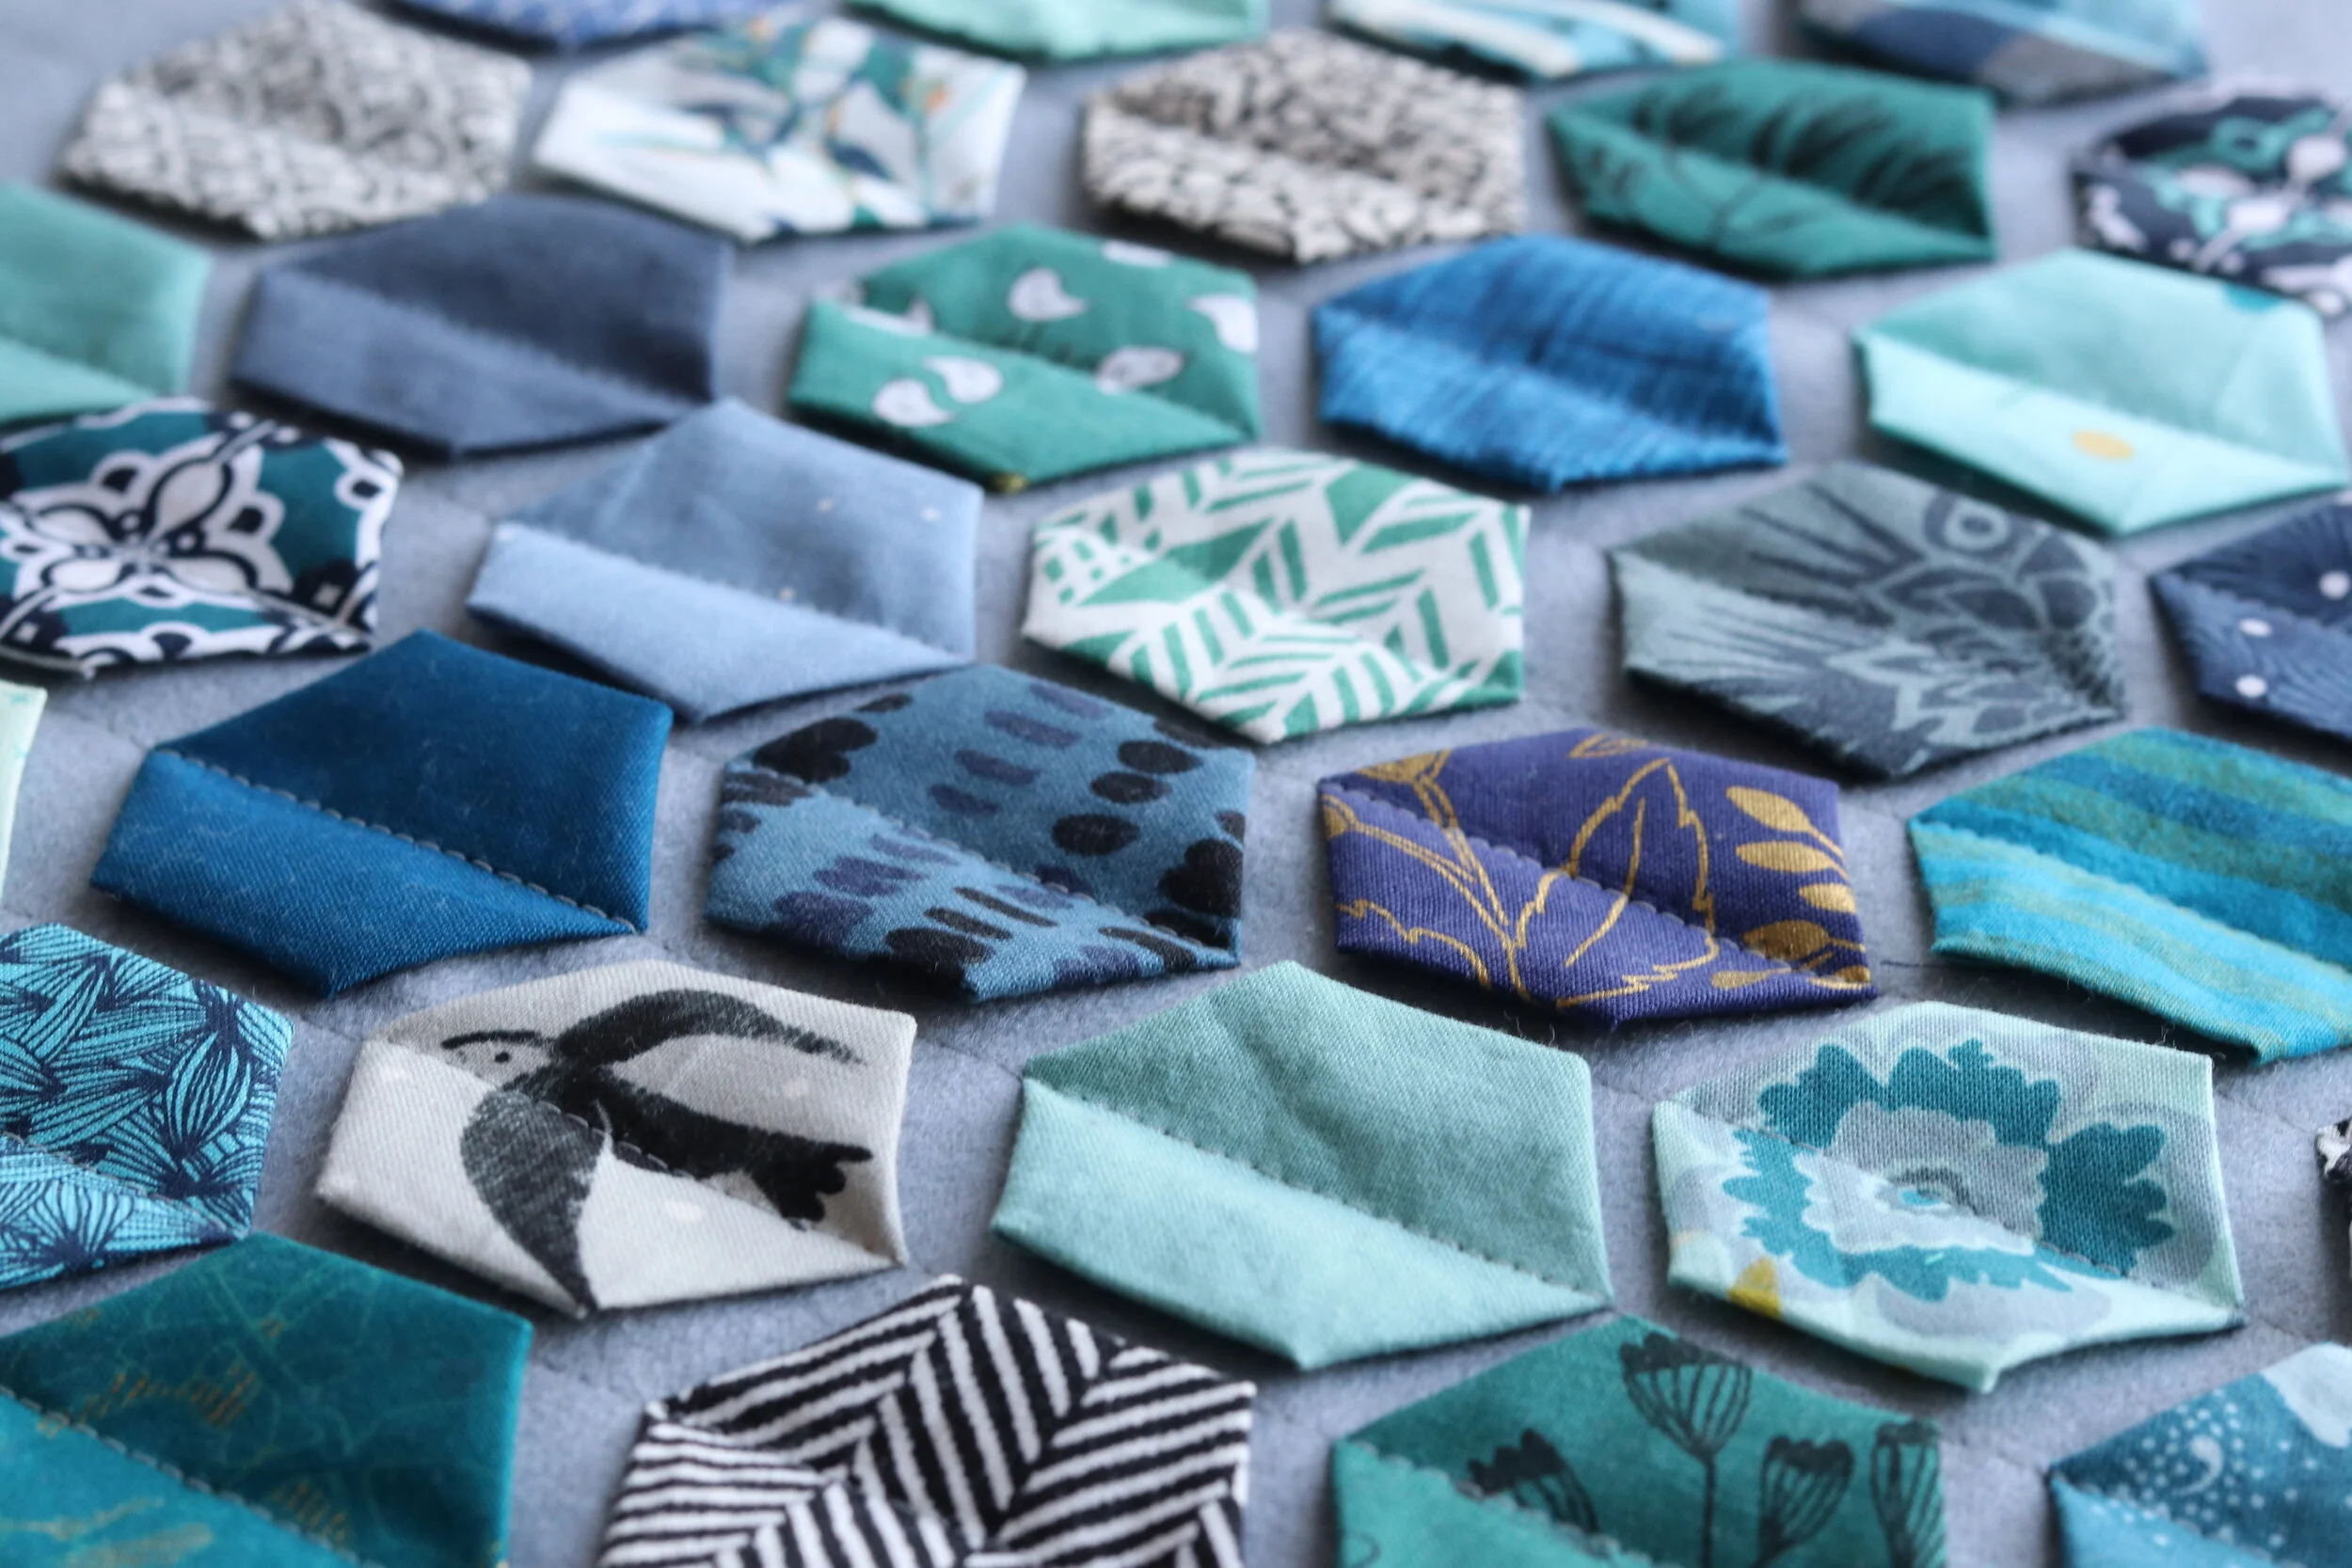
Making Hexagons - As before I made 1” hexagons from 2 3/4” fabric squares. This provides extra fabric to help the seam allowances stay quilted down. I pressed the fabrics around the paper template, using no glue or thread. After removing the paper template, I used spritzed the wrong side of the hexagons with starch and pressed again. The starch yielded much flatter hexagons that were easier to work with.
Appliquéing Hexagons - I decided to pre-draw a grid. Thanks for your advice to try a soap sliver to mark on the melton wool, but since I didn’t have that handy I used regular pencil. Everywhere that I marked was quilted-over later on, thus hiding the pencil.
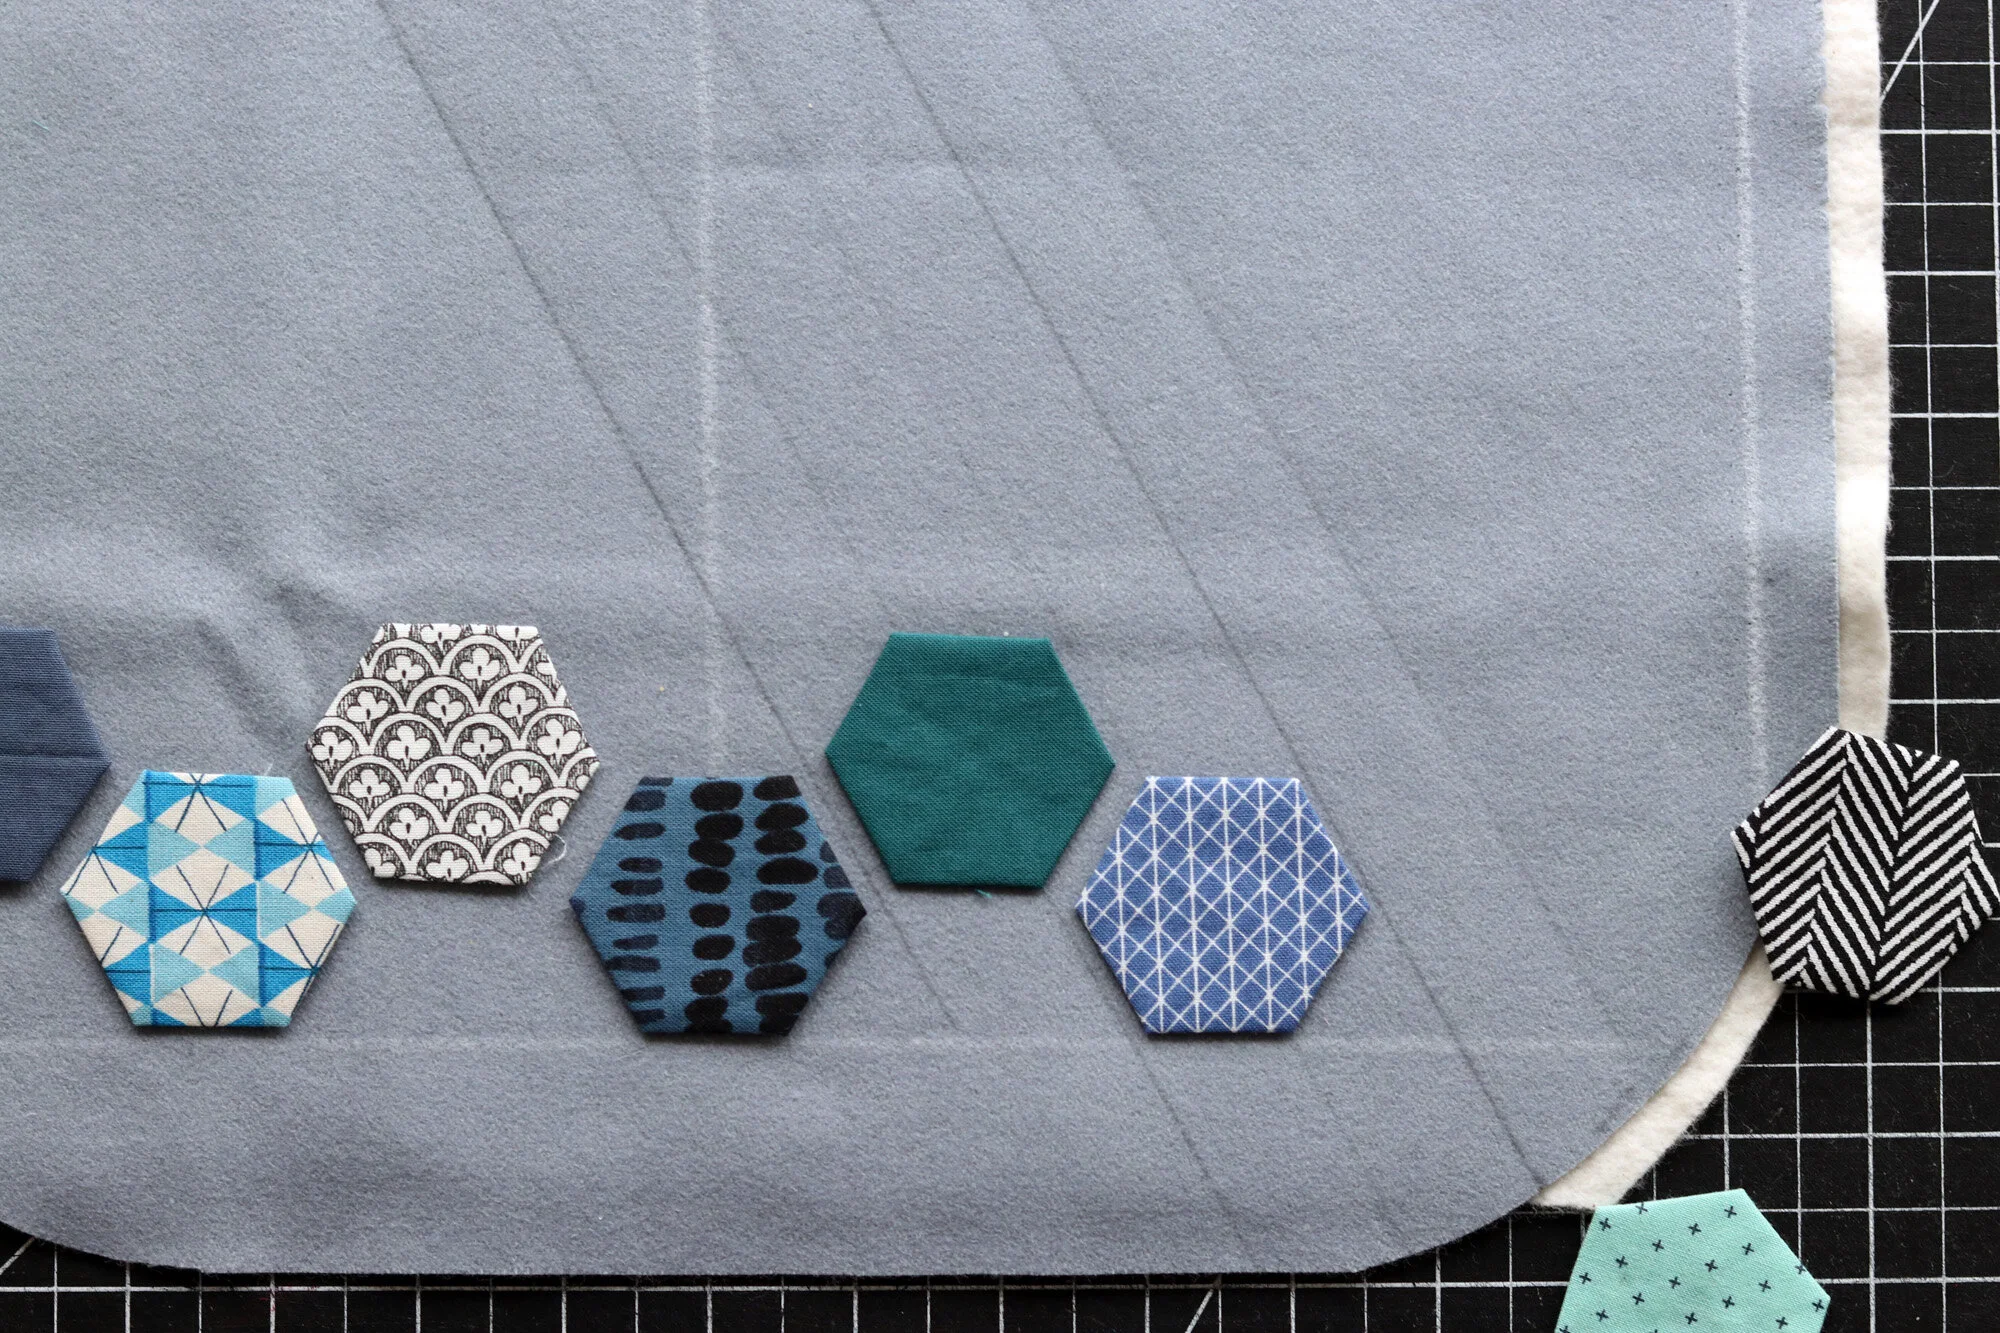
To start, I placed the bottom hexagon at center. Then I used the sides of that hexagon to establish the slanted lines. The slanted lines are spaced 1” apart.

I found placing the hexagons more relaxing with a grid to work with. Can you spy the turned-over hexagon, which has a lot of excess seam allowance? Wanda’s experience is that with a big seam allowance the turned-under sides will stay turned-under even without using permanent glue. I don’t have permanent glue and I like the 3D effect, so there you go. My plan is to hand wash the purse anyways.

When it came time to quilt, I was able to zoom right through since most of the lines were pre-marked. I’d say that not only was the process more enjoyable with a predawn grid, the results are tidier too. For me, that’s the way to go.

I finished my applique as a purse, using a pattern included in my Color Intensive course. Do you know that magnetic snaps are SO easy to install? Also, these wonder clips hardly ever see the light of day, but when I need them they’re golden.
I was a little nervous about edge stitching along the finished edge at the top of the purse. That’s 2 layers of melton wool, 2 layers linen, fusible fleece and batting! I needn’t have worried. My Juki TL2010Q is such a champ. She sewed right through that without blinking an eye.

Same with sewing the leather straps. I just used a leather needle and my machine did the rest. Love that Juki!

Well, that’s a wrap! One week = one new purse. And now I’m out of projects again, just in time for a Christmas break. I think I’ll take it a little slower next week.
Happy Friday, all!