Improv Cross block tutorial
The Cross block (also known as the X block or Plus block) is an improv patchwork classic. It’s easy to sew and super scrap-friendly. If you’re new to improv piecing start here! There are just enough decisions to feel free and relaxing, but never overwhelming.

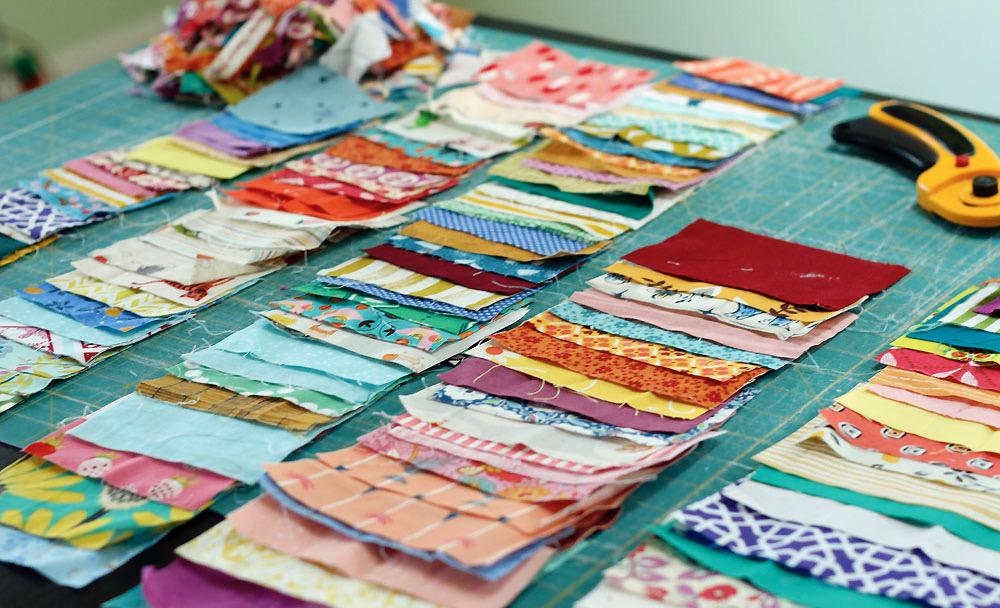
I’m using magic numbers to sew an Improv Cross block quilt with a variety of block sizes. It’s fun and makes use of all your scrap sizes! Of course, you could also make consistent sized blocks for a more straightforward quilt top assembly.
Step 1: Fabrics
Choose your background fabric square. It does not have to be truly square, but start with something more square-ish than rectangular. This will help you make clear design decisions. Your background square should be 1” larger than your desired finished block size.
For example, if you want a 2” finished block, your starting background square should be about 3”. After sewing, you’ll trim your block to 2.5” so that it finishes at 2”.
Similarly, if you want a 12” finished block, your starting background square should be about 13”. After sewing, you’ll trim you block to 12.5”, for a 12” finish.

Next, choose two cross fabric strips. How long? If they are longer than your background square when placed diagonally, you can be sure they are long enough.
Note: you can get away with using slightly shorter strips, if you piece your cross vertically/horizontally rather than on diagonal. Keep that in mind when the perfect scrap is a tad short.
What about strip width? This is where you’ll begin to make improvisational choices! I vary my strip width based on scrap availability and block size. For my tiny 2” finished blocks, I might use a strip cut as narrow as 3/4” wide. For medium sized blocks, 1 to 1/2” are my favorite. For the 12” finished blocks, I used one strip that was 4.5” wide! Variety adds spice to your quilt. Let your scraps be your guide!
Step 2: Sew Strip #1
Cutting with a ruler or cutting freehand, slice a straight line through your background square. The line can be going in any direction and at any angle.


Next, sew a fabric strip in the opening you’ve cut. You’ll simply sew the strip to one side of the opening and then to the other. Press seams.
Step 3: Sew Strip #2
Again, cut a straight line through your background square. The new cut should intersect your first strip at some point.


This is the fun part! Play around with different angles when you cut blocks.
Now sew your second fabric strip in the opening you’ve cut. This time this takes a little bit of care to make sure that the first cross strip will appear continuous. After sewing the strip to one side of the opening, match the raw edges for joining the strip to the other side of the opening. Before sewing, fold back the fabric to mimic a 1/4” seam allowance.

Does the first cross strip appear continuous? If not shift the pieces slightly until things seem to line up. Then sew!
With practice you’ll get better and better at aligning the pieces for a continuous-strip look. When things go wrong, it’s not too much trouble to unpick one seam and try again. And don’t get too fussy about it! The strips do not have to be perfectly aligned anyways. When you step back, little variances aren’t noticeable.
Step 4: Trim
After pressing all seams, trim your block to the finished block size plus .5”. Since I’m using magic numbers, I’m trimming my blocks to: 2.5”, 4.5”, 6.5”, 8.5” and 12.5”. Using a square ruler in the trim-size is really helpful with improv blocks. It allows you to easily preview the block for an artful trim.


I hope you enjoy making cross blocks! My quilt top is coming along and I’m amazed at how well it used my scraps. I hope to be sharing a finish later this month!