an Art Deco quilt

“With Art Deco I love the strong lines, the symmetry and the geometric designs.”
I am always honored to be invited to be part of a quilt’s becoming. As a longarm quilter I get to work with quilts of all styles, sizes and colors. The first unveiling can produce an audible gasp of admiration, so delightful can be that initial surprise.
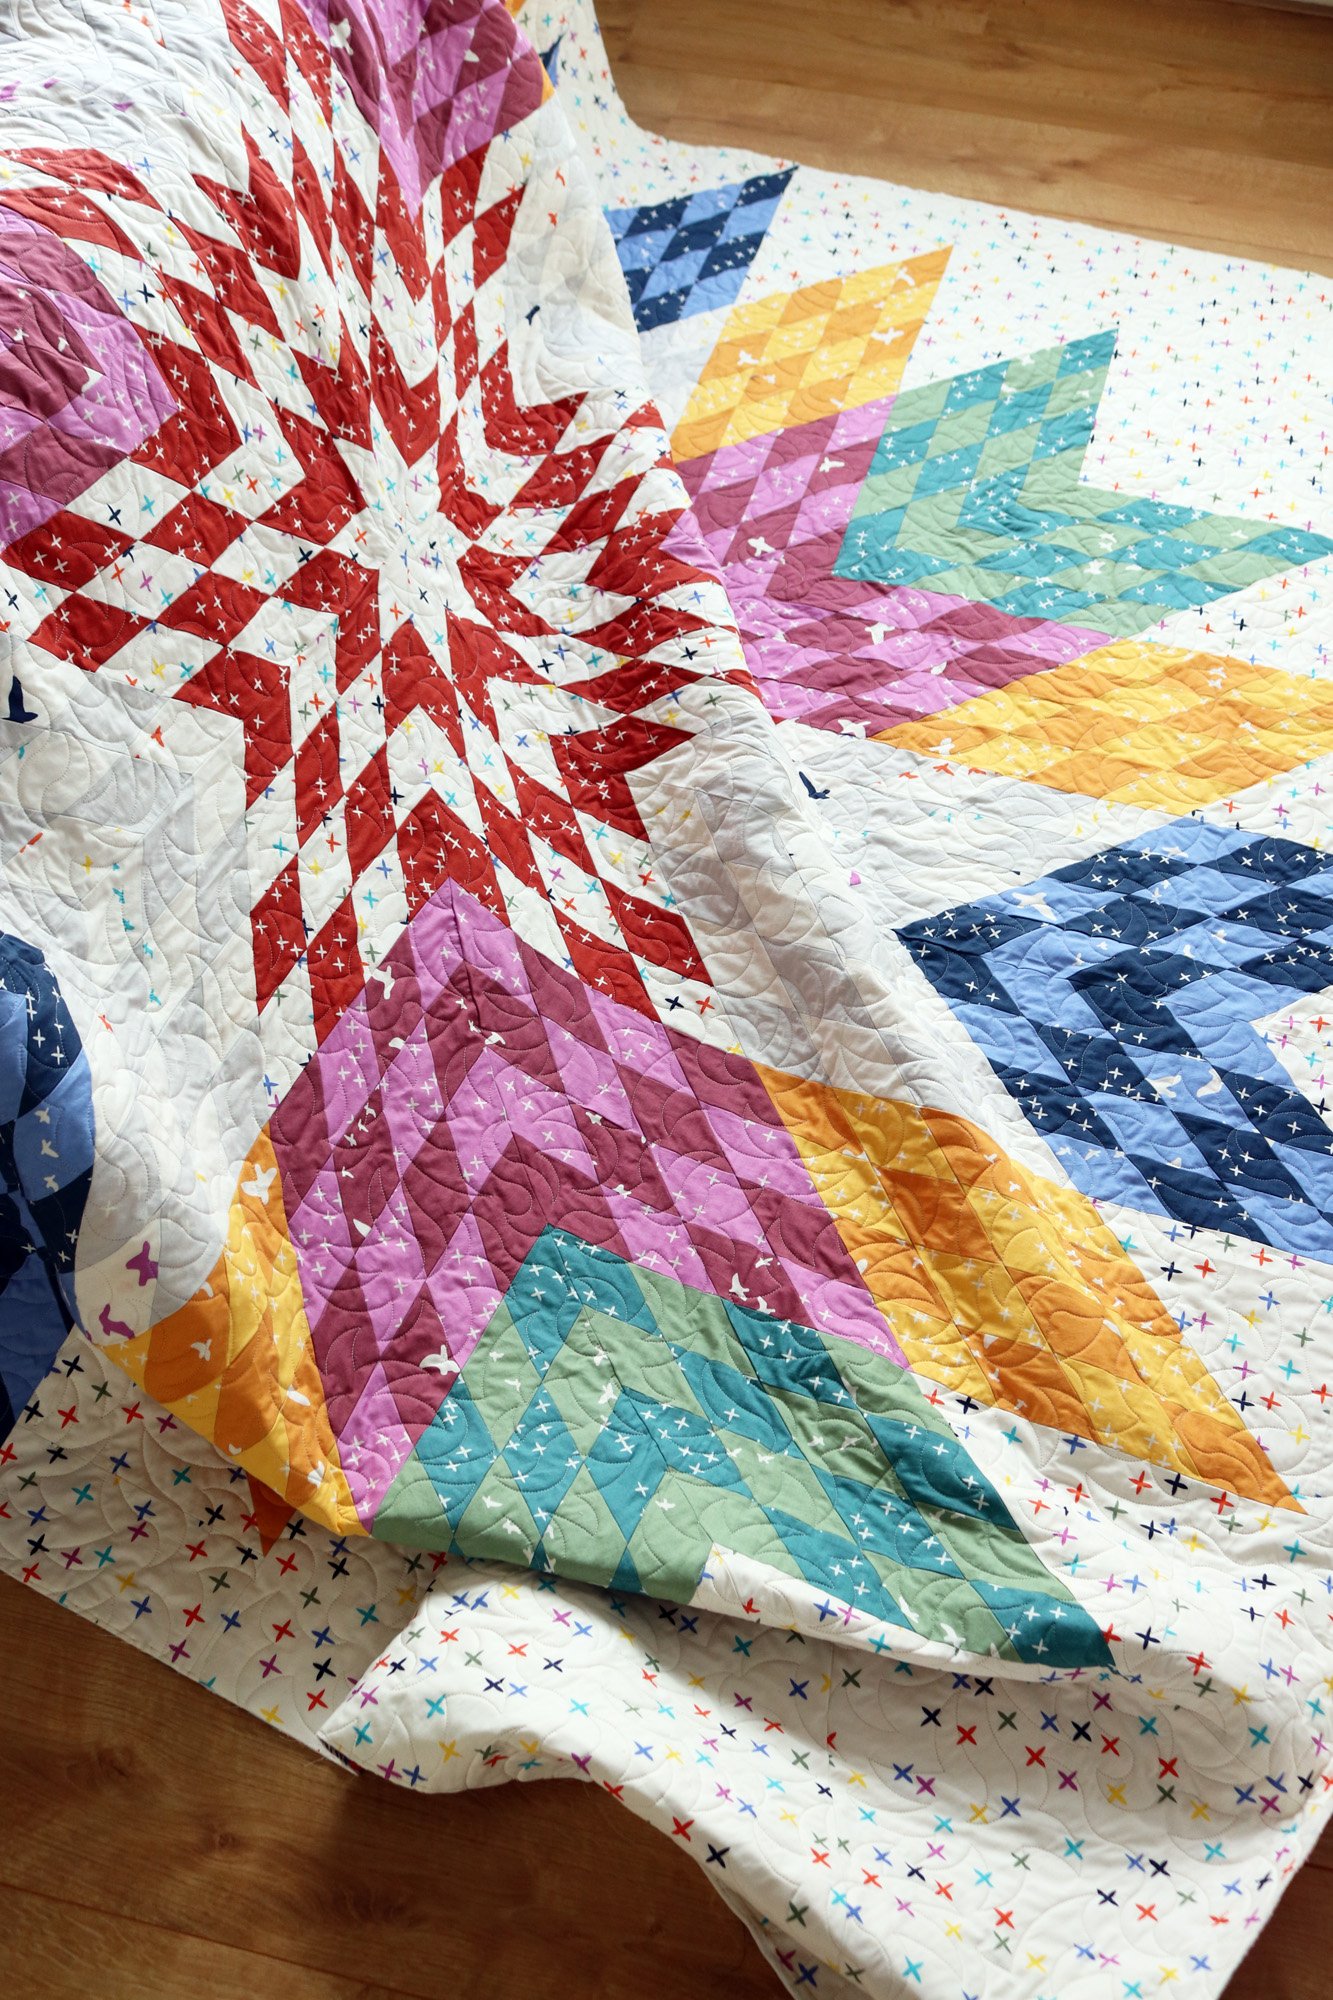
Recently a Dutch woman journeyed to my home to bring a precious project years in the making - an Art Deco quilt. Well friends, I hadn’t seen anything like this before. Really I don’t think I could ever have imagined this quilt in my wildest dreams. The colors are simple, but strong. The style is - - -

well, it’s Art Deco! Isn’t that amazing? Where are the blocks? The borders or sashing? The shapes, colors and layers interlock and mingle in such a fascinating way.
Marlies brought her quilt to me in person to discuss a custom quilting plan. The quilt looked to be the work of an experienced quilter, with nice round circles, large flat curved seams and sharp points. As I exclaimed over the workmanship, Marlies modestly credited Don Linn for the design. She saw the quilt in his book titled Design Art Deco Quilts - a picture of the quilt, but no pattern.

Now, imagine you had only a picture of this quilt and you wanted to sew it. In fact, you wanted to make it for your son, whose eyes shine over Art Deco style. If it were me, I would view it as a significant undertaking. With such an irregular grid and the interplay of shapes, drafting this quilt is a complicated task. Add to that the large curves in the center - large curves are the most challenging to sew - and this is surely an advance project if I ever saw one. But that’s the thing about being a beginner - inexperience can make you brave! Marlies had only sewn one quilt before she embarked on this project. Can you imagine?
“The drawing process took a long period. I also had to make it fit to the size of the bed of my son”
Cheers to Marlies for persevering with the demanding drafting process. I wish I could see the quilt on your son’s bed, where I’m sure these layers at the edges are going to have the most amazing effect!

Of course, planning in only the first step. The sewing phase was also lengthy, due to the learning curve. All in all the project took over two years, which is actually a short amount of time to reach this level of quilting expertise, I would say. Marlies used online resources to develop her quilting skills, especially in the area of curved piecing.
“Because I didn’t have a lot of experience with patching and no experience with sewing curves, I decided to make the center at the end. For the circles in the triangles I had a look at YouTube, and after several tests I decided to go for the 6 minutes method with freezer paper. To get more confident with curves I followed a workshop to learn how to sew clamshells.”
I can’t say enough what an honor it was to be invited to custom quilt this project. Together we planned out the quilting in advance, opting for simple straight lines, circles and one swooping motif in keeping with the Art Deco style.


Marlies chose high quality Quilter’s Dream wool batting which, in combination with this fairly open quilting style, yields a soft and cozy quilt. I’m so excited to mail it back to her next week. She’ll be able to put the binding on it in time for the cool weather. What a triumph!

Congratulations, Marlies, for your amazing accomplishment. Thank you for allowing me to share it here to inspire others on their quilting journey!