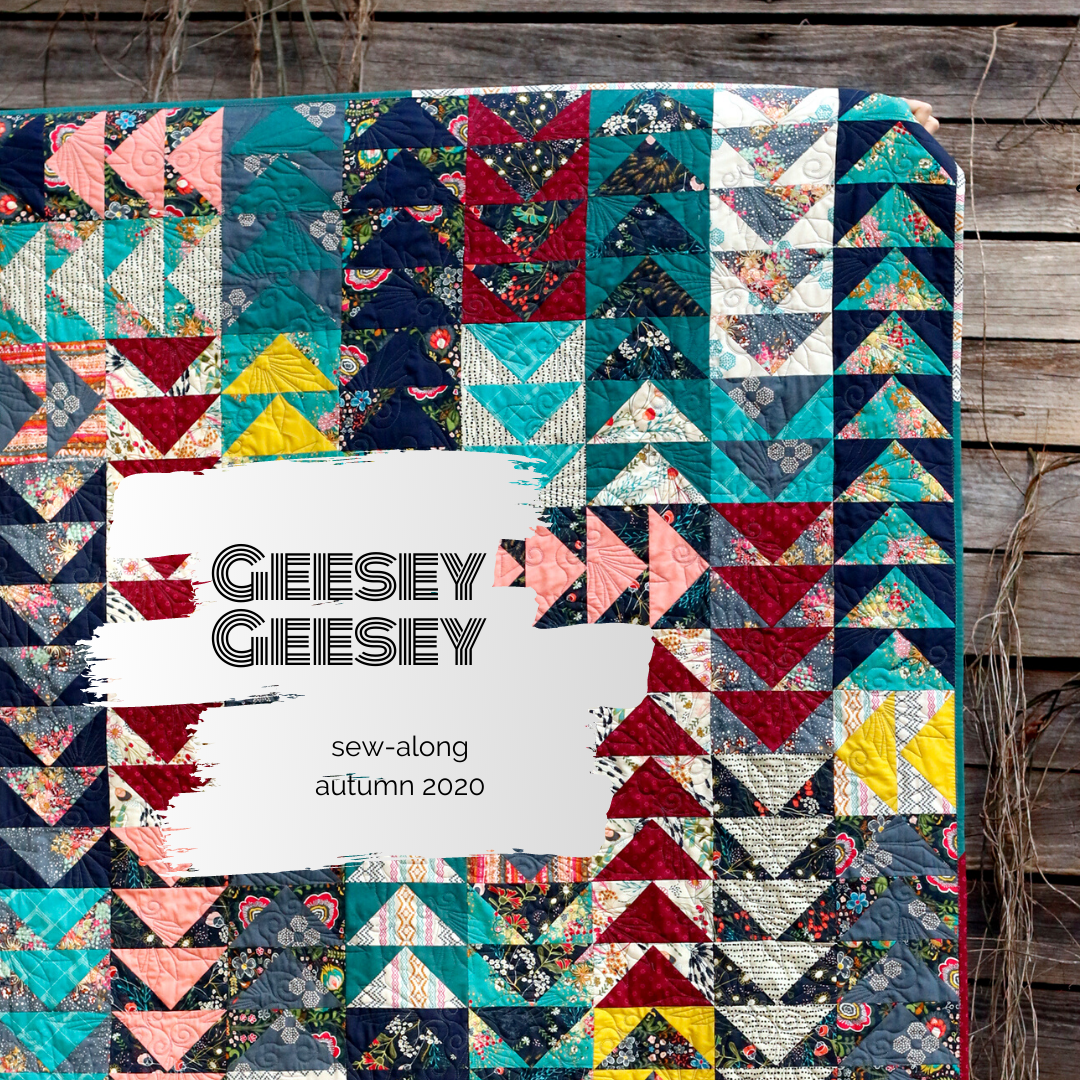
Geesey Geesey: Flying Geese Joining Tips
This post is part of the Geesey Geesey Sew-Along! See all posts.
Over the course of several weeks, I’ll be making a Geesey Geesey quilt alongside you. It’s time to be sewing flying geese blocks!
Are you sewing-along? Please share your progress pictures, wherever you are in the process, on Instagram with #GeeseyGeeseySAL. It really sustains momentum and spurs new ideas to see everyone else in the process. We can learn from each other, inspire each other and just generally have a good time!
Make sure you follow @StitchedinColor, and @CharmAboutYou in order to be eligible to win prizes. Plus, this week’s prize sponsor - @ThePurpleStitches. More on that at the end of this post!
Week 4: Sewing, Batch 2
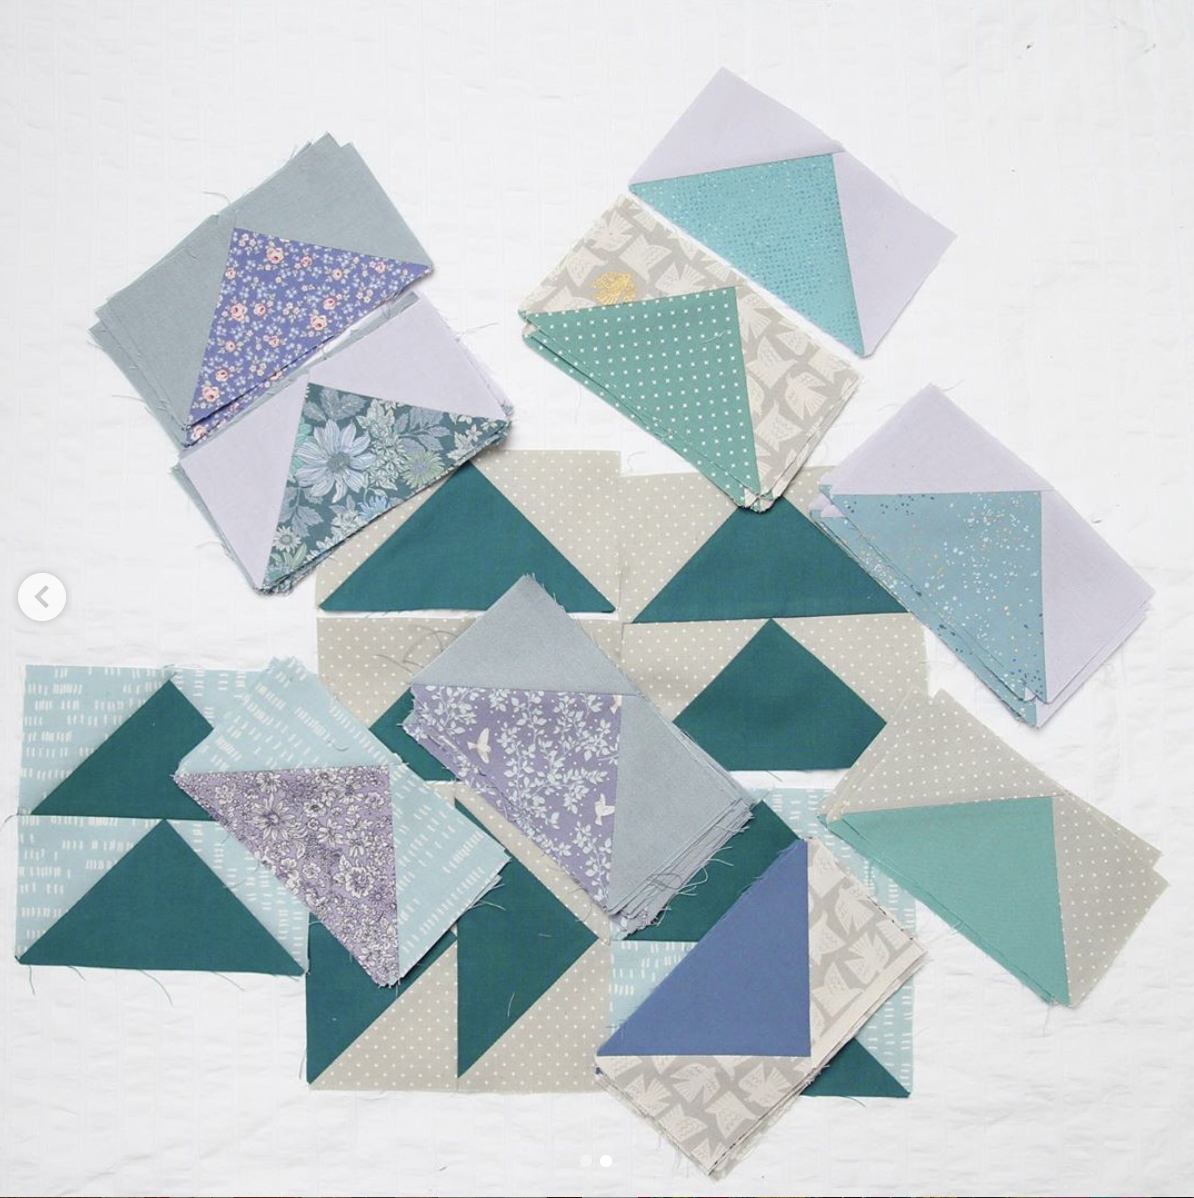
How are your flying geese blocks coming along, friends? I hope you’ve gotten comfortable with your favorite method for sewing flying geese.
When you’re making the individual blocks, especially in batches and with chain-piecing, it’s east to lose track of how many you’ve made. Our goal last week was to sew 65 blocks. This week, try to make 55 more. By the time next Monday rolls around, hopefully you’ll have finished 120 blocks - more than halfway to our goal of 230!

Today I’ve decided to sew same-geese into pairs. As pairs they’ll be faster to count and easier to put up on the design wall when the time comes. I encourage you to sew same-geese into pairs as well. This gives you a chance to see how your seam allowances are going to work out in terms or preserving sharp points.
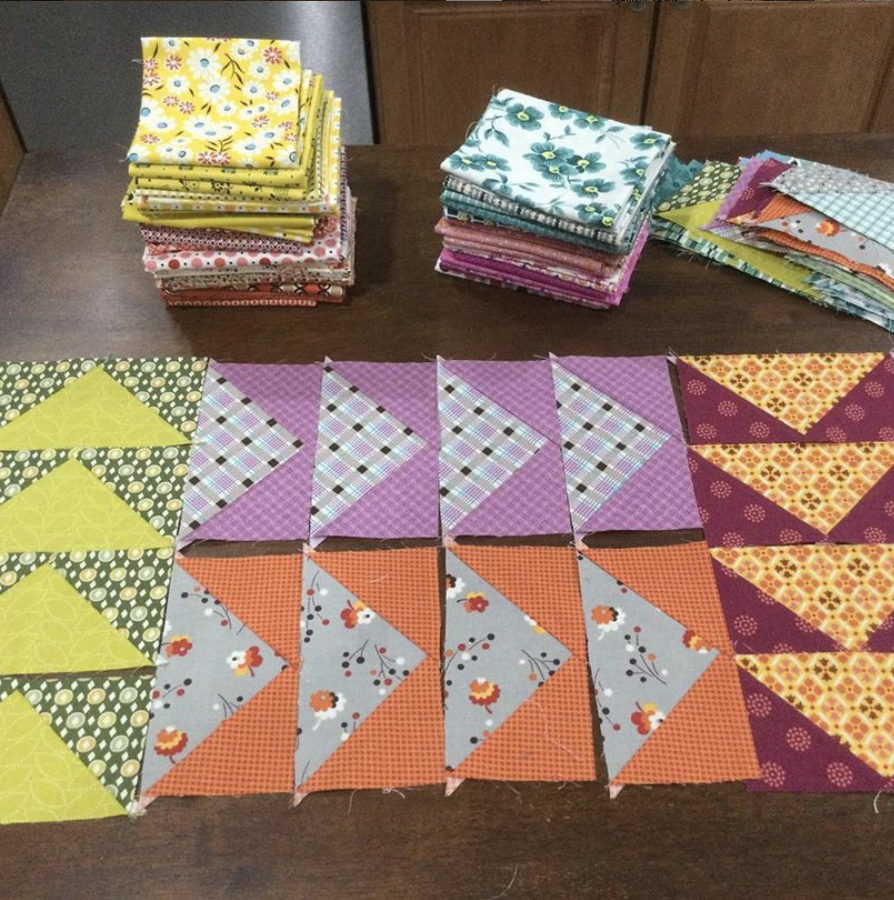
How to Join Flying Geese Blocks
When sewing individual flying geese blocks, your attention was focused on the center goose point. You wanted to produce blocks with a 1/4” seam allowance beyond that center goose point to protect the point when joining blocks. Have you tried joining some blocks yet? Do your points stay pointy? Here are some tips to help you navigate this step.
The Basics
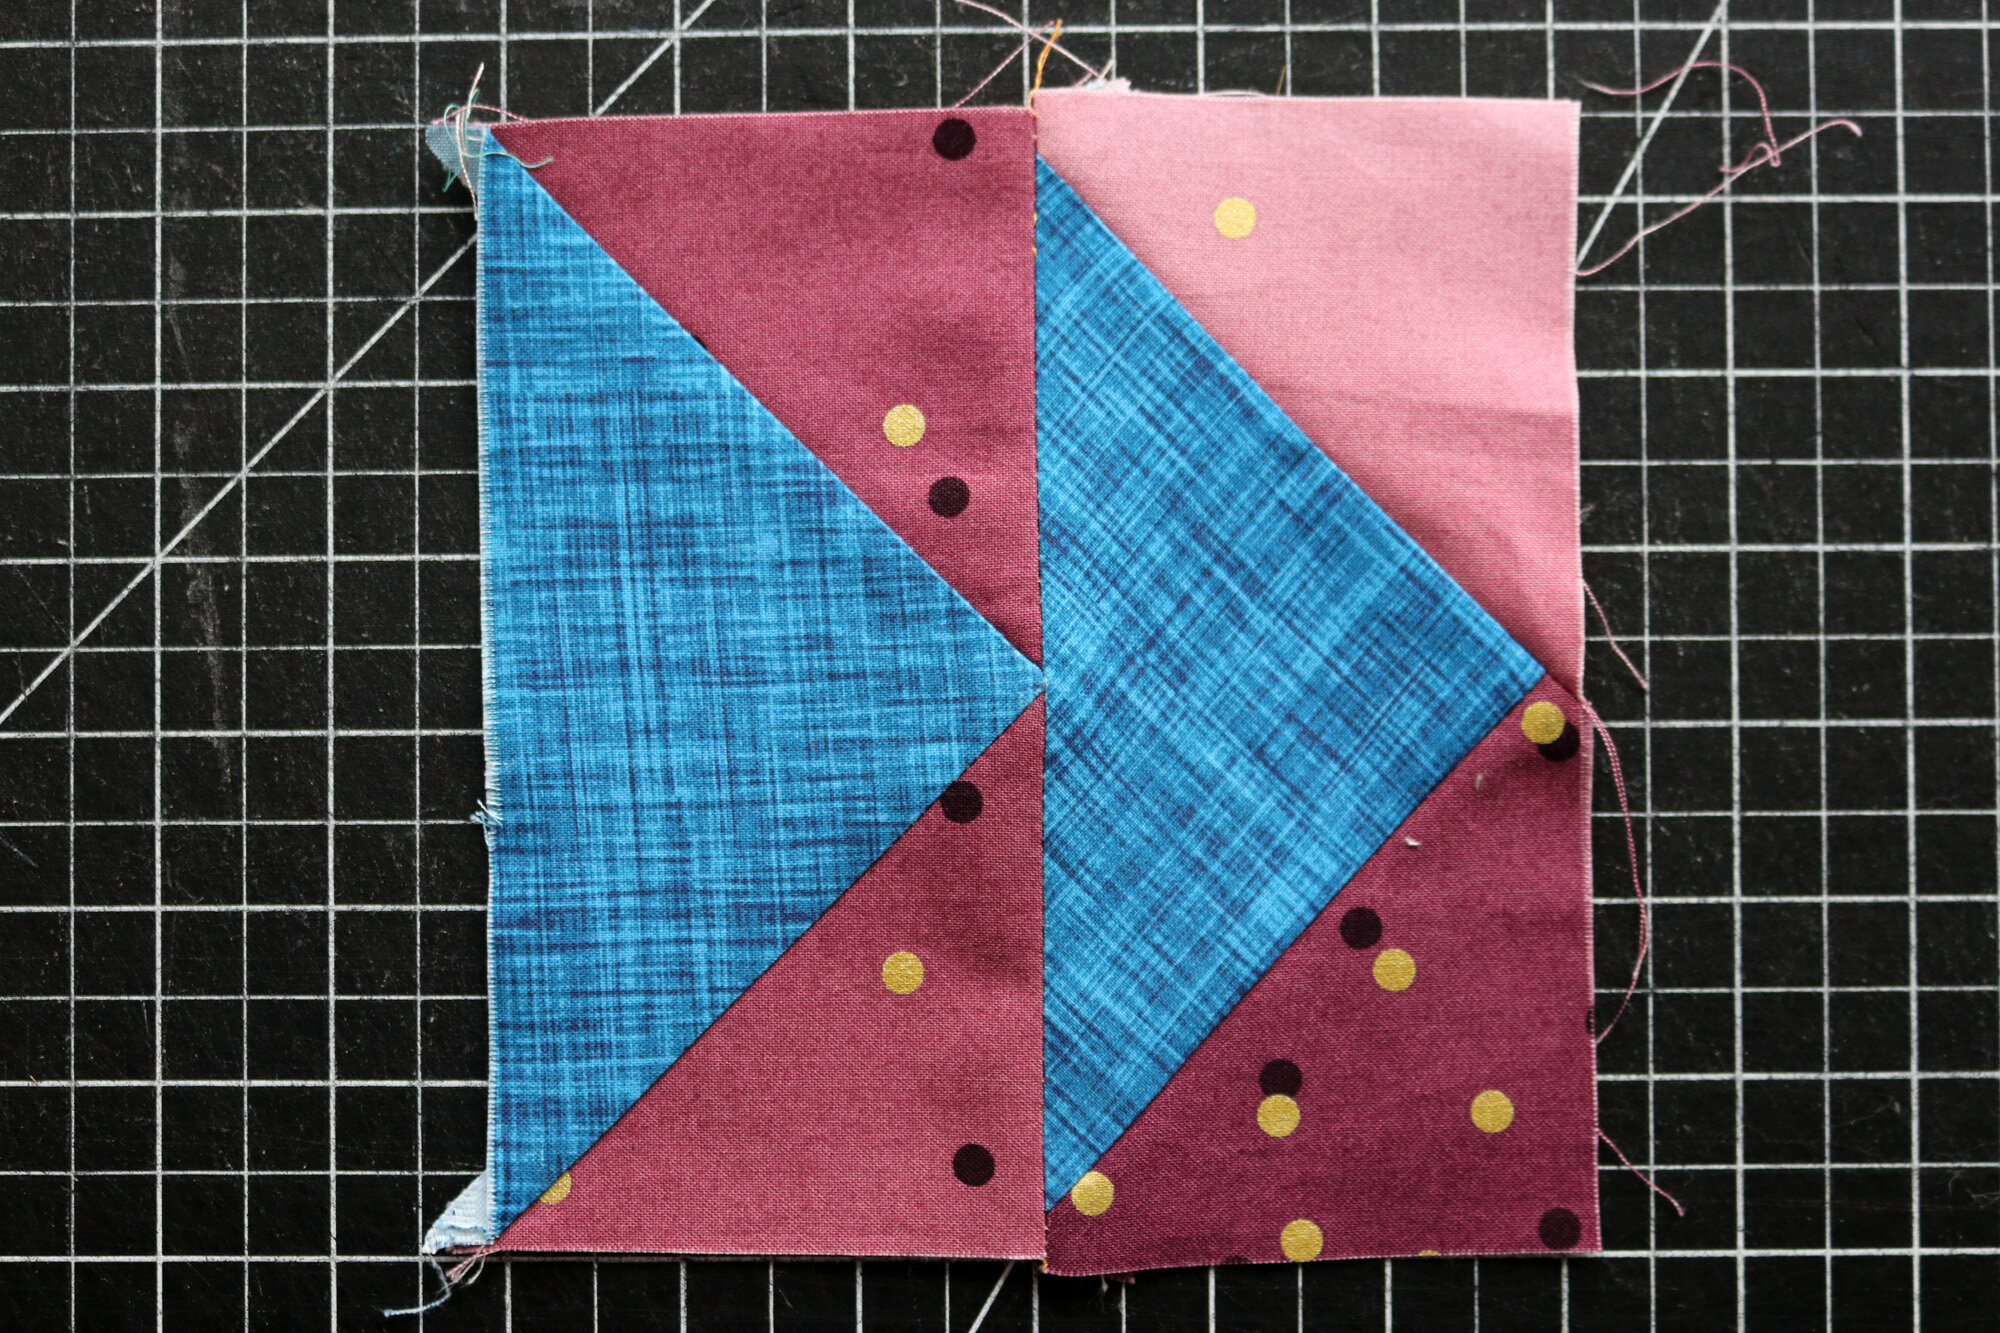
Let’s start with two rather normal blocks. Not perfect, since they’re not trimmed, but definitely good enough. The seam allowance beyond the center goose points is approximately 1/4”. Thus, when sewn together the center point is maintained - nice and sharp.
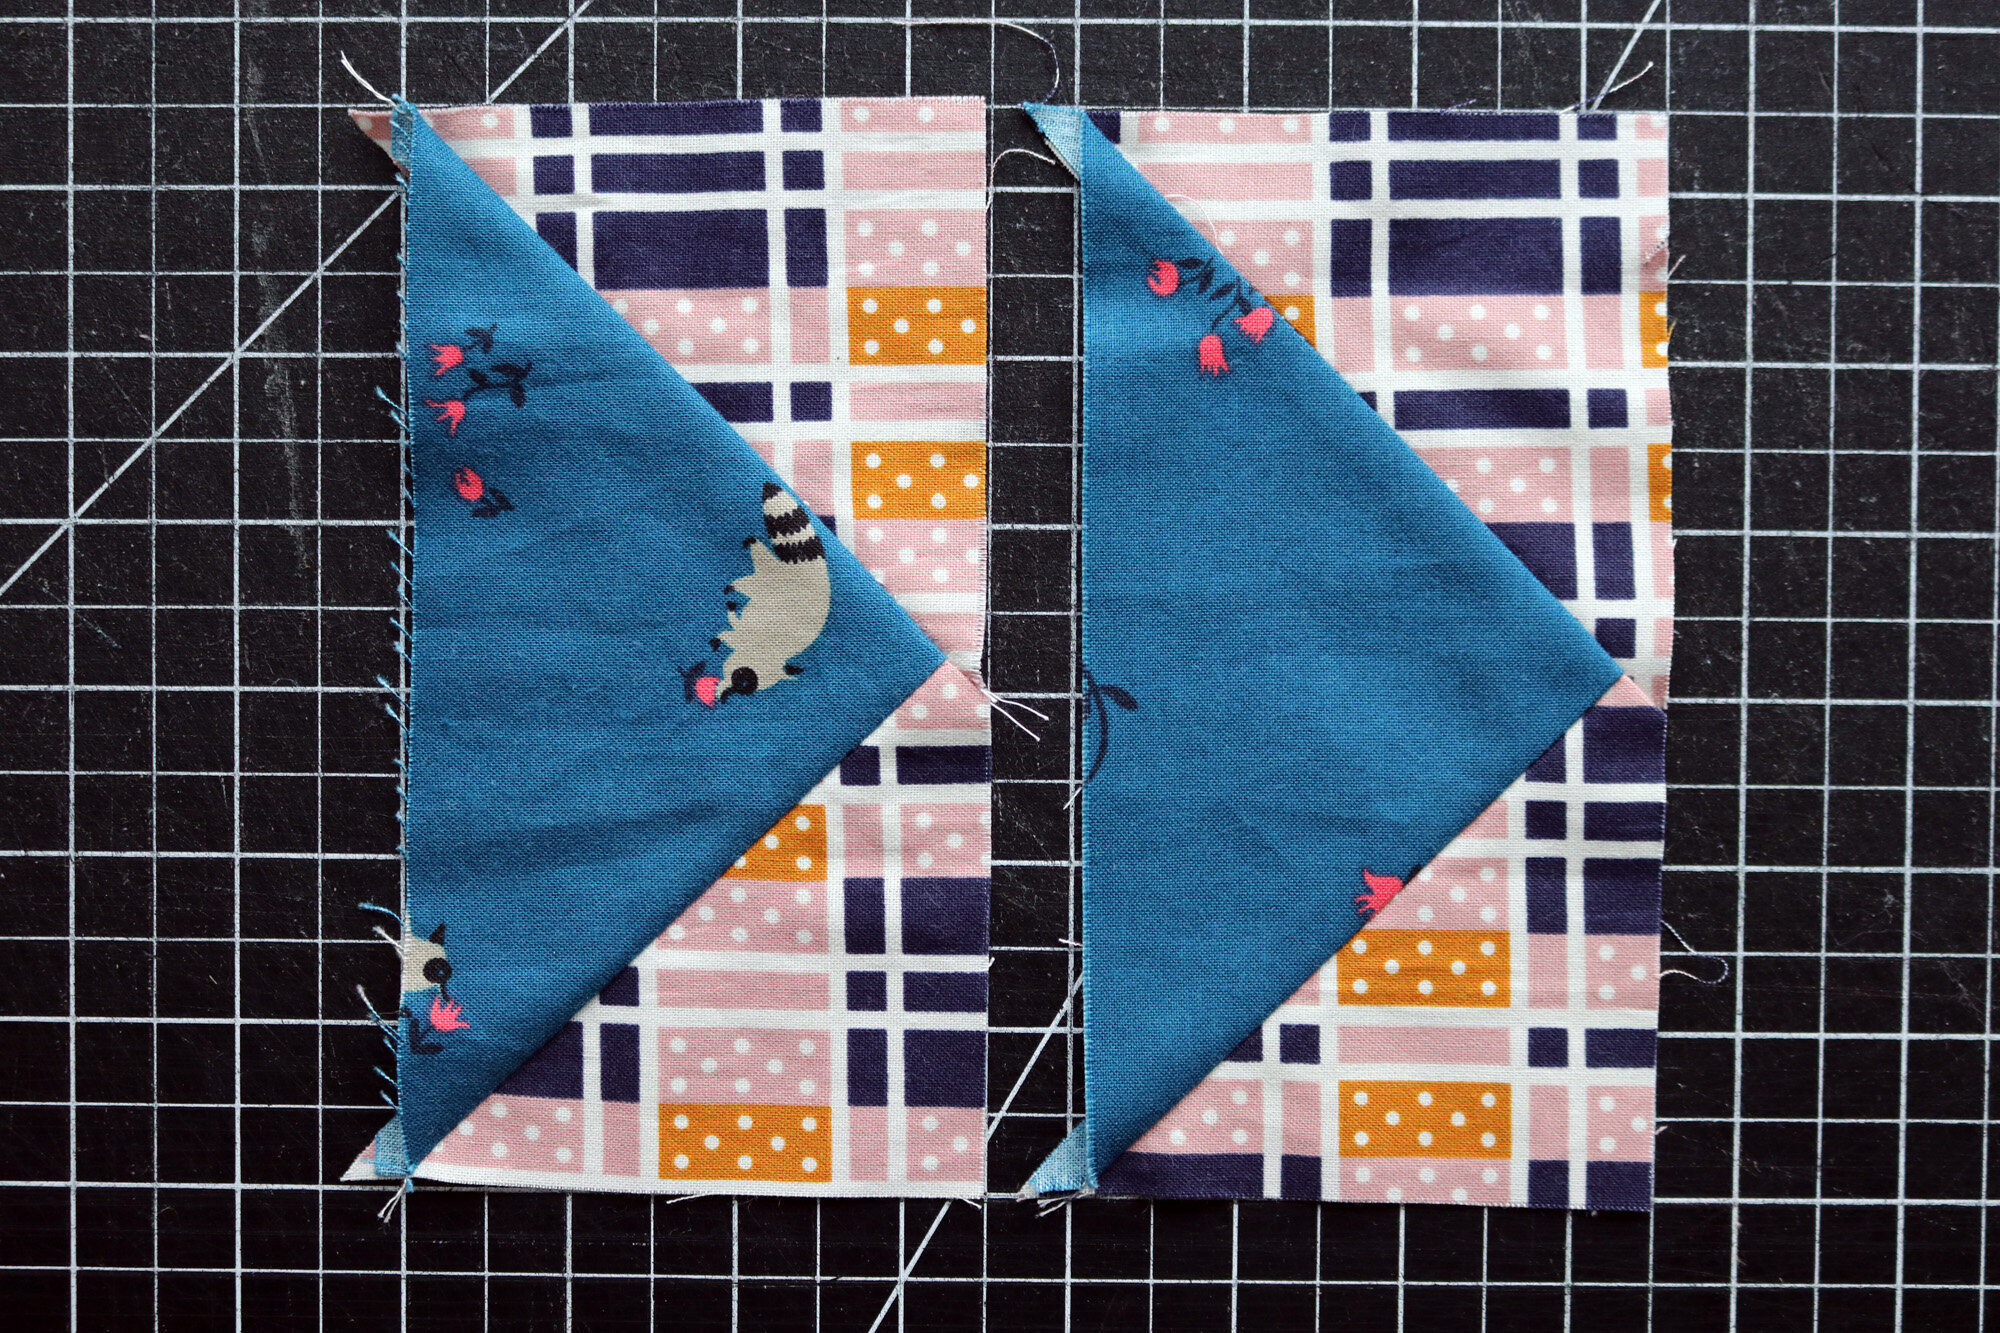

Also notice that when you join geese, new seam allowances are formed at the side points of the block. These seam allowances protect the side points when the geese columns are joined with other columns as a quilt top.
Clever Quilter Tips
#1 - Center the Blocks. Since your flying geese blocks aren’t trimmed, they’re not the exact same width. When sewing two geese blocks together, center them so that any excess fabric is equally divided at two sides of the matched blocks.
#2 - Sew a Wavy Seam. For real. Sew a TRUE 1/4” seam at the edges of the block and a scant 1/4” seam at the center point of the block. At the edges you want to create sufficient seam allowance to protect the side points of the goose. At the center of the joining seam, a scant 1/4” protects the center point of the goose.
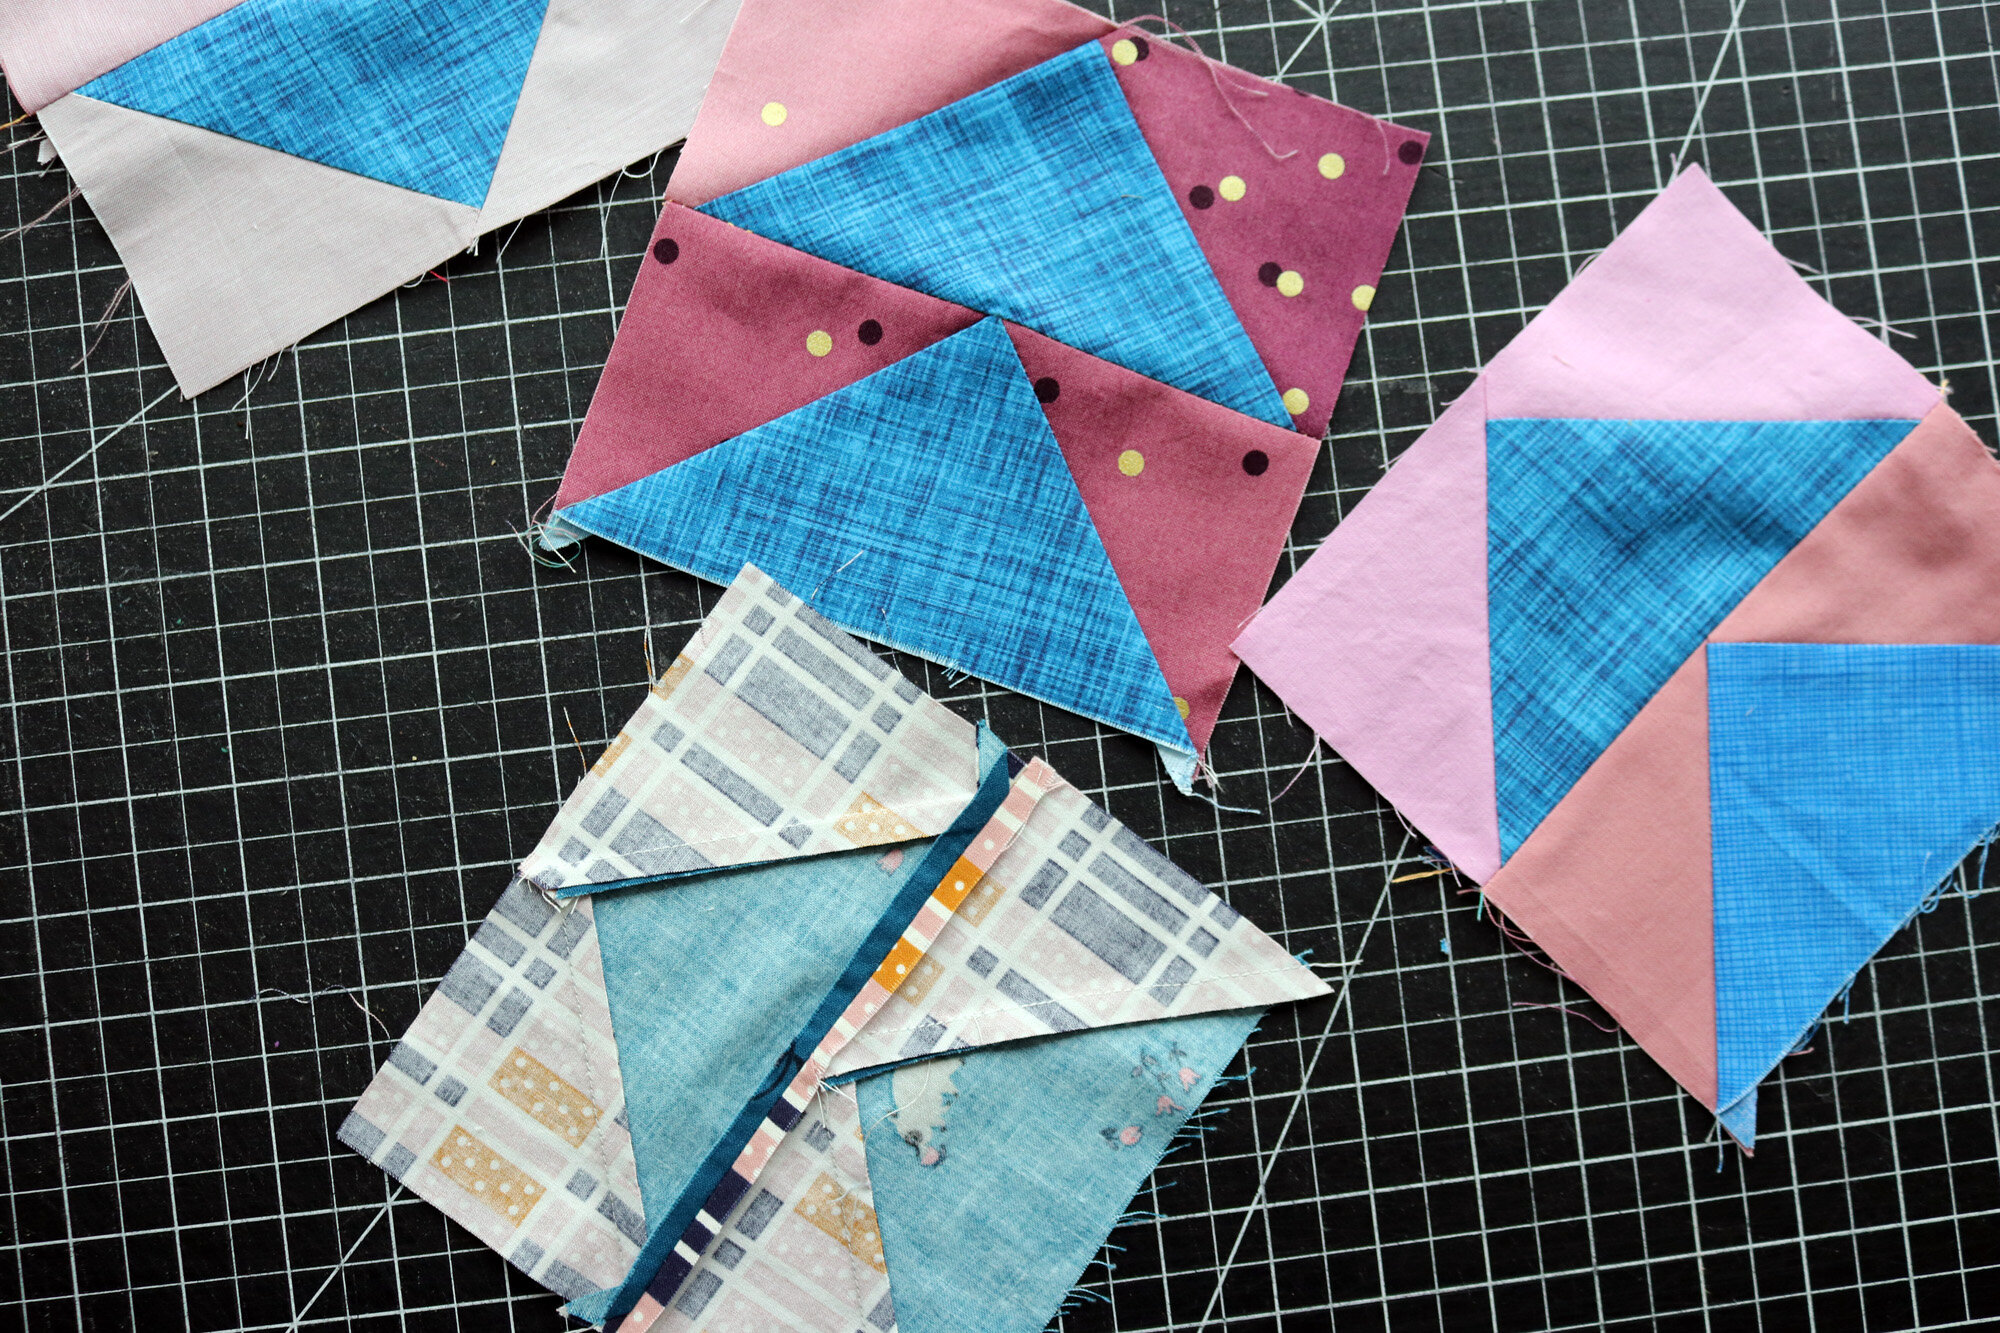
Yes, I really do this. No, you can’t tell. Here are two wavy seams for your viewing pleasure:

See how the seam is narrower at block center? Right, you couldn’t tell? It presses flat enough.
#3 - Press Joining Seam Open. When sewing geese, I like to press the diagonal seams toward the goose, to make it a bit pronounced. However, when I join blocks, I like to press the joining seam open. I think this makes it easier later on when we join geese columns side-by-side. Geese will be going in all sorts of directions, so pressed-open seams make seam-matching simple.
#4 - Let Some Go. Not every point is going to be perfect, and that’s ok. When you find that even a scant 1/4” seam is going to blunt your center goose tip, don’t be tempted to sew less than a scant 1/4” seam. At such a time you have to put the quilt’s durability above protecting every point. A few blunt points are better than holes!
Here are some of my geese that had too-scant center seam allowances:

At the end, I bet I won’t even notice. At the same time, joining some pairs now helps anticipate future problems. There’s always room for improvement! See last week’s post for geese-sewing tips.
#5 - Trim Edges as Desired. Because of block size variances, sometimes the edges of joined geese are rather uneven (like the oops Geese above). I don’t usually trim them even, as I know I can sew them together well enough. However, if if you are a newer quilter or if the uneven edges really bother you, you can trim them slightly.
To trim, match the ruler to the raw fabric edge at each end of the block and trim away the bit of fabric that sticks out beyond the ruler.

Watch out, if you trim paired blocks, that you don’t reduce your side seam allowances during trimming process. In that case, trimming is not your friend! You want to maintain 1/4” seam allowances beyond the side points if at all possible.

Psst - The good news is that you can join geese columns with scant 1/4” seams, so you don’t really need a full 1/4” seam allowance at the sides to really protect those points. That will probably come in handy later.
This Week’s Prize
On Friday, November 6th I’ll select a random winner from among everyone who has posted to the Geesey Geesey hashtag this week.
Someone will win a £27 Gift Certificate to Purple Stitches! You could choose this pretty Dashwood Studio panel, or whatever your heart desires.

Don’t be shy! Just add #GeeseyGeeseySAL to your Instagram photo caption and you’ll automatically be in the running. Here are two recent additions to our hashtag stream:
Don’t forget to follow @ThePurpleStitches to be eligible. They’re one of my sponsor shops and also a supporter of this sew-along. We’re thankful!