Geesey Geesey: Flying Geese Sewing Tips
This post is part of the Geesey Geesey Sew-Along! See all posts.
Over the course of several weeks, I’ll be making a Geesey Geesey quilt alongside you. It’s time to start sewing!
Are you sewing-along? Please share your progress pictures, wherever you are in the process, on Instagram with #GeeseyGeeseySAL. It really sustains momentum and spurs new ideas to see everyone else in the process. We can learn from each other, inspire each other and just generally have a good time!
Make sure you follow @StitchedinColor, and @CharmAboutYou in order to be eligible to win prizes. Plus, this week’s prize sponsor - @FencelineFabrics. More on that at the end of this post!
Week 3: Sewing, Batch 1
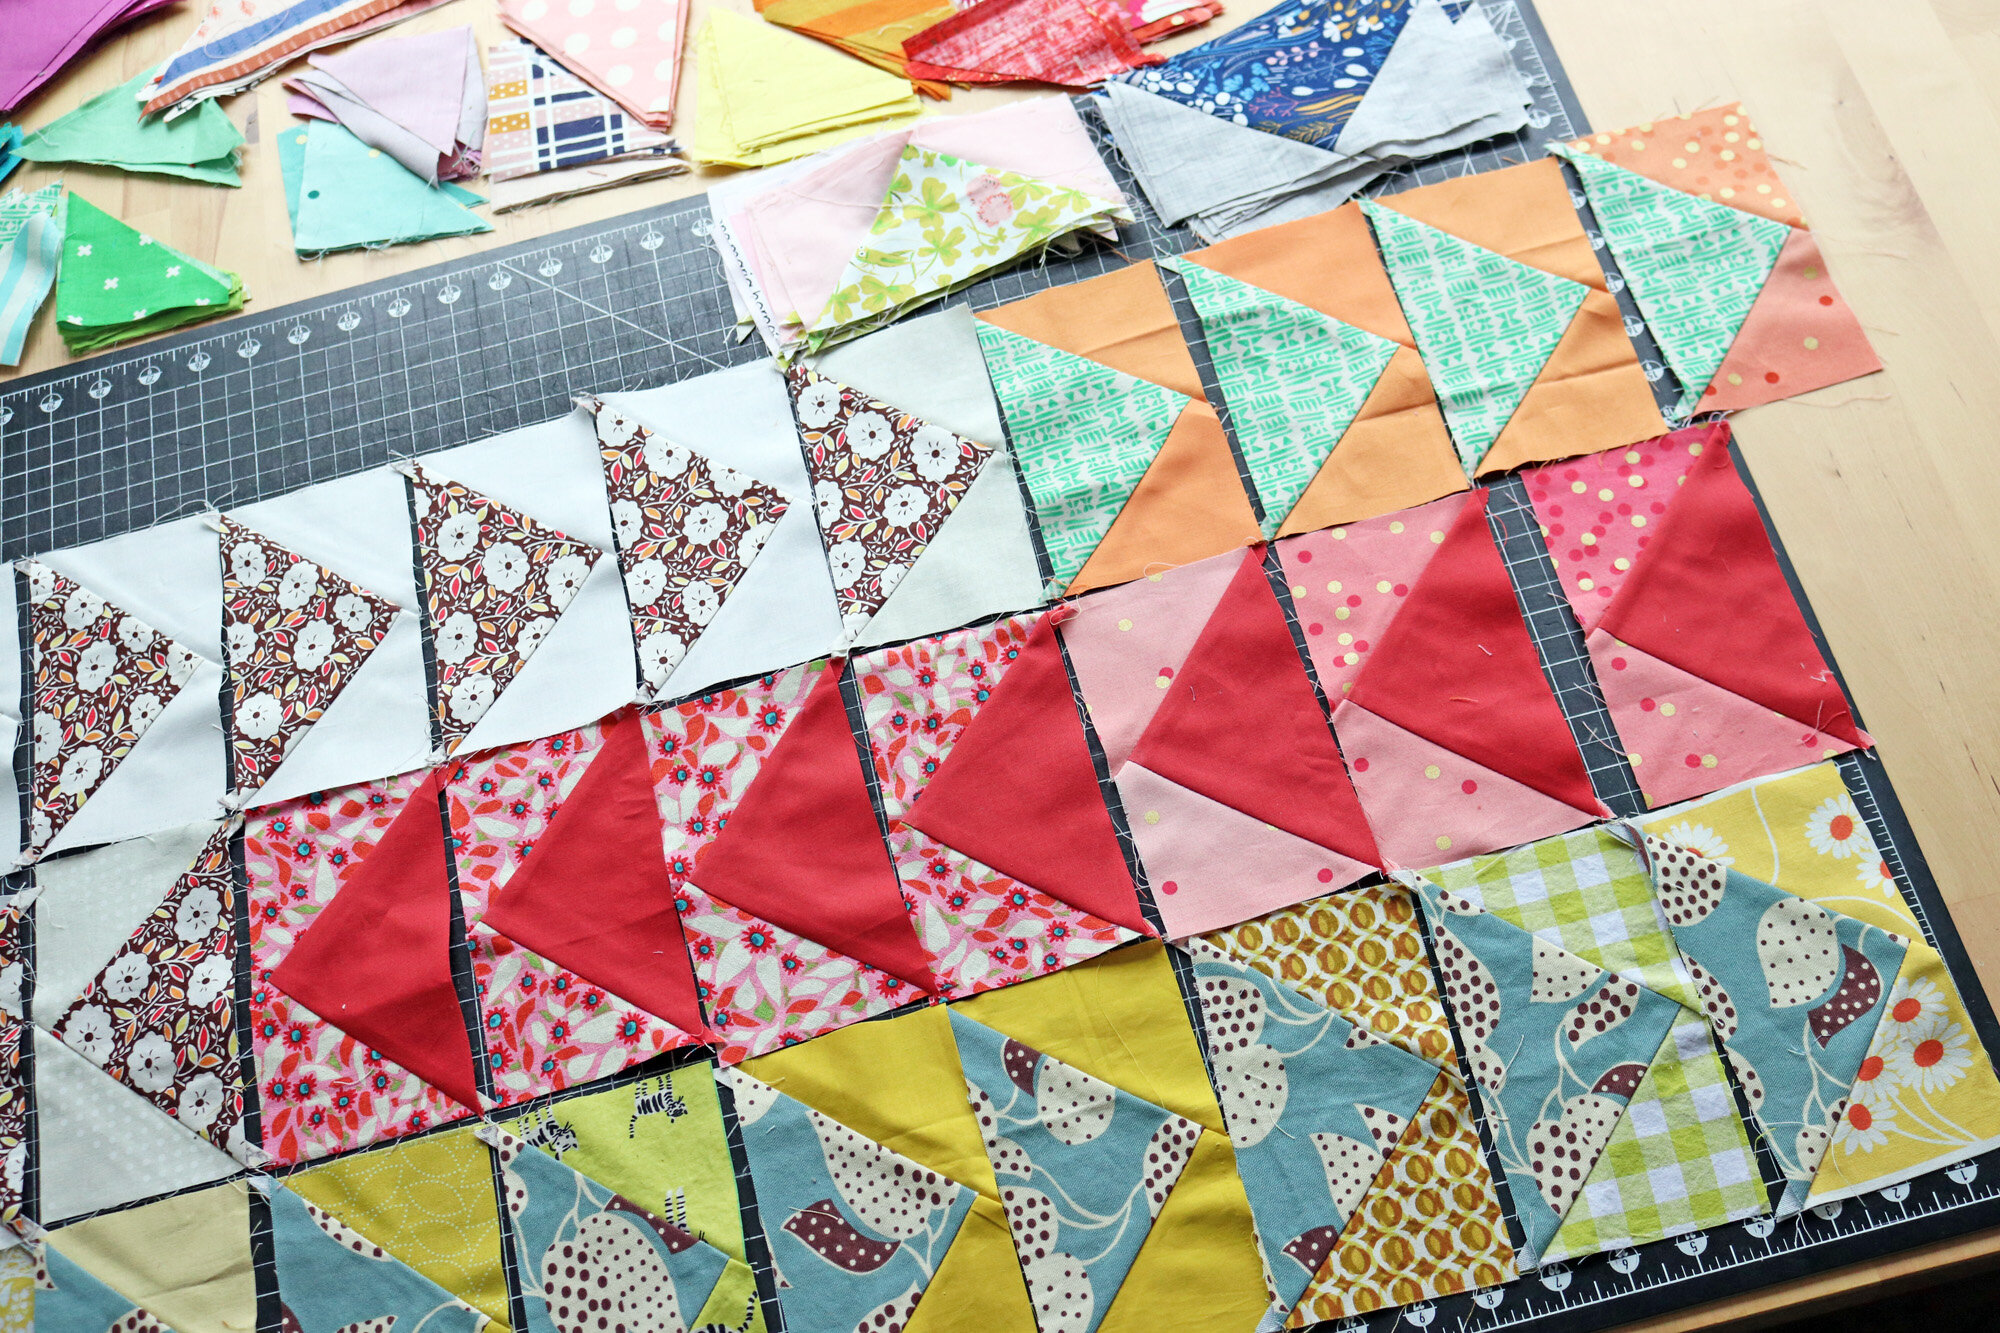
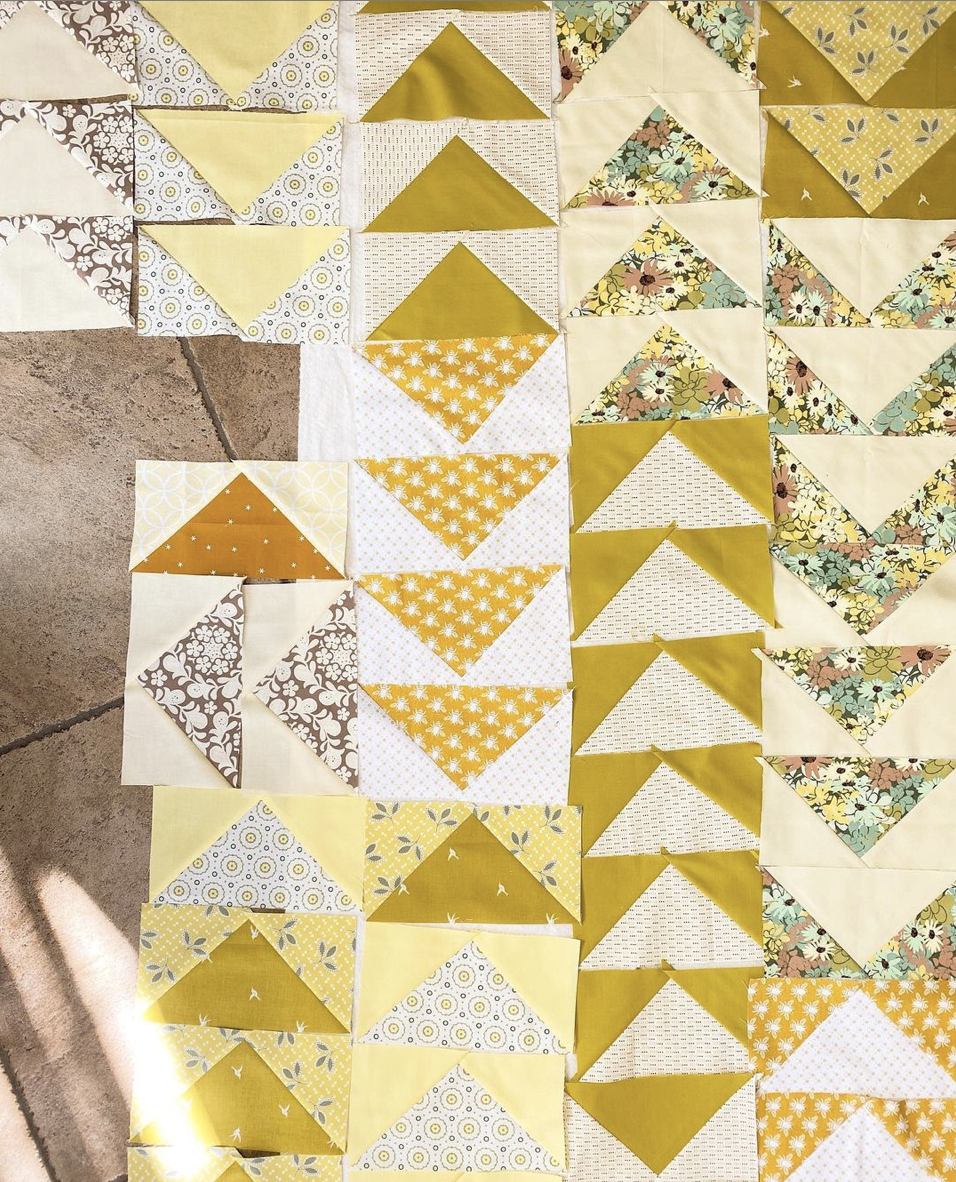
Many of you have already started sewing, judging by the action at #GeeseyGeeseySAL. And once you start sewing, it’s amazing how fast they multiply. if you’re following the pace of the sew-along, your goal is to sew 65 geese this week. Sound like a lot? Well take a look at this:

Those geese arranged flat amount to 28. So that’s about half of this week’s goal! They’re quick little creatures, you’ll see.
I’ve enjoyed browsing your progress on Instagram. So many fun fabric and color combos! I also see that there are lots of questions about accuracy when sewing these blocks. I hope that today’s sewing tips will help you feel more satisfied with your outcomes.
Protect that Goose Point
Lots of time with patchwork, we sew a scant 1/4” seam allowance. That is, we sew a slightly-less-than 1/4” seam allowance. With some patchwork blocks, the scant 1/4” seam is ideal. It creates a slightly too-big block that you can trim down to size.
Not so with blocks that have patchwork points at the edges! Blocks like the Flying Geese block must be sewn with TRUE 1/4” seams in order to create sufficient seam allowance beyond the patchwork points. If you sew a scant seam allowance, your Geesey points will be dulled when blocks are joined together.
Too-small seam allowances at the points of your geese?
#1 - Measure your seam allowances. Use a ruler to measure the seam allowance on the wrong side of the block. Is it a full 1/4”? If not, there’s the problem. Keep in mind that the 1/4” seam allowance marked on your sewing machine might be a true or scant 1/4. Measure to check!
#2 - Seam allowance is true 1/4”, but still no luck? Probably that means the large triangle wasn’t cut exactly right. Unfortunately, small differences in the height of the large triangle can make a big difference. Here are some possible work-arounds:
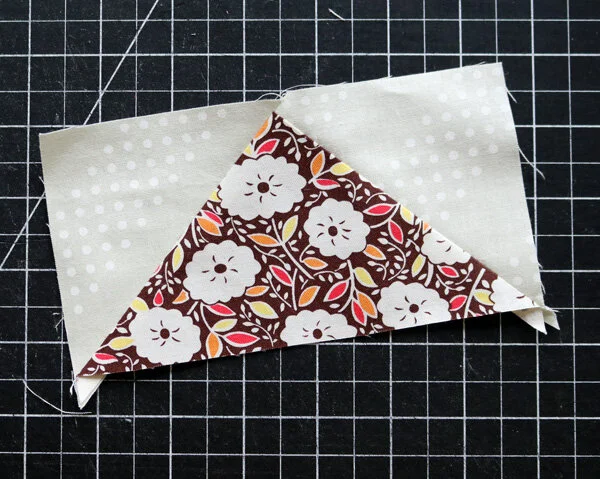
When small triangles are slightly shorter than the large triangles, align the small triangle to the top of the large triangle. That is, allow some of the large triangle to extend beyond the bottom edge of the small triangle. Here is an example that I’ve sewn:

As you can see, the white triangle is a little shorter than the dark brown large triangle. I’ve aligned the triangles at the top point, even though some of the brown large triangle fabric shows at the bottom. This will yield a slightly too-narrow block. That’s way better than a block without adequate seam allowance at the goose point.
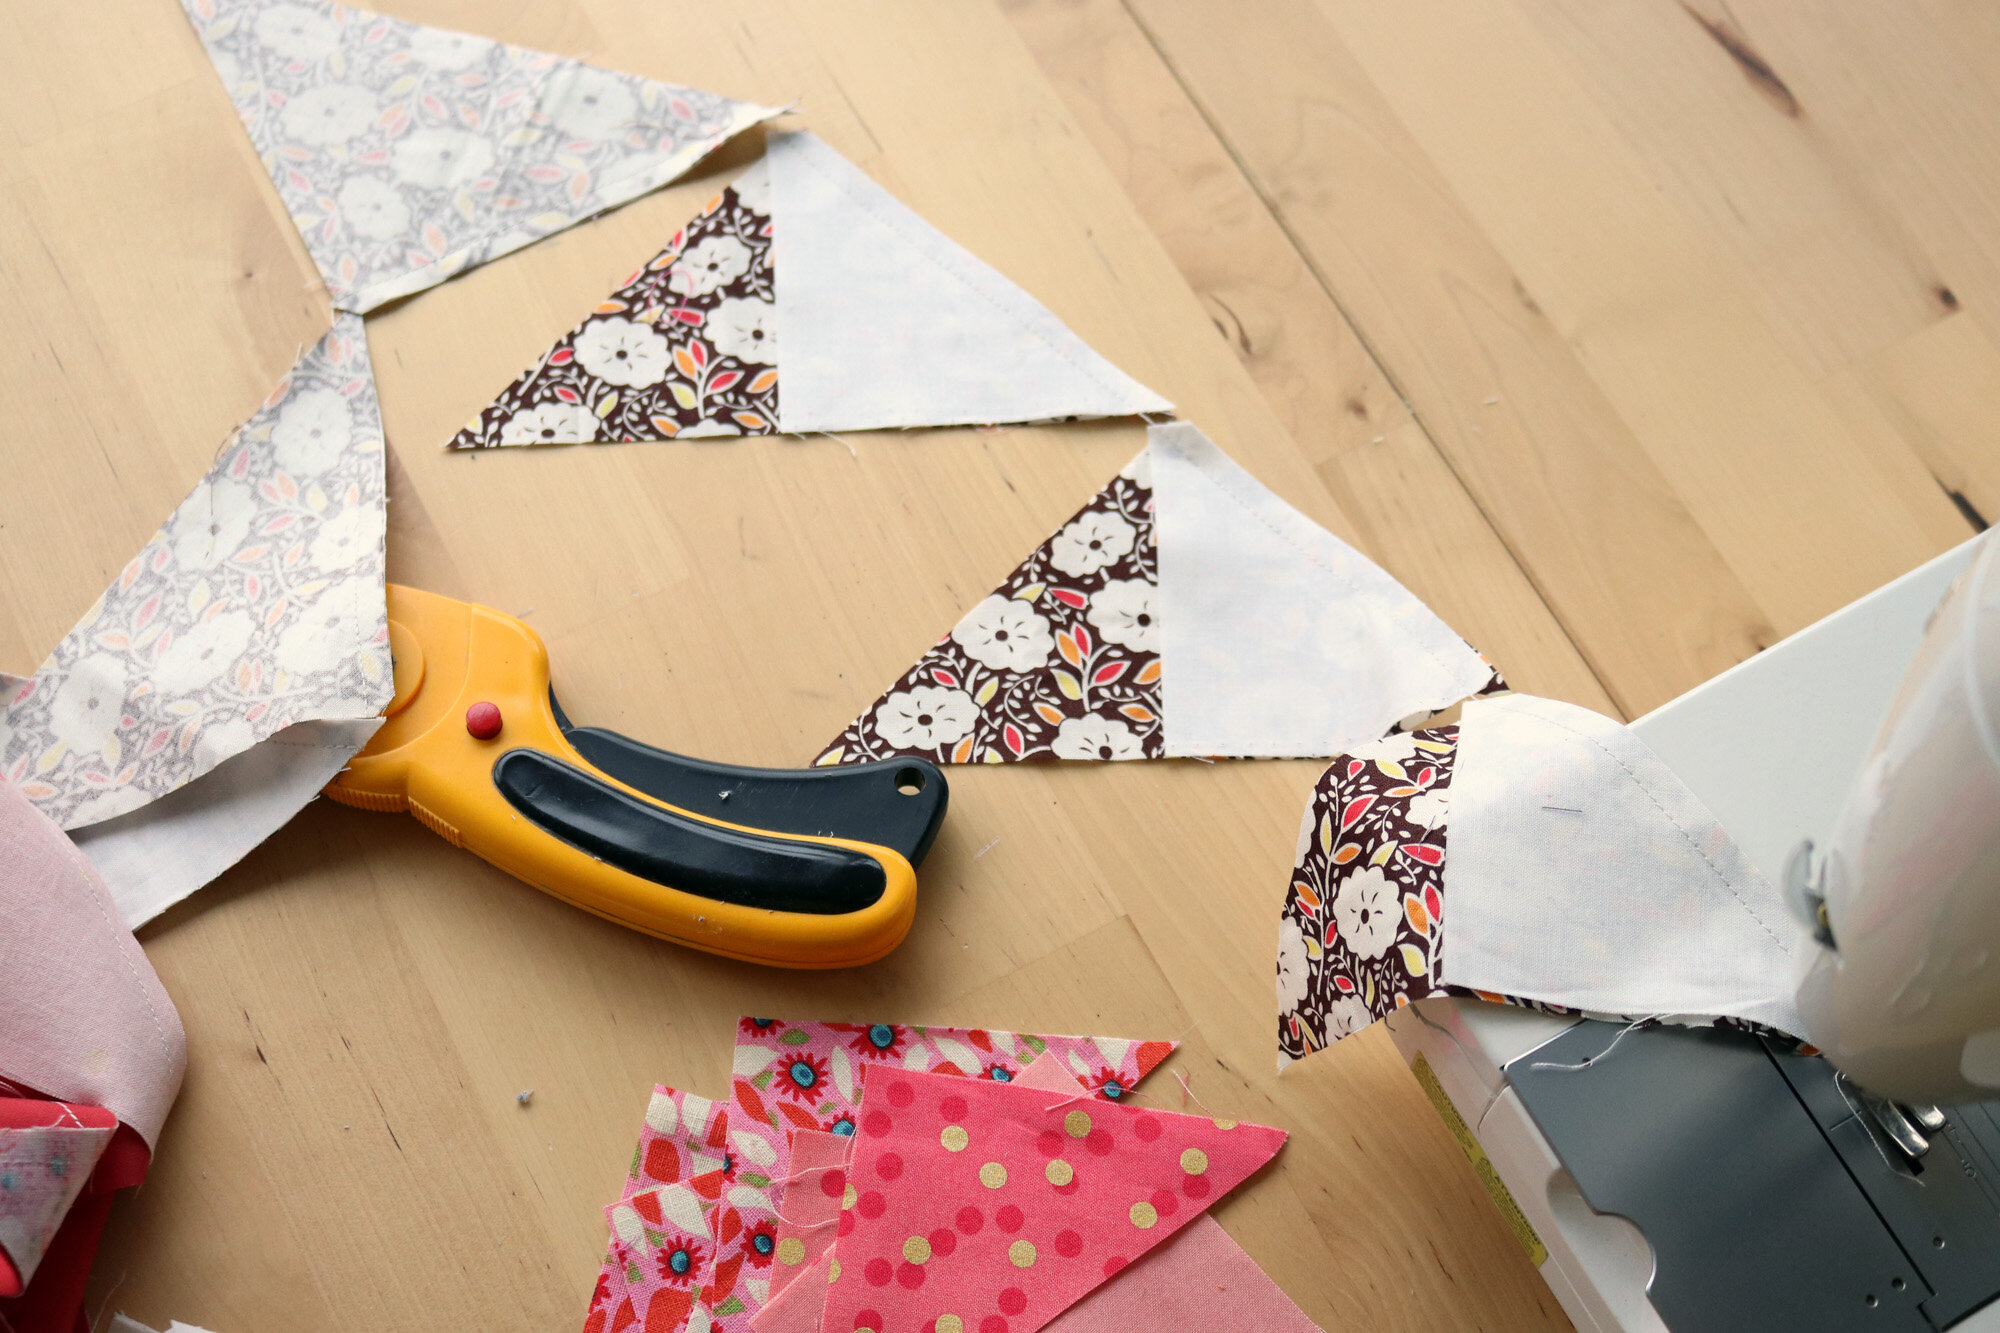
Sometimes the first small triangle seems to fit beautifully, and create an adequate seam allowance, but the second triangle comes out shorter, like the block at right.
In this case, try unpicking about 1.5” of the last seam. Then re-sew that bit, but stretch it just slightly so that it crosses over the large geese more than before. That’s right, your raw edges are no longer aligned and your small triangle is overlapped with your large triangle a tiny bit more.
It’s a very small change, but that’s usually all it takes to fix a too scant seam allowance like the one shown here.
This yields a block that might be slightly too narrow at the top. Again, not really a problem - totally invisible when you join everything together.
Accept Imperfection
Before you start sewing in large batches, sew eight or so blocks as test. Check for good seam allowances on the points (as discussed above) and also check the size of these blocks. Hopefully that size is fairly consistent.
It’s totally ok if the size is not exactly 3.5” x 6.5”. What matters is consistency. If they are all finishing approximately 3.4” x 6.25” for example, they will sew together beautifully. It’s better to have a generous seam allowance that protects points and yields a slightly smaller block, than the alternative. Super slight differences really change the outcome - that’s why my blocks also vary.
As you’re probably suspecting, I’m not concerned with perfection with these blocks. If you want a totally perfect flying geese block (or half square triangle or half rectangle triangle, etc), you must sew it oversized and then trim down to perfection. By choosing a no-trim method, we’re leaning into imperfection for the sake of a more enjoyable experience.
So, I’m inviting you to relax! Little defects like slightly narrow blocks, slightly curved edges and sometimes scant seam allowances at points can be hidden during the block-joining stage. I’ll share tips about that next week, so that you can test the outcome for yourself.
p.s. Imperfection totally not your thing? Another approach is to starch the triangles so that they are easier to sew together precisely.
Chain Piecing
Are you newer to patchwork sewing? I don’t want to miss this opportunity to teach you about chain piecing. Chain piecing saves a ton of time and thread!
Sew your geese in stages, working in large batches. When your’e sewing small triangles on a series of large triangles, you can save time by not cutting the thread between blocks. When the first block finishes feeding under the needle, just keep sewing as you add in the next block. Allow a little gap of thread to occur between blocks. It’s ok for your sewing machine to sew through air! Surprisingly, it doesn’t tangle, but instead creates a tidy little chain that links the blocks together.
When your’e done with a batch, use the cutter located on the left side of most sewing machines to separate the blocks. Then, press and chain piece the opposite small triangle! Isn’t that quicker?
This Week’s Prize
On Friday, October 30th I’ll select a random winner from among everyone who has posted to the Geesey Geesey hashtag this week.
Someone will win a $35 Gift Certificate to Fenceline Fabrics!

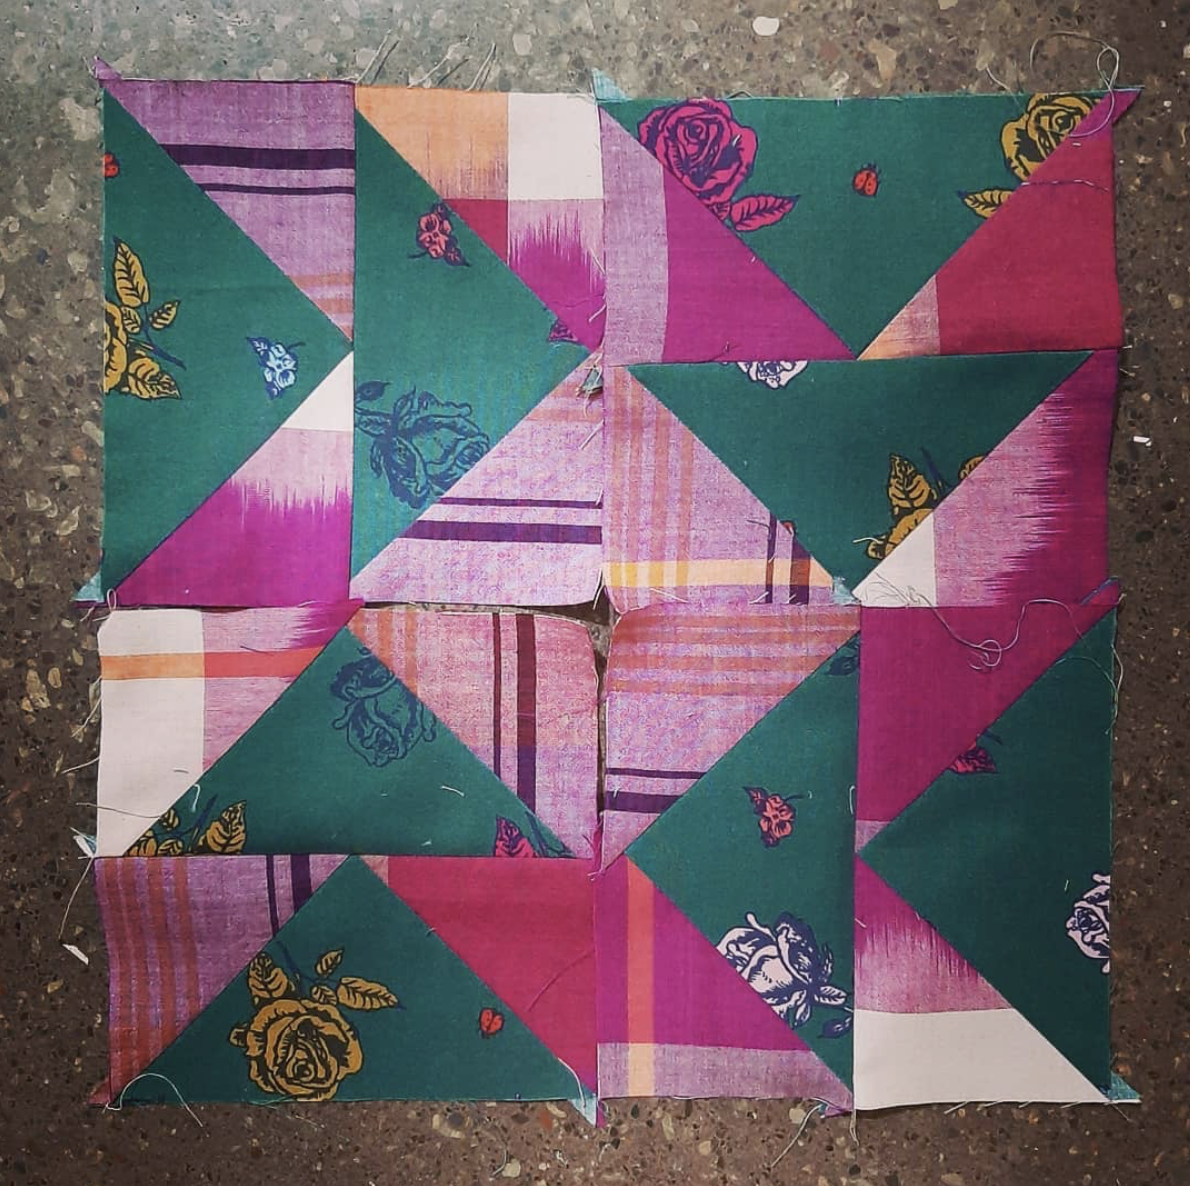
Don’t be shy! Just add #GeeseyGeeseySAL to your Instagram photo caption and you’ll automatically be in the running. Here are two recent additions to our hashtag stream:
Don’t forget to follow @FencelineFabrics to be eligible. They’re one of my sponsor shops and also a supporter of this sew-along. We’re thankful!