Dear Dottie: Sew Colorful Dots
This post is part of the Dear Dottie Sew-Along! See all posts.
I don’t know which part I like best - choosing fabrics or seeing those first finished blocks. Both are pivotal moments when an idea transforms into reality. I hope you are perfectly delighted by your blocks this week!
Are you sewing-along? Please share your progress pictures, wherever you are in the process, on Instagram with #DearDottieQuilt. It really sustains momentum and spurs new ideas to see everyone else in the process. We can learn from each other, inspire each other and just generally have a good time!
Make sure you follow @FencelineFabrics, @StitchedinColor, and @TheMakingsofJoy in order to be eligible to win prizes. More on that at the end of this post!

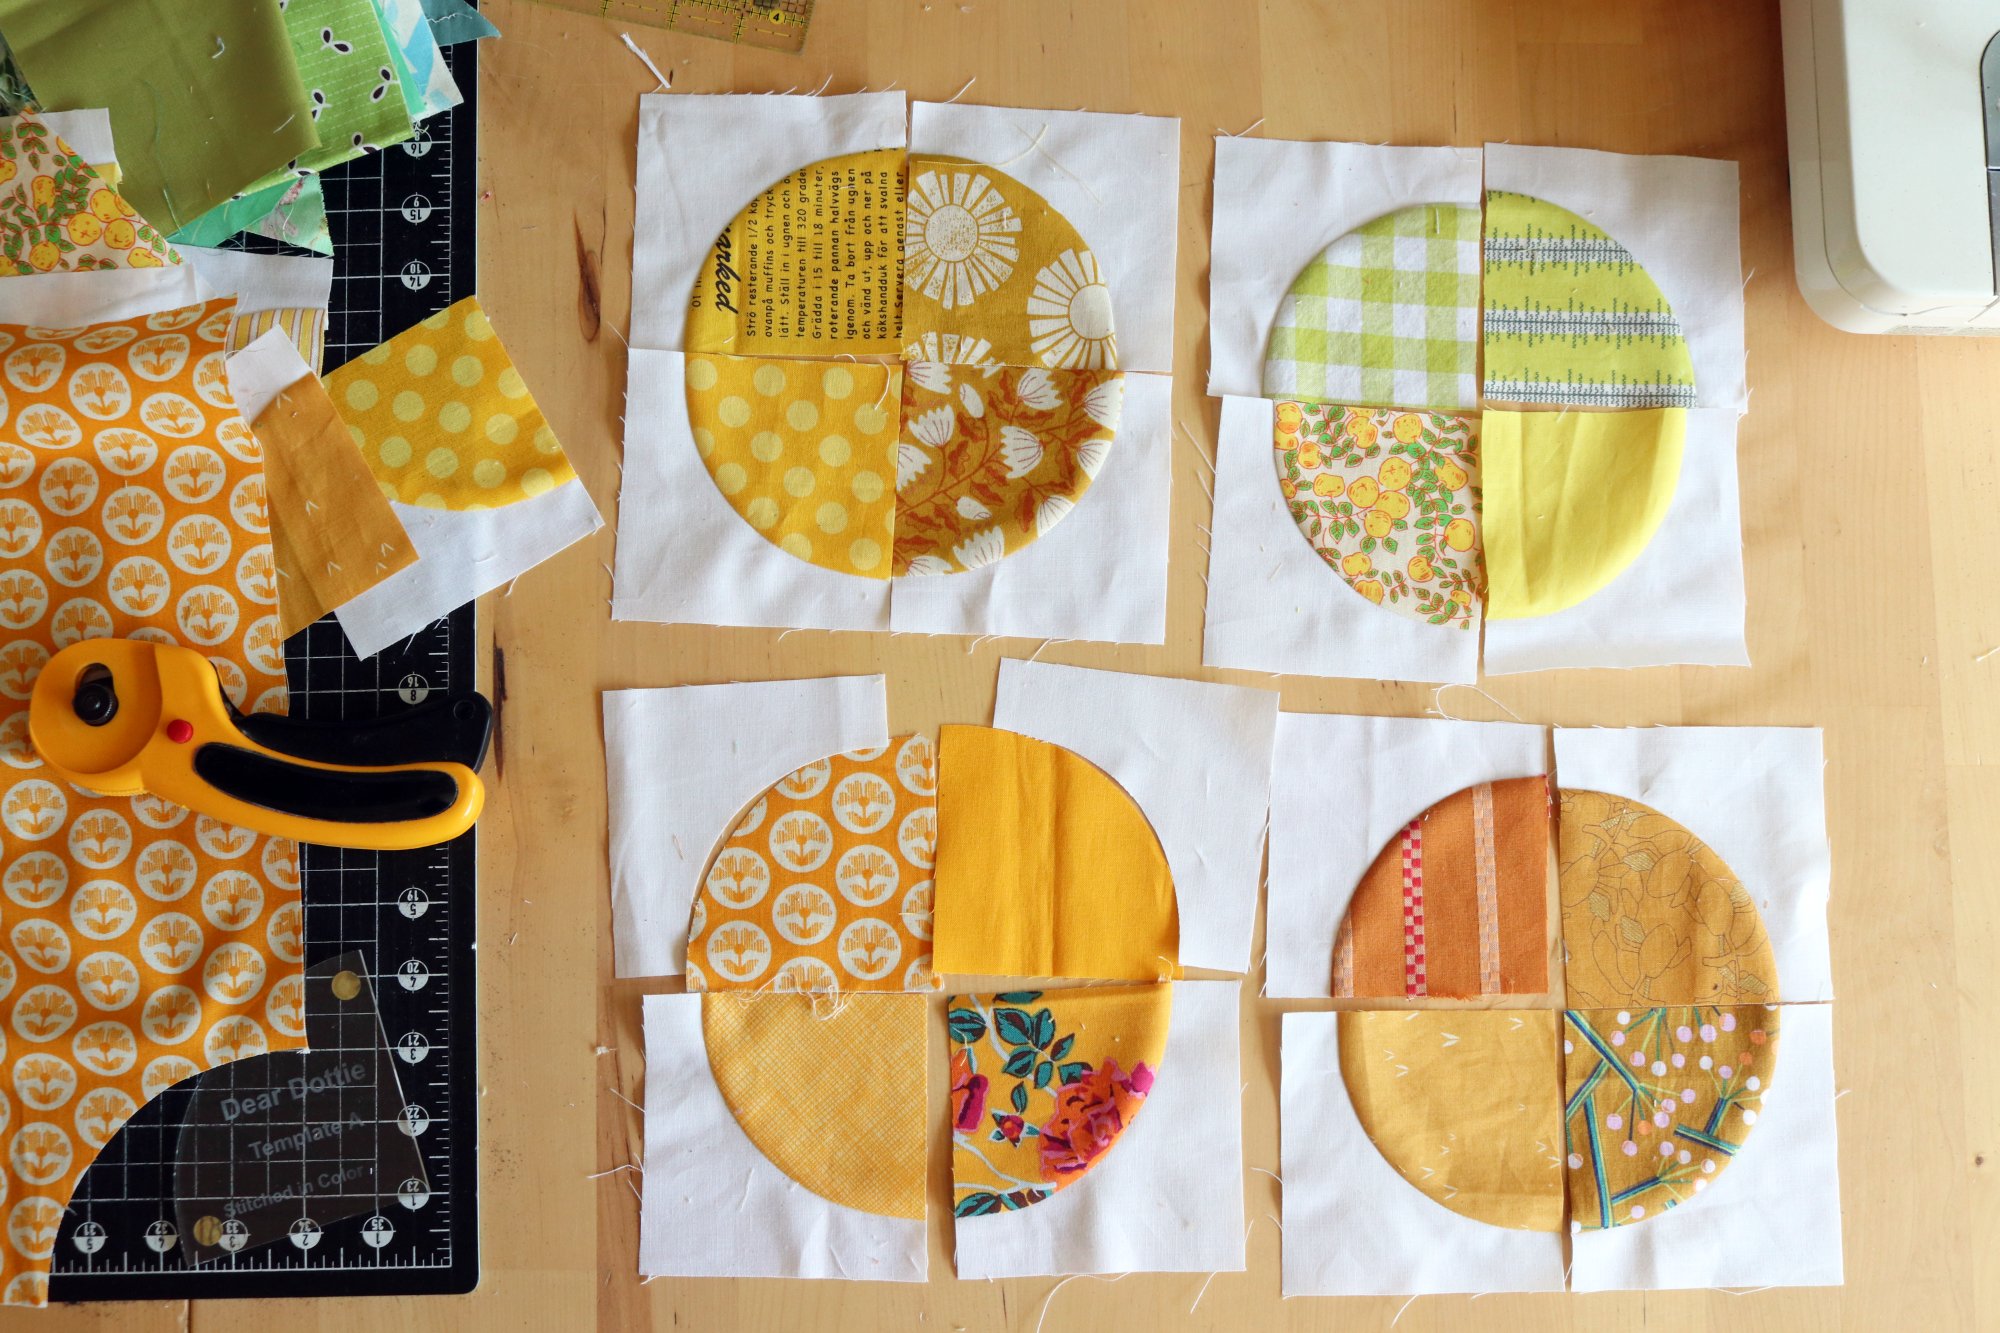
Week 3: Sew Colorful Dots
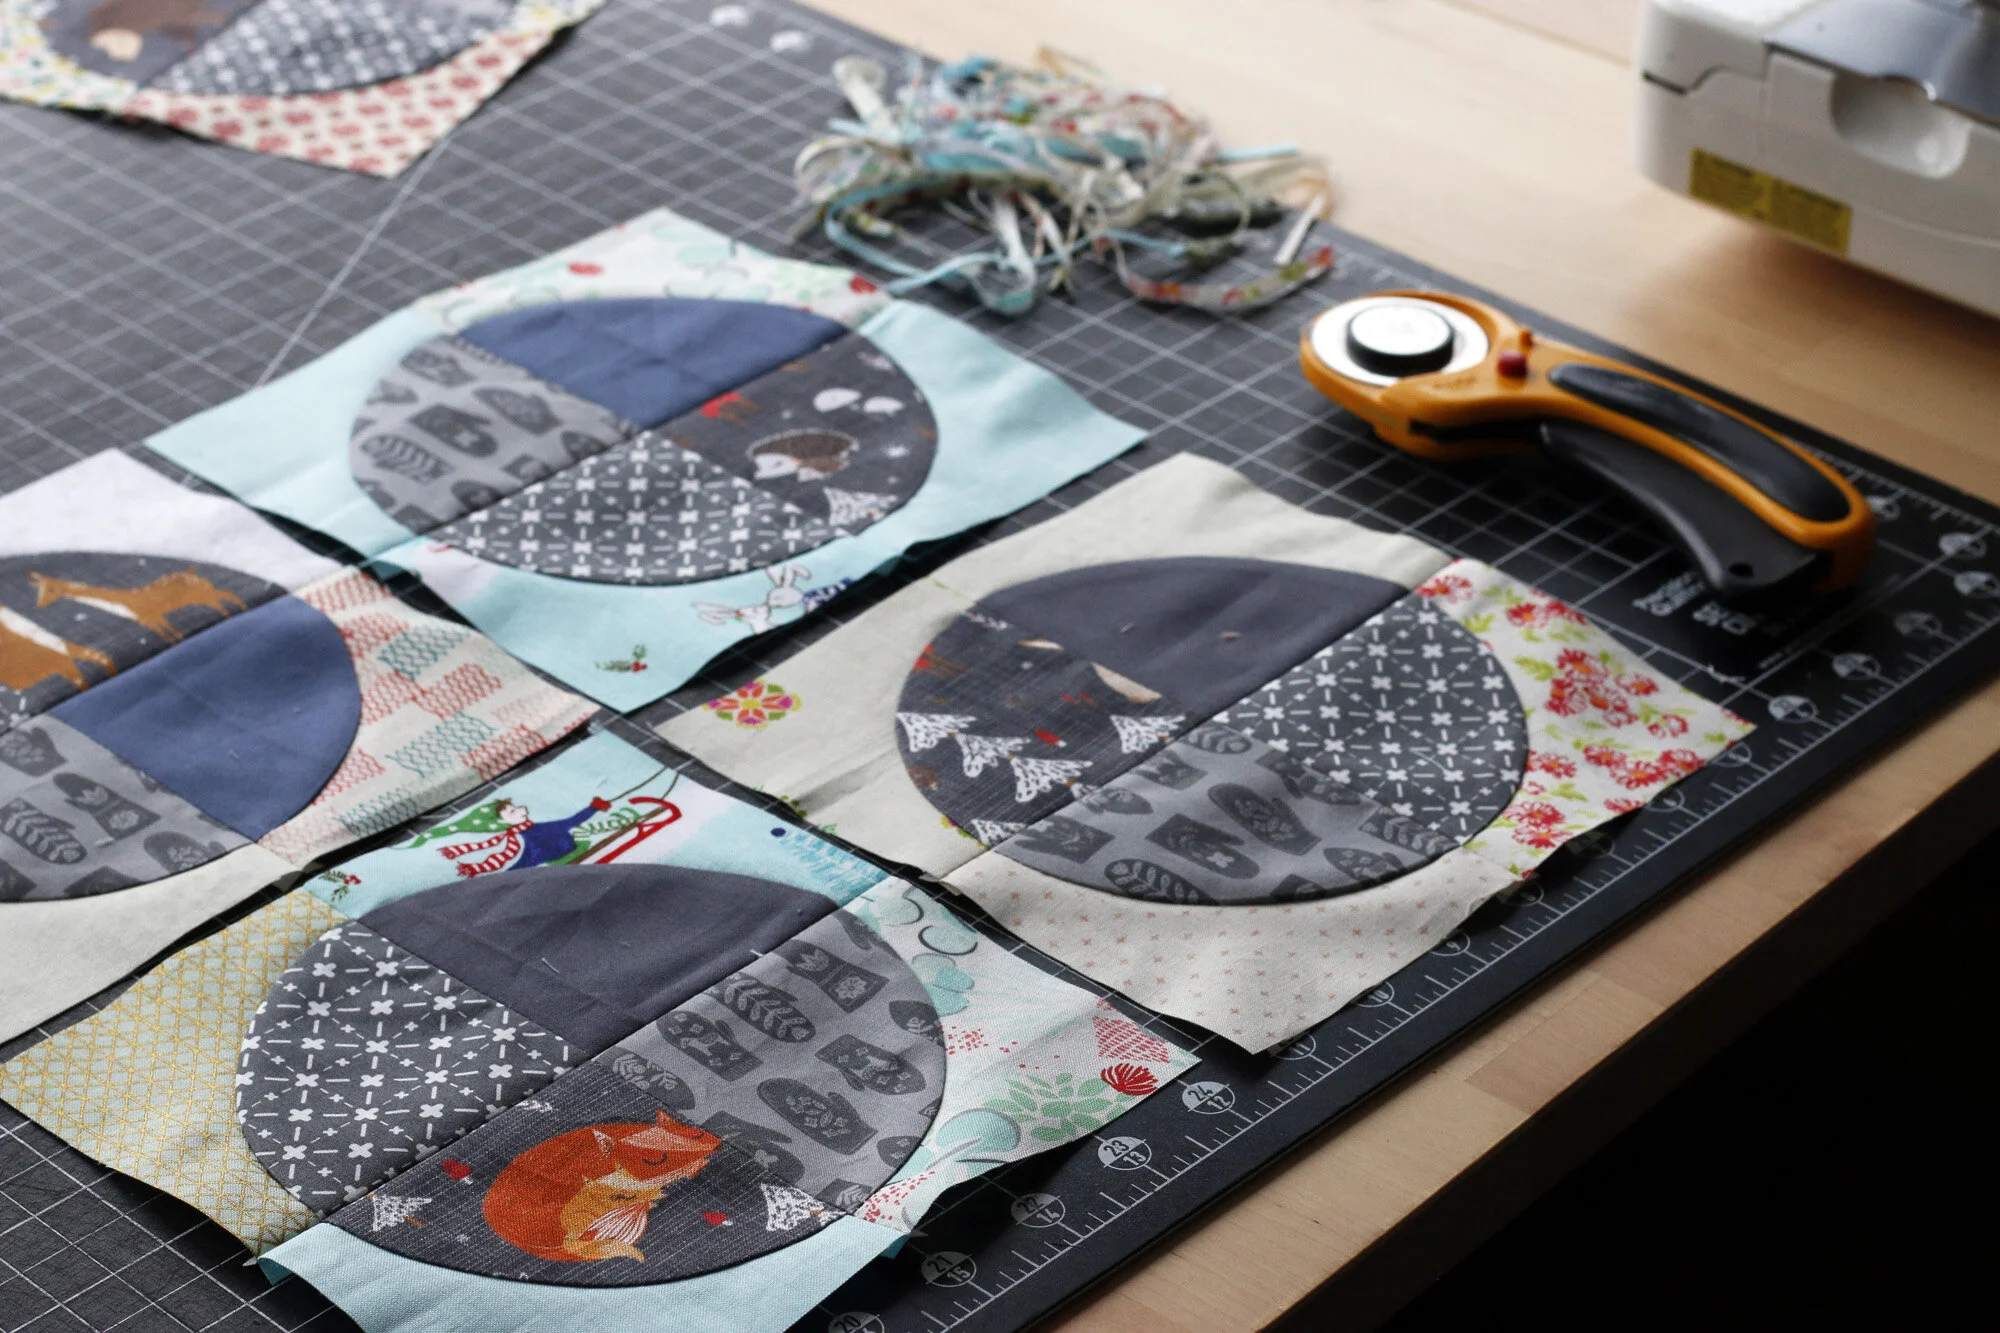
This week our task is to sew the colorful dots in the Dear Dottie pattern. Those are the “color dot/white background” and “color dot/dark background” blocks.
Are you ready to sew these curves? If curved piecing intimidates you, I’m so proud of you for committing to Dear Dottie anyways. That’s the right attitude! There’s no way to make progress without doing the hard work of trying something new. Practice is your friend! By the end of this project, you will most certainly have improved your curved sewing skills. Cheers to that!

Tips for Curved piecing
Try sewing without pins. It’s a sharper learning curve, but the payoff is huge in both time and general happiness.
Always piece this curve with the background “concave” curve on top.
Set your machine to stop with the needle down, if possible. This makes it easier to lift the presser foot and adjust placement as necessary.
Sew a scant 1/4” seam.
Chain piece! Don’t cut threads between pairs - just keep sewing.
Visit me on Instagram for a short video. Watch me sew a few of these Dear Dottie curves, without pins!

Will your curves be perfect? Probably not! I’ve got your back. The #deardottiequilt pattern has a trimming step built in to tidy things up prior to joining block elements. Try to relax and have a spirit of adventure. My first few pieces often turn out a little wonky, but as I continue they get better and better.

This weekend I got a head start. Rora wiggled around on my sewing table, choosing pieces for me to sew next. I can’t say it improved my accuracy, but the memories are worth it.

After trimming those block elements, you might like to sew them into completed Dear Dottie blocks at this point, or let them float around a bit. Sometimes it’s nice to leave it a bit open ended so that you can swap elements after getting a feel for where you are going with your quilt.
Me? I’ll be sewing mine into blocks real soon. The satisfaction of creating smooth, scrappy circles beckons!
This Week’s Prize
On Friday, November 22nd I’ll select a random winner from among everyone who has posted to the Dear Dottie hashtag this week. Someone will win the BLUSH FAT EIGHTH BUNDLE with handmade JERUSALEM OLIVEWOOD SEAM RIPPER NECKLACE and Cotton + Steel SULKY THREAD.

Don’t be shy! Just add #DearDottieQuilt to your Instagram photo caption and you’ll automatically be in the running. Here are two recent additions to our hashtag stream:

@Elev8orLady

Don’t forget to follow @FencelineFabrics to be eligible. They’re providing all of the prizes for our sew-along! And we’re thankful.