Penny Patch: Quilt Design
This post is part of a series Penny Patch: a Beginner’s Quilt-Along, circa 2013. Please see this page for links to all posts.
Before you start cutting fabrics, let’s take a look at the design of the Penny Patch quilt and different ways to use color in the patchwork blocks.

The Penny Patch quilt is so simple. It alternates between 6" finished simple square blocks and 6" finished 4-patch blocks. The 4-patch block type also alternates between simple 4-patch blocks and slightly more complex Penny Patch 4-patch blocks. This extra layer of variation give the quilt a charming, old-timey vibe.
You can make your quilt any size you like by adding more rows or columns, while keeping the pattern going: one simple square, one 4-patch, one simple square, etc.
Quilt Layout
The quilt layout depends on which size quilt you are making. In every case the first row should start with a simple 4-Patch block.
Baby Quilt
Your quilt will have 7 columns and 9 rows. That's what we quilters call a 7 x 9 setting. Since 7 multiplied by 9 is 63, a baby-sized quilt will have 63 blocks:
31 simple squares
20 simple 4-patches
12 Penny Patch 4-patches
Throw Quilt
Your quilt will have 10 columns and 12 rows, what quilters call a 10 x 12 setting. Since 10 multiplied by 12 is 120, a throw-sized quilt will have 120 blocks:
60 simple squares
30 simple 4-patches
30 Penny Patch 4-patches
Twin Quilt
Your quilt will have 11 columns and 15 rows, a 11 x 15 setting. Since 11 multiplied by 15 is 165, a twin-sized quilt will have 165 blocks:
82 simple squares
48 simple 4-patches
35 Penny Patch 4-patches.
Using Color
Are you planning to follow my Color Recipe for a low-volume quilt with 2 main colors and 1 pop color a la the original Vintage Tangerine? I am! My latest Penny Patch quilt will be sewn with the Rifle Paper Fabric Co. Holiday Classics collection, which is just about perfect for this quilt. The fat quarter bundle already has everything I need.

Here’s what I’ve selected from the bundle for my colors. Color A = Red. Color B = Dark Blue/Green. Pop Color C = Burgundy.

The nine fabrics at left are my low volumes, one less than the 10 recommended for a throw size quilt. But that’s ok because I have 3 options for the “mid value neutral”, instead of just the one suggested. Those pale blue fabrics at right still feel relatively low volume, but add another layer of interest to the quilt.
As part of our cutting and sewing directions I will guide you in maintaining the color balance of the original Penny Patch quilt called Vintage Tangerine, which is the quilt shown in the first photo of today’s post. For example, I'll call for a certain count of color A, color B, color C and low volume 4-patch blocks. But this is not science - it's art! Please feel so, soooo free to do what looks right to you.
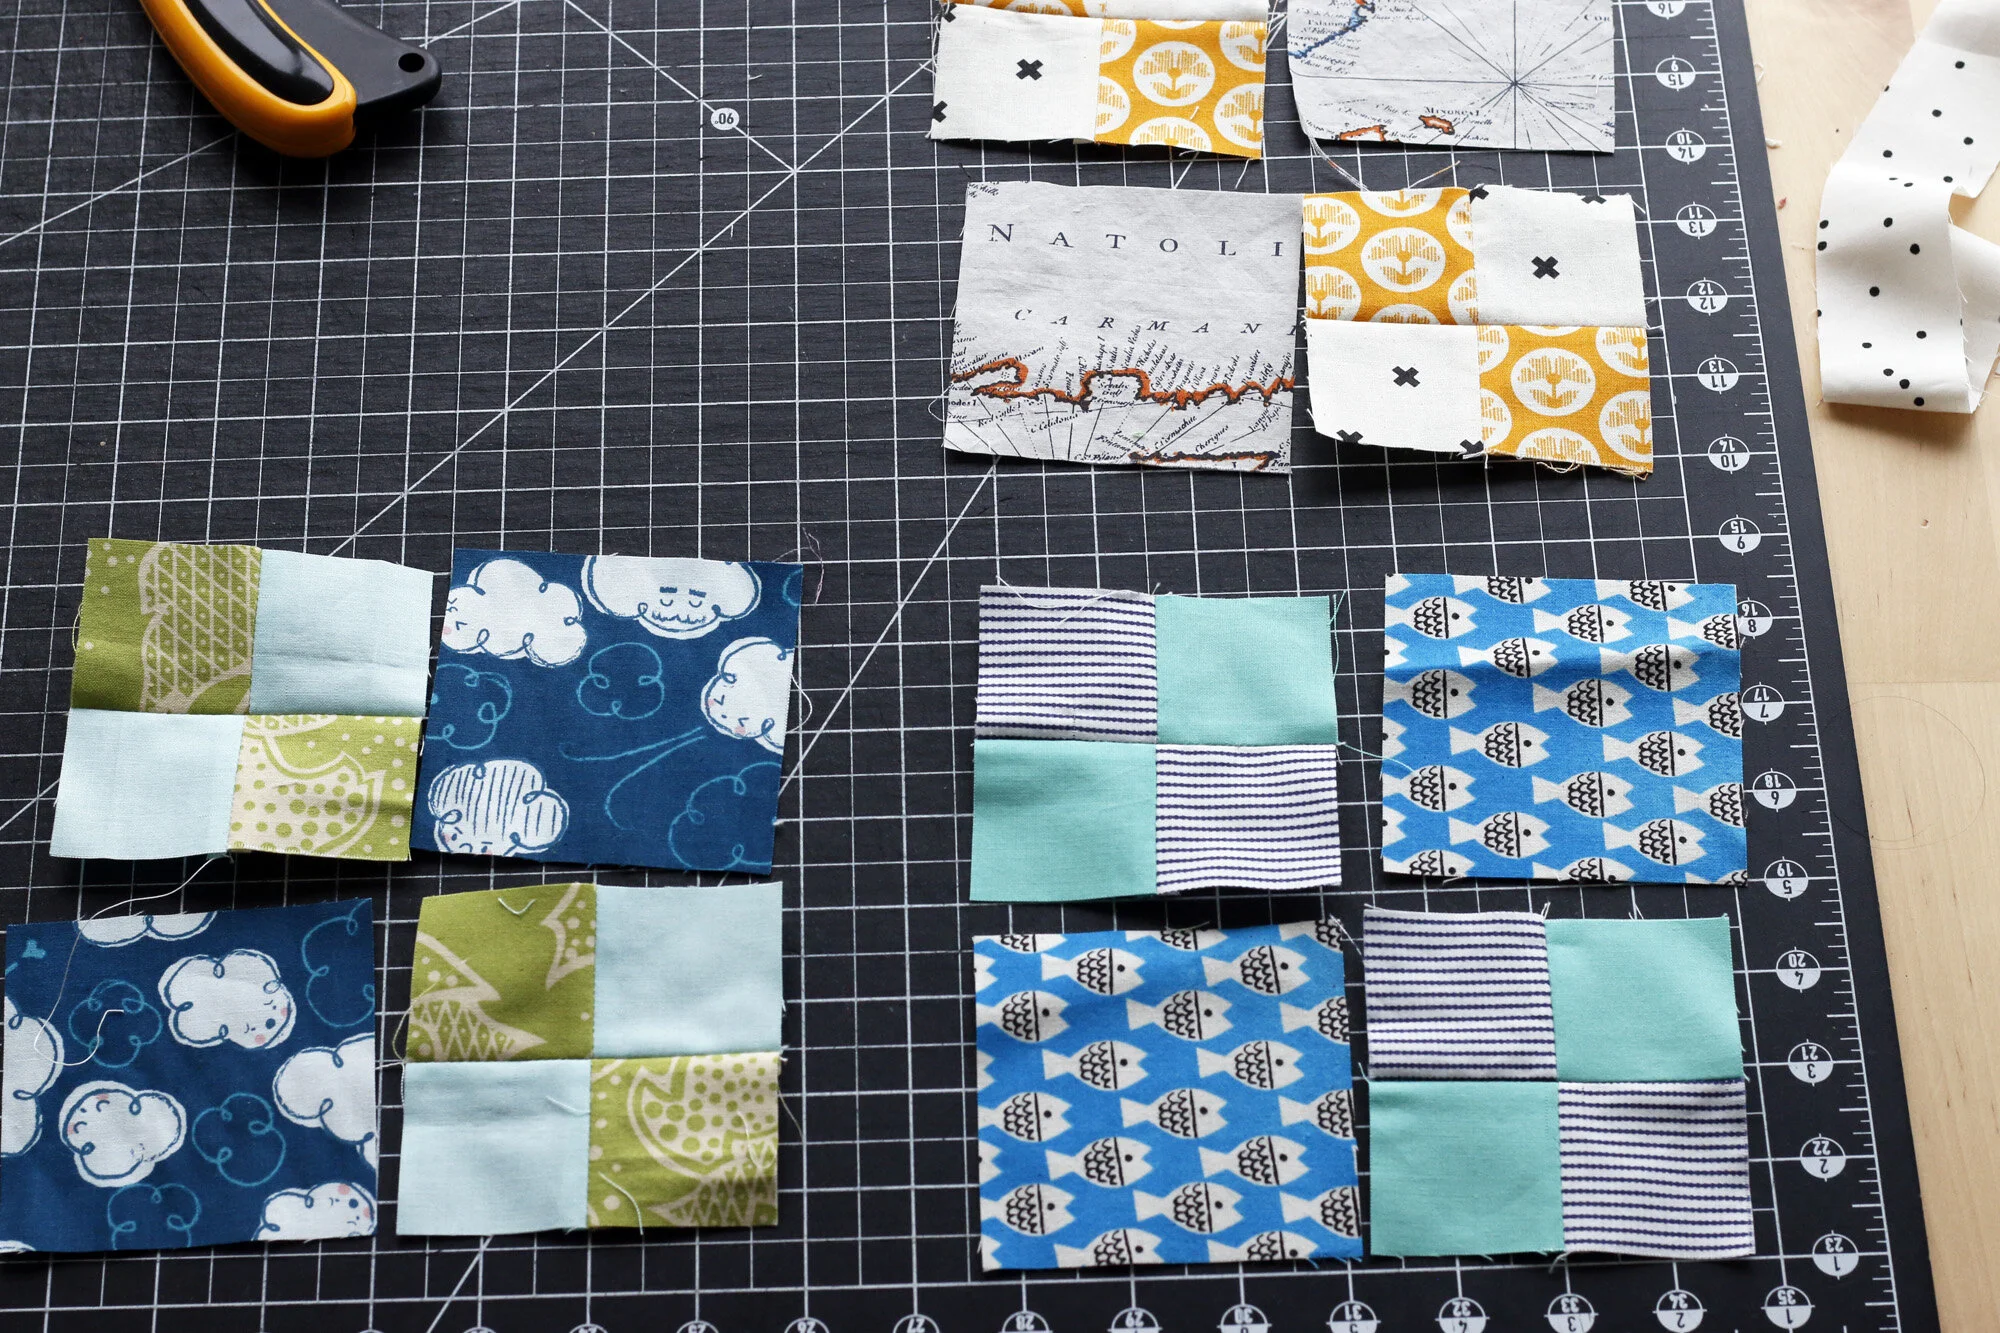
Even when you do follow the recipe, there is room for interpretation. For example, each of the below blocks is a version of a color B (purple) Penny Patch block from my quilt sewn during the 2013 sew-along:

The top block has purple in every quadrant. The other blocks have purple in only half of the quadrants. Still these all count as "color B" Penny Patch blocks! This shows that your quilt can turn out more or less color saturated, depending on how you combine fabrics in these sewn blocks. If you like a softer color palette, err on the side of using more low volumes.
To provide flexibility, in some cases we'll cut more fabric than absolutely required for your 4-patch blocks. Then you'll decide which bits you want to use more of or less of to create the effect you'll love!
I'll be back soon with a detailed cutting post!