the Purge Quilt tutorial

It's been great to hear your plans for participating in the purge-along this summer. There's no time like the present to get started!
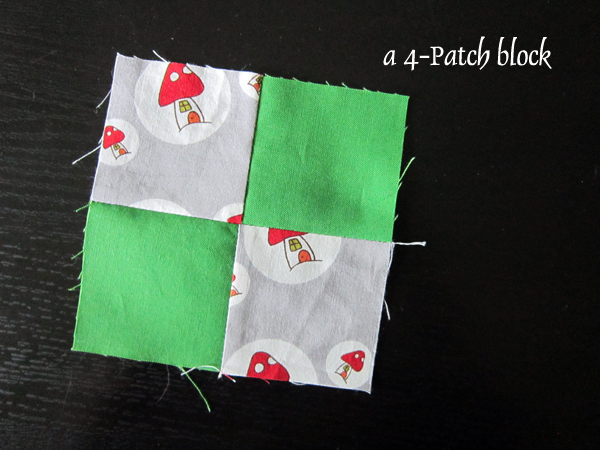
For my Purge quilt, I'm making simple 4-patch blocks with 2" finished squares. Small cuts like these are a great way to take the focus off a not-so-loved print. I chose this block style since fabric repetition gives the 4-patch a pretty bit of pattern, while requiring only (2) 2.5" cut squares for any given fabric used. When I want to use unloved yardage, I can also make the 4-patch blocks quite efficiently by strip piecing. Bottom line - this plan works equally well for sewing from smallish scraps or yardage!
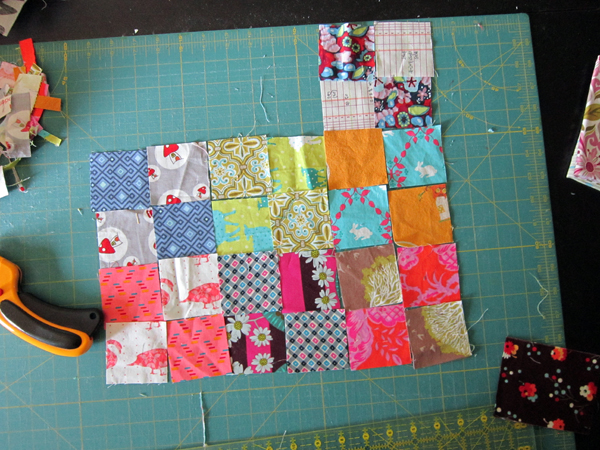
At first I planned to use only prints in my Purge quilt, but very quickly I started feeling loss in all that action.
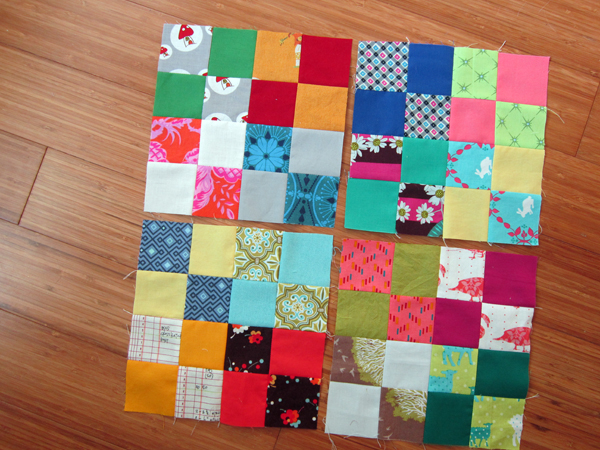
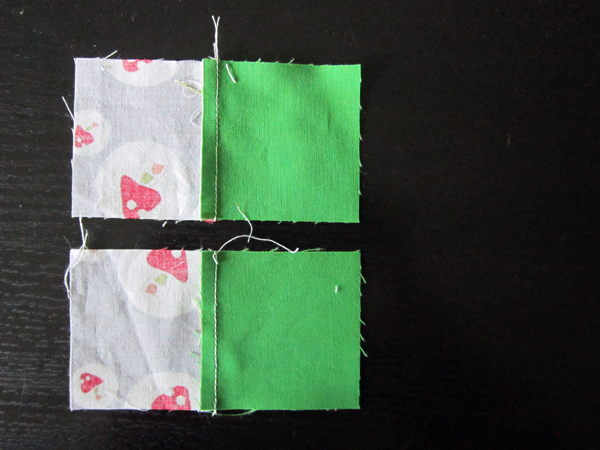
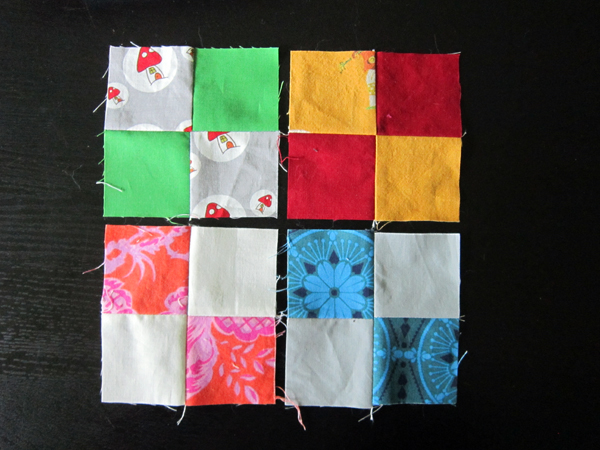
My current version alternates prints with solids. I happen to have plenty of solids scraps, so this fits my stash nicely. As you can see, I'm combining the 4-patch blocks into groups of 4, since these 8.5" unfinished squares are easier to keep organized. Not sure how many of these I'm making or how big the quilt will turn out, but I'll keep making blocks throughout the purge along. I think I'd need to churn out about 8 per week to make a nice throw sized quilt!
Here are some other ideas for making a really scrappy 4-patch design work well:
In every 4-patch block you could use (2) white squares or (2) of any fabric (even a print) that you have in bulk. This would create a strong unity in the quilt, regardless of the other fabrics you use.
If you are interested in working with value, you could make a value pattern in the layout of your 4-patch fabrics.
You could make 4-patch blocks that are somewhat monochromatic and then layout blocks in color order across the quilt. When diverse fabrics are grouped in color families, they tend to blend and harmonize beautifully.
My own layout and color scheme is intended to be rather bright and chaotic, kind of a crazy quilt vibe!
{Purge Quilt Tutorial}
Step 1: Cut Squares or Strips
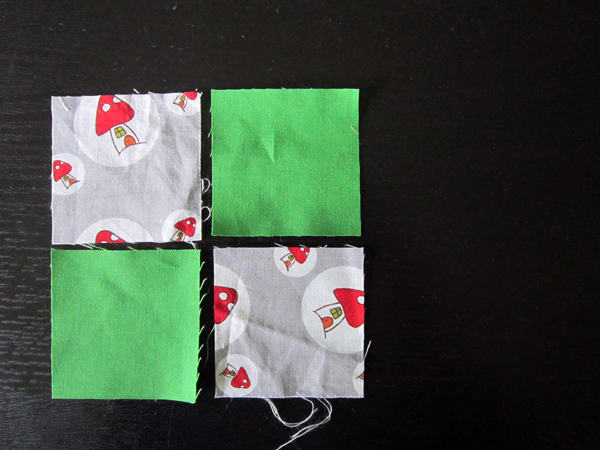
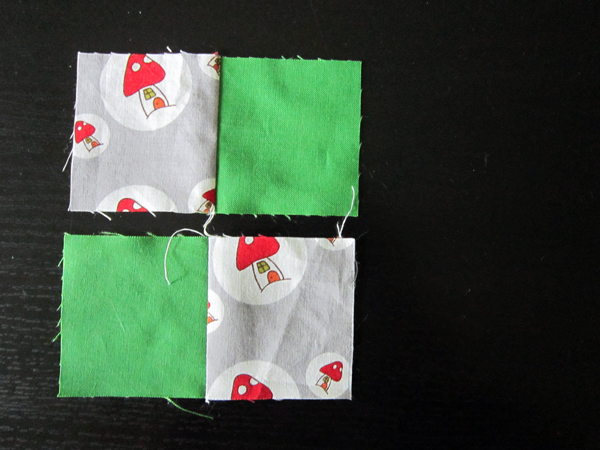
If you're working from scraps, cut (2) 2.5" squares in each fabric you'd like to use. Arrange in a 4-patch like so.
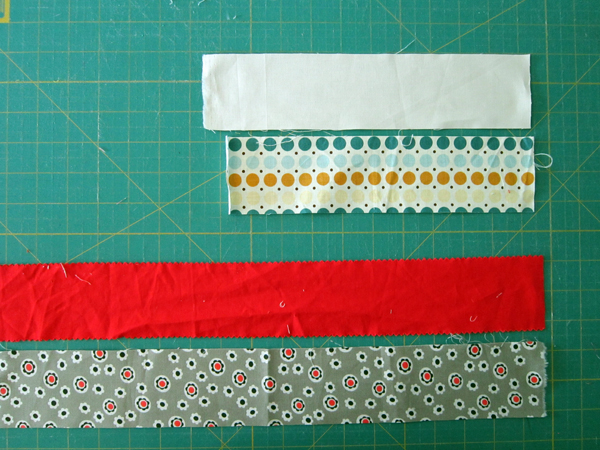
If you're working from larger pieces, cut a 2.5" wide strip in each fabric you'd like to use. The strip must be at least 5" long to yield one 4-patch block. To make multiple blocks at once (and increase efficiency) cut strips longer, in 5" increments. For example, a 2.5" x
10
" strip yields 2 blocks, a 2.5" x
15
" strip yields 3 blocks, and so on.
Step 2: Join as Pairs
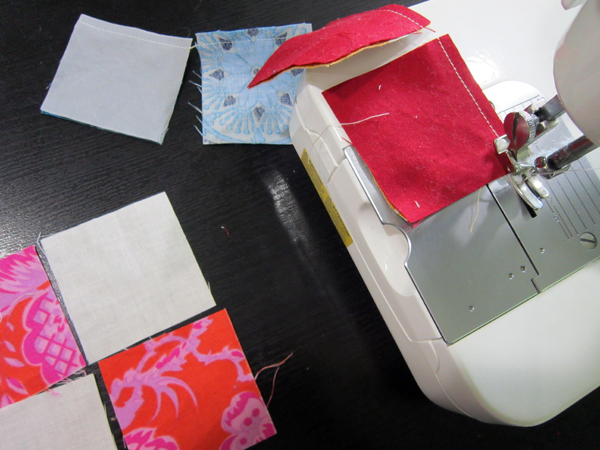
If working with squares, sew them together in pairs, creating the two "rows" of a 4-patch bock. Press seam to one side, pressing towards the same fabric in each pair. Here I've pressed towards the print each time.
Save time by chain-piecing lots of square pairs for multiple 4-patch blocks at once!
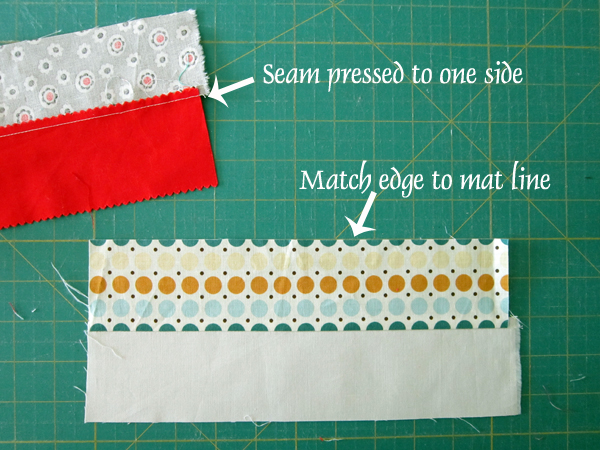
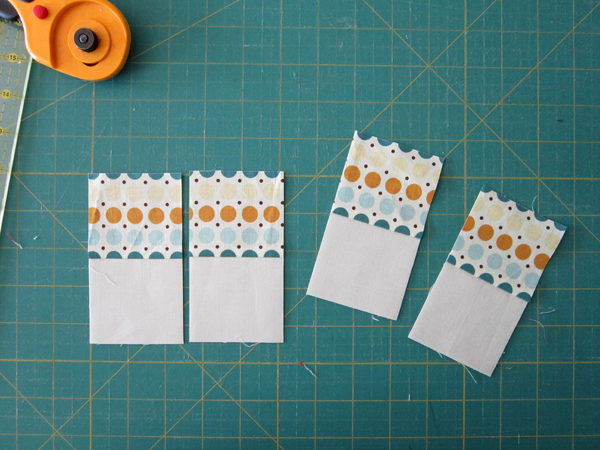
If working with strips, sew strips together side-by-side. Press seam to one side. Place one long edge of the strip along a horizontal line on your cutting mat.
Cut across the strip in 2.5" wide intervals.
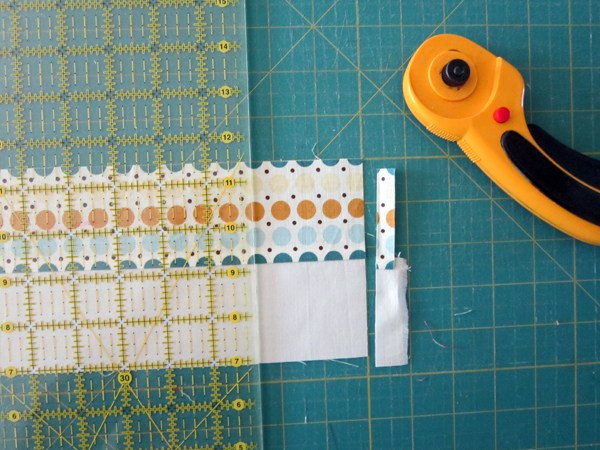
These are your 4-patch "rows".
Step 3: Join as 4-Patch
Arrange rows as shown, with same fabrics on diagonal.
Flip rows right side together and match seams. The seams should be pressed to the side in such a way that they are pressed opposite one another and sort of "lock" together with seams matched.
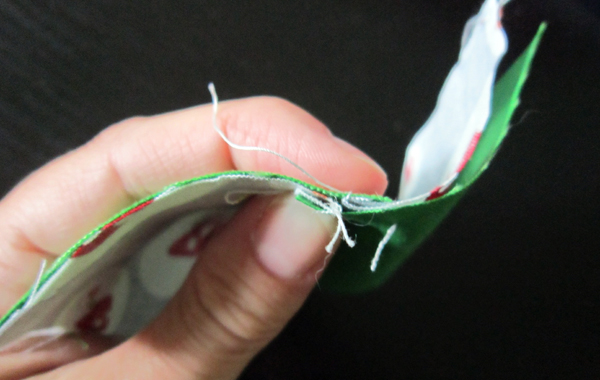
Sew to join rows and press seam open.
Step 4: Combine Blocks
If you like, you can also join 4-patch blocks to create larger, more manageable 8.5" unfinished squares. To do so, first join block pairs to create rows and then join rows to finish. This is the same process as making a tiny 4-patch block, but with larger pieces!
I suggest you do all sewing with scant 1/4" seams. After creating the larger combo-blocks, trim to 8.5" square and set aside.
And then... make some more!