how to Sew a Quilt Border
This post is part of a series: the Big Bed Quilt-Along. We're sewing along February - April 2018, but you can use the resources anytime to help you make a large quilt. Use hashtag #BigBedQAL to share your progress!

Attaching a border to a quilt isn't as simple as it seems. After sewing a border, have you ever noticed that the outer edges of your quilt are wavy? Although the border seams looks flat and tidy, the raw edges of the quilt have waves of fabric, also called "fullness." The quilt won't lie completely flat no matter what you do.
I'm going to tell you how to fix that! But first let's talk about why it happens.
Uneven Feed
Your sewing machine has feed dogs that move the fabric along as you sew. The feed dogs pull the fabric from the bottom only. This causes an uneven feed with the bottom fabric moving slightly faster than the top fabric. As a result, the top fabric will be subtly gathered. Usually this gathering is not noticeable, but long border seams exaggerate the effect.
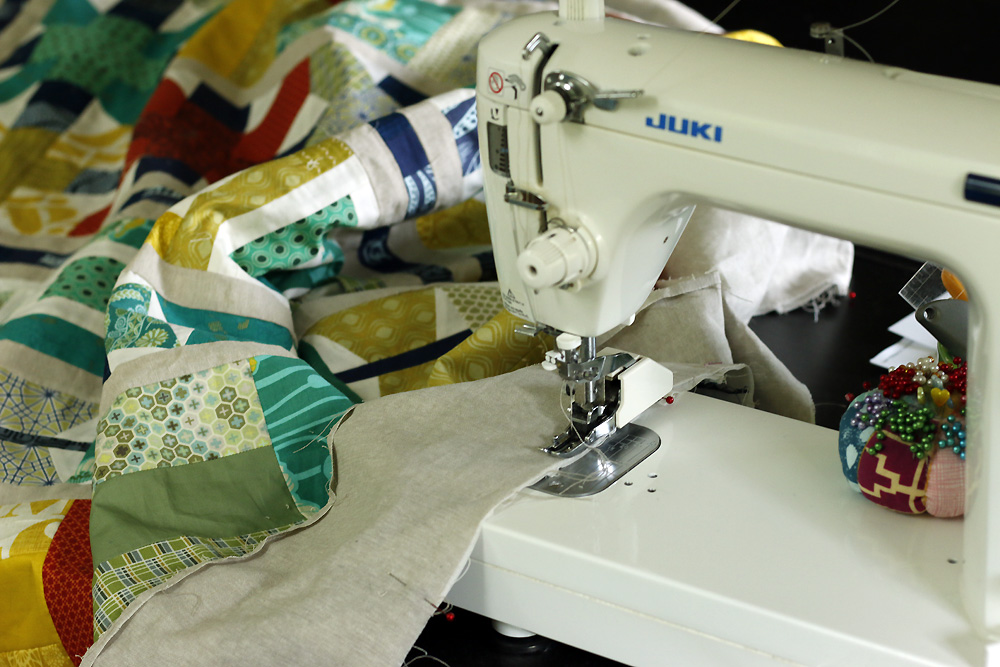
If your machine has dual feed, it also moves the fabric from the top. This can eliminate uneven feed, making sewing borders easier. If you don't have dual feed, use a walking foot. A walking foot moves the fabric from the top as you sew, reducing uneven feed.
A Quick Test
Not sure about your machine? Here's a test. Cut two 12" long fabric strips. Match them exactly and sew without pins. At the end of the seam, are the fabric ends still exactly matched? If not, you have uneven feed.
Maybe your 12" strips sew evenly, but what about 24" strips or 36" strips or borders, which might even be 100" long! At some point every machine needs help to keep strips feeding evenly under the needle. That's why we need dual feed or a walking foot. Pins can also help!
How To Sew a Quilt Border

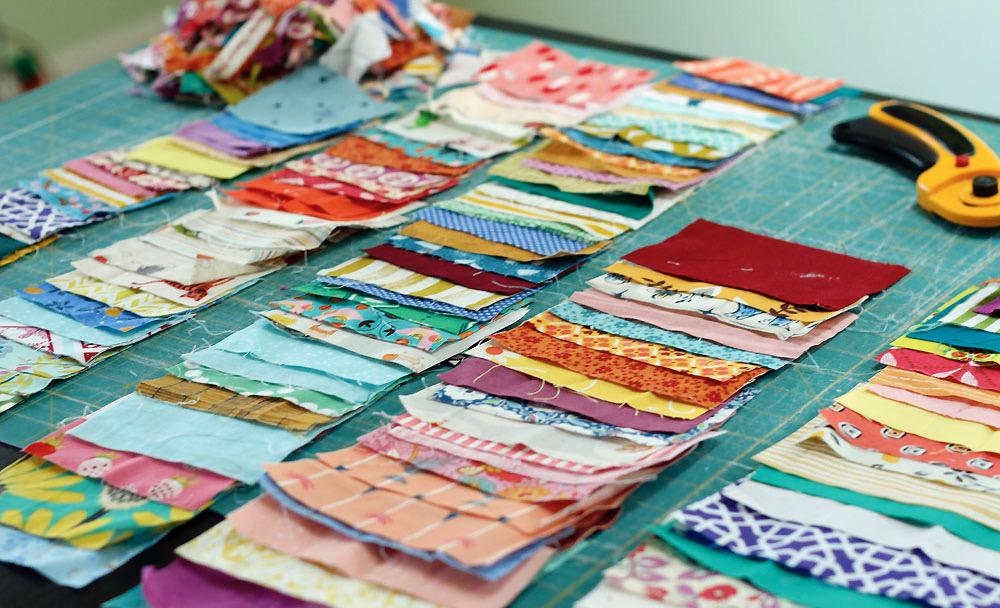
This week when prepping a customer's quilt for long arm quilting service, we noticed lots of fullness in the borders. There were waves all along the edges. We attempted to spread out the fullness evenly with basting spray.
Soon it became clear that, despite our efforts, the border would have puckers if quilted in its current condition. For a fee I offered to correct the border for the customer. Fortunately, she agreed that I could use the photos to demonstrate this process!
Step One: Measure
Before attaching borders, measure the quilt to detect any serious problems. Take 3 measurements: along two opposite edges and through the quilt's center. Are measurements approximately the same? A difference of up to an 1" may be fine. The greater the difference, the less square and flat your quilt top. For best results, consider making some corrections before attaching the border.

This beautiful quilt is a medallion style quilt. Such quilts are built from center as rounds and rounds of borders, multiplying the risk of creating fullness. Even after removing the outer linen border, the quilt will not lay flat. The quilt measured 102.5" along one edge, 98.75" at center and 102.25" at the opposite edge. Uh oh.
Because there was so much fullness in the flying geese layer, I removed one goose from the center of one side of the quilt. Of course, I had to release much of the geese row in order to reattach them evenly. But this really improved that geese side, making it flatter and straighter. I also removed one goose from the center of the opposite side. Now the quilt was more square and ready for borders.
Step Two: Pin
Prepare a border strip that is longer than necessary. Fold in half to find its center. Pin the border's center to the center of the quilt's edge. Use a unique pin to signify center. Now your border is centered on the quilt.

Place pins every 4" or so connecting the border to the quilt edge. If your quilt's edge has some fullness already, ease that fullness into the border by not stretching the quilt's edge completely flat. Make sure that the border strip is flat and smooth.
Step Three: Sew
Attach a walking foot to your sewing machine. Sew the border seam, starting at the center of the border where you placed the unique pin. Remove pins as you sew. When you reach the end, return to center and sew the seam in the opposite direction. By sewing the long border seam from the center out, it attaches even more evenly!
Step Four: Press and Trim
Press the seam as desired. Trim away excess border fabric at quilt corners. A square ruler is handy! Repeat steps 1-4 to sew all four borders.


Attaching borders to this quilt was particularly challenging since the quilt already had fullness in the piecing. I was able to make a big improvement though. I removed a cumulative total of 17" of excess border fabric, plus those two geese blocks.
I'm pleased with the way the borders are now fairly flat. The basting and quilting will be much nicer now, as this beautiful quilt deserves!

I hope this tutorial is helpful. Please let me know if you have any questions!