good morning, Color!
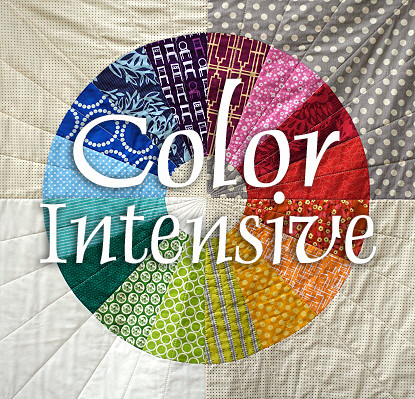 Today is the first day of Color Intensive workshop! And, no, it's not too late to join. You can Register Here and I'll get access to the private class blog lickety split!
I am so delighted by all the enthusiasm this course has generated! This morning I began to receive responses to our first lesson post. K. Lee commented:
Beautiful and informative post, thank you! The lovely way you put words together and your views on color are truly inspiring...
In the first week of registration my little assistants and I mailed off every single Kona Color Card that Robert Kaufman had freely provided to early registrants. We're all out of cards now, but you can order yours from Canton Village or from Fabric Spot in Canada. Several lessons have optional and very quick {extra credit} exercises to keep you interacting with the new color concepts. To do them, you'll want some kind of color menu, such as a fabric swatch card, embroidery floss set, thread rainbow, paint chips, etc. - just any way you can access and manipulate color!
Today I'm also wrapping up some loose ends. Let' see...
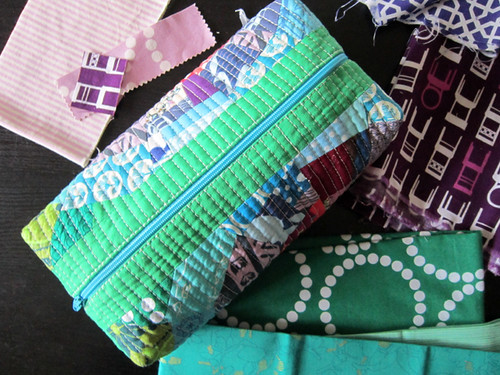
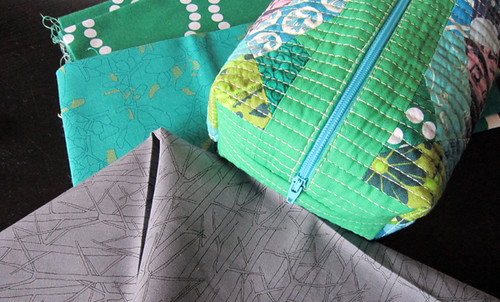
Here is the finished pouch I put together yesterday for a very, very patient Penny Sampler camper.
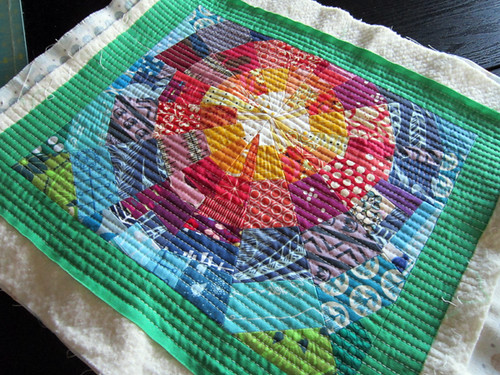
First, I bravely chopped my scrappy rainbow burst twin to offset the "burst" and make it into a pouch-friendly rectangle shape. I cut the piece to 10" x 12" and then added Kona fern strips cut to 1.5" wide. Then I quilted it to smitherings with 1/4" spacing. Yum.
Once assembled you can see how the thin, solid border creates a cool design feature. This idea is straight from Terrabyte Farm, who made a similar pouch years back for Celebrate Color. Love it!
For construction, I went with a simplistic approach, drawn from this tutorial. It's the first time I've done a pouch without a separate lining. I couldn't believe how fast and non-fussy the process was. (Funny how I can happily spend weeks and weeks on a quilt, but I like quick and easy when it comes to pouches and clothes!)
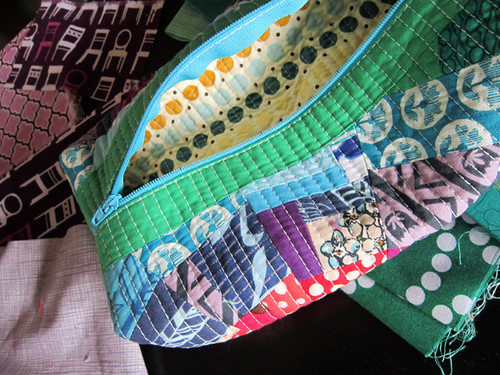
Sure, this simplistic construction means that the zipper edge shows when you open the pouch. But, whatever, a pouch is a happy place to put things in. No big deal. Also, you can see that I did get to use a contrast lining fabric, plus the inside is quilted this way. The few interior raw edges were closely zigzagged to prevent unraveling. All in all, I'd do another box pouch this way.

I boxed the corners at 1.75", causing the pouch to finish at 9" x 4.75" x 2.5".
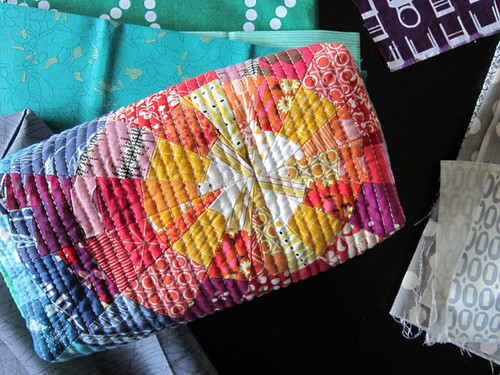
The bottom is kind of awesome! I think I need to make another for me (and maybe some Valentines surprise versions for the kids?).
In other news, Sew Modern listed our Pink Is mosaic contest bundles for sale. You can pick up one of the winning bundles while supplies last. Yay!
I've actually got a full shopping cart at the moment. All this color on the brain... It's got me so inspired!