Alabama Chanin again
It's been long, too long. So long I had almost forgotten! But I've been casting about for a new handwork project and I landed once again with Natalie Chanin. In 2010 I shared a couple of projects made from Natalie's first book, Alabama Stitch Book .
.
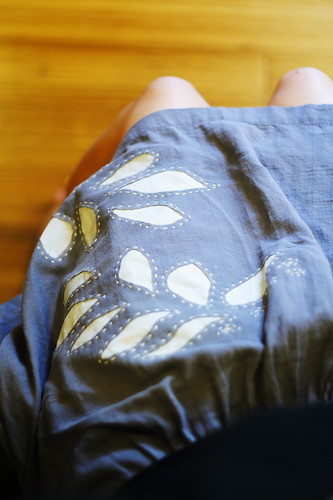
I refashioned this skirt to hide a bleach stain,
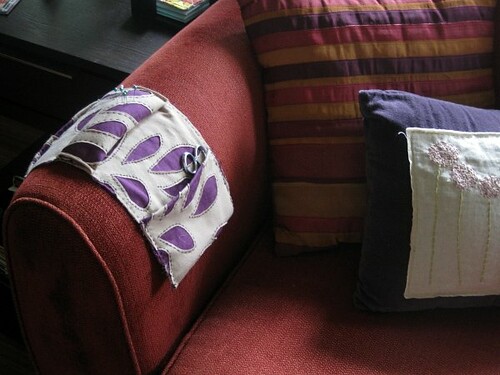
and made this pin cushion caddy that lives over the arm of our couch when the kittens aren't being naughty.
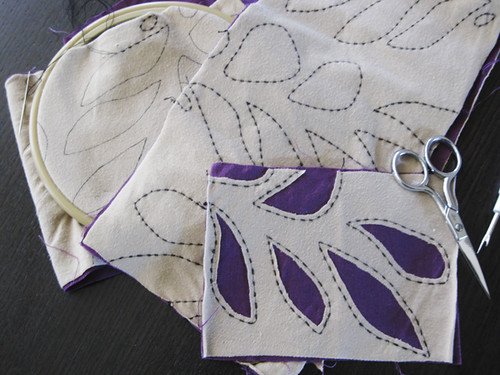
With reverse applique, you transfer a pattern on the top fabric. Then, you layer a fabric underneath (in this case the purple) and stitch through both layers, following the pattern. Last of all you cut away the top fabric just inside your stitch lines. That's the best part! Jersey knit fabric is great to use since it doesn't fray like woven quilting cotton would at the raw edges. I've also seen felted wool used for reverse applique by Maureen Cracknell.
After reorganizing my "other" fabrics stash, I came across an aqua jersey toddler tee I'd saved to use for Alabama Chanin style reverse applique. The front of the tee was stained, but the back still looked like new. Aha... 2 new needlebooks it shall be!
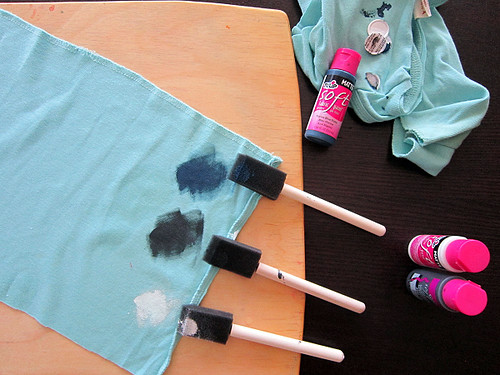
This time I wanted to transfer the pattern with fabric paint, as Natalie Chanin often does, to get the effect of the painted border around the cut out applique. I found these Tulip paints at my local craft store and set to work with sponge brushes.

My first attempt was rather shoddy. Even though I tried really hard to keep the stencil still, I didn't achieve nice lines. Fortunately, this transfer was remedied with patient use of a fine tipped paint brush.
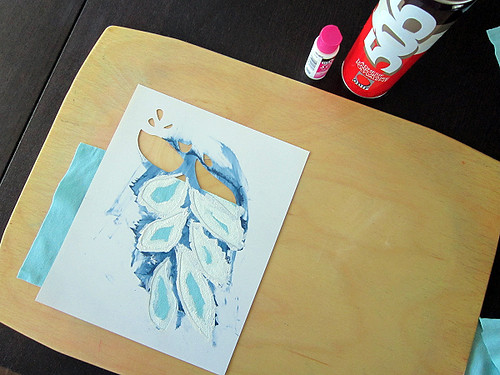
For my next attempt, I used spray adhesive on the underside of the Bloomer stencil as recommended in Alabama Stitch Book. That really seemed to help! I didn't paint the inside portion of the leaves since they will be cut out eventually.

Still, transferring the stencils was a very slow process since I had to let the paint completely dry before placing the stencil in a different spot to create more of an all-over pattern. It would be so nice to have a big stencil and a paint airbrush, like Natalie uses! Now my two pieces are ready to work. I'm taking them with me on a weekend trip with Brandon in celebration of our anniversary. Looking forward to getting started on them!
I refashioned this skirt to hide a bleach stain,
and made this pin cushion caddy that lives over the arm of our couch when the kittens aren't being naughty.
With reverse applique, you transfer a pattern on the top fabric. Then, you layer a fabric underneath (in this case the purple) and stitch through both layers, following the pattern. Last of all you cut away the top fabric just inside your stitch lines. That's the best part! Jersey knit fabric is great to use since it doesn't fray like woven quilting cotton would at the raw edges. I've also seen felted wool used for reverse applique by Maureen Cracknell.
After reorganizing my "other" fabrics stash, I came across an aqua jersey toddler tee I'd saved to use for Alabama Chanin style reverse applique. The front of the tee was stained, but the back still looked like new. Aha... 2 new needlebooks it shall be!
This time I wanted to transfer the pattern with fabric paint, as Natalie Chanin often does, to get the effect of the painted border around the cut out applique. I found these Tulip paints at my local craft store and set to work with sponge brushes.
My first attempt was rather shoddy. Even though I tried really hard to keep the stencil still, I didn't achieve nice lines. Fortunately, this transfer was remedied with patient use of a fine tipped paint brush.
For my next attempt, I used spray adhesive on the underside of the Bloomer stencil as recommended in Alabama Stitch Book
Still, transferring the stencils was a very slow process since I had to let the paint completely dry before placing the stencil in a different spot to create more of an all-over pattern. It would be so nice to have a big stencil and a paint airbrush, like Natalie uses! Now my two pieces are ready to work. I'm taking them with me on a weekend trip with Brandon in celebration of our anniversary. Looking forward to getting started on them!