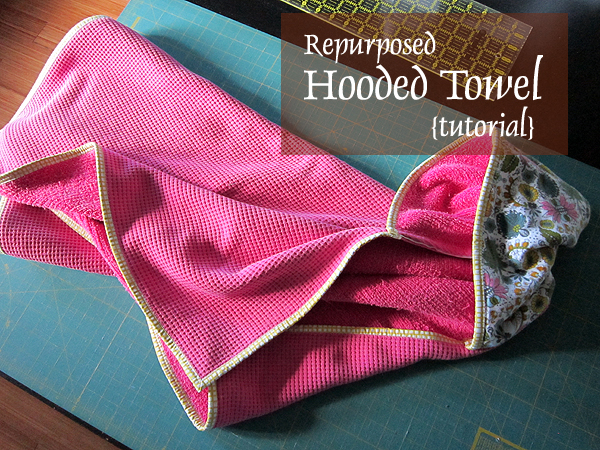
Repurposed Hooded Towel tutorial
Want a large, super absorbent towel for baby? I love hooded towels made from regular towels. They're so much thicker than the baby towels sold in stores. You can even re-purpose extra towels from around the house for this project! This tutorial adds contrast fabric at the hood and easy-to-make straight grain binding, all with no exposed seams. Enjoy!
Supplies
1 large bath towel
1 hand towel
Fat Quarter hood contrast fabric
1/2 yard binding fabric
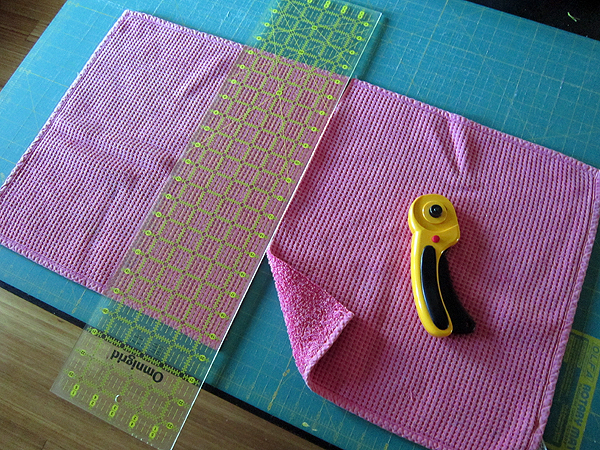
Step 1: Cutting
Cut the hand towel in half, creating two square-ish sections. The raw, cut edge should be somewhat longer than the finished edges. You'll need only half of the hand towel for this project.
Measure the half-hand towel. Cut the hood contrast fabric in the same dimensions as the towel. If possible, as you cut, orient the selvedge to fall along a longer side of the half-hand towel.
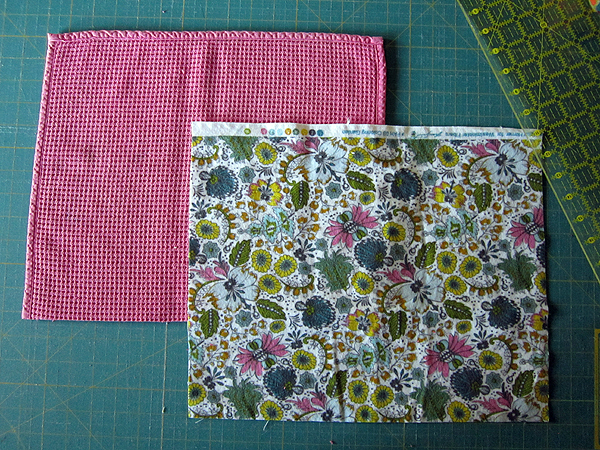
If selvedge is not available, cut the hood contrast fabric a 1/2" larger than the half-hand towel so that you can make a double fold 1/4" hem on one side only, in place of selvedge. The goal is to have a finished, non-raveling edge along one of the long sides of your contrast fabric.
Optional: If you'd like, cut off some of the bath towel so that it is not quite so wide. I took about 8" off the short side of my bath towel, making it a slightly less elongated rectangle. If your towel is for a toddler, not a baby, probably best to leave the bath towel full-sized.
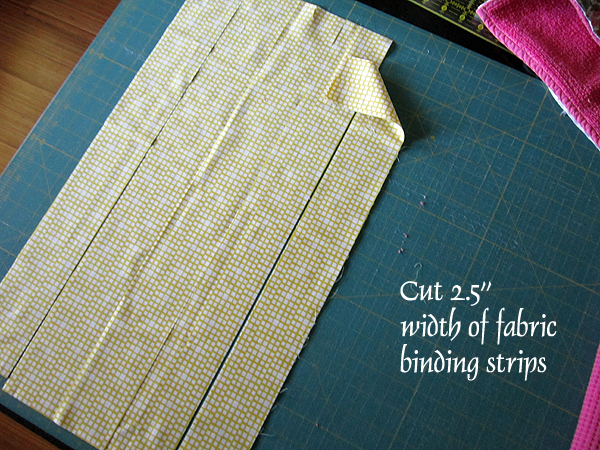
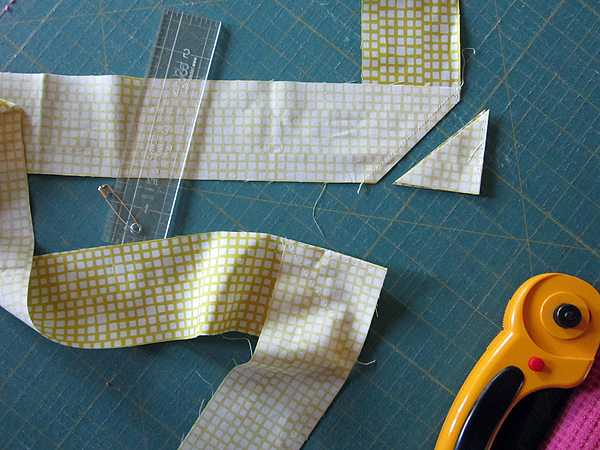
Cut binding fabric into 2.5" wide strips, using the full length of the fabric to make strips as long as possible. You'll need 4 to 5 strips to bind your towel, depending on towel size.
Step 2: Create Hood
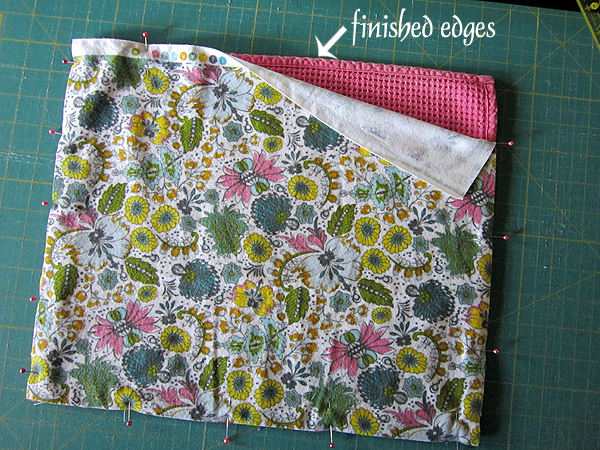
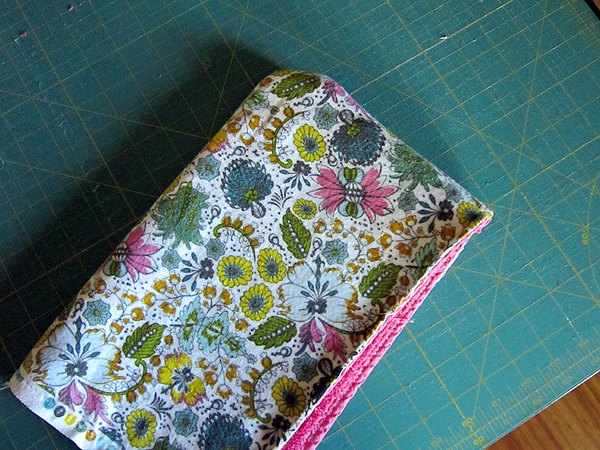
Layer the hood contrast fabric on the half-hand towel, right side out. Be sure to match the long, finished edge of the contrast fabric to a long, finished edge of the half-hand towel. Pin all the way around.
Then, stitch all 4 sides of the contrast fabric to the hand towel with a 1/4" seam.
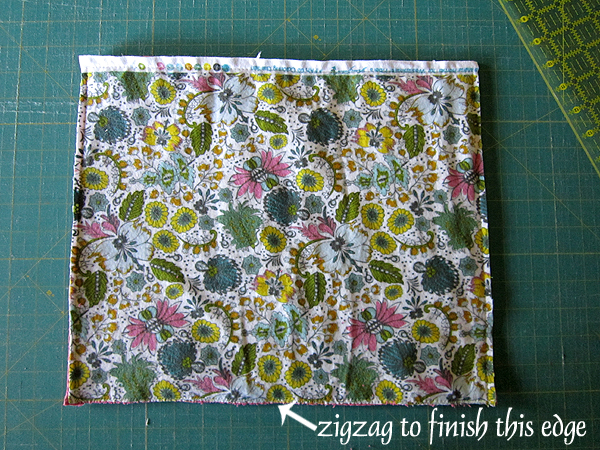
Use a zigzag stitch to overcast finish the cut, raw edge of the hand towel, stitching through the unfinished contrast fabric as well.
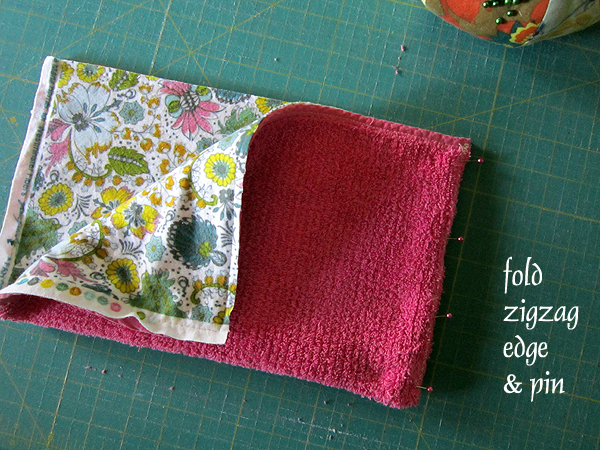
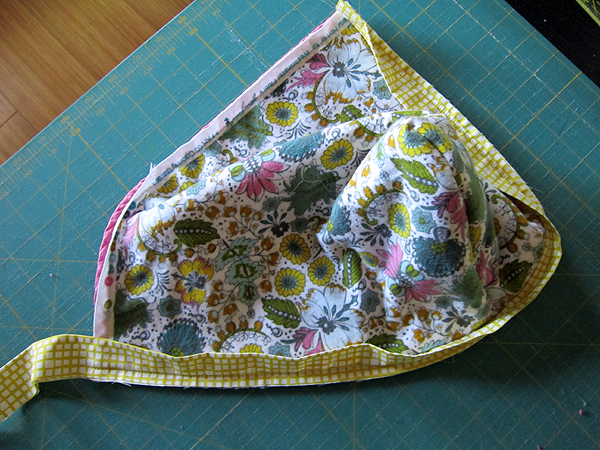
Fold the hood, matching right sides together. The zigzag finished edge of the hood should be folded and matched, zigzag edge facing zigzag edge. Place pins along the zigzag edges.
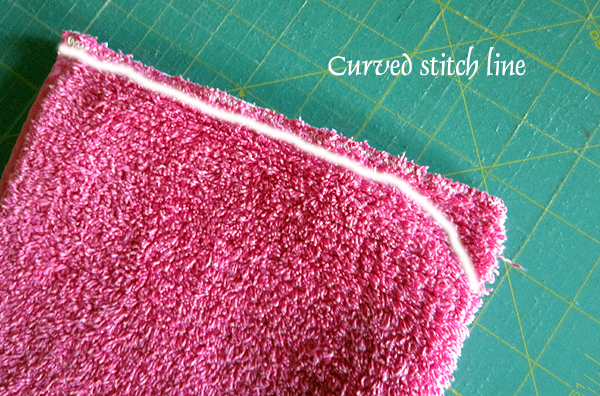
Sew to close this side of the hood, being sure to backstitch at start and finish of your stitch line. Curve the stitch line slightly as you near the fold of the fabric, to give the hood a more rounded finish.
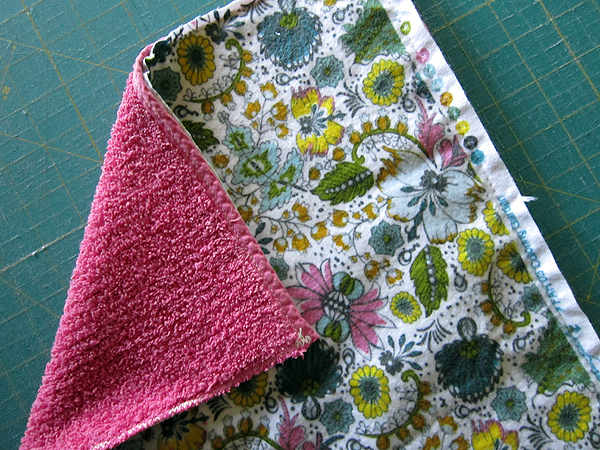
Turn the hood right side out!
Step 3: Finish
Review my zigzag binding tutorial to learn how to make and attach binding. We'll be attaching binding in the same way here! See tutorial for extra binding pictures and details if you're not familiar with attaching quilt binding.
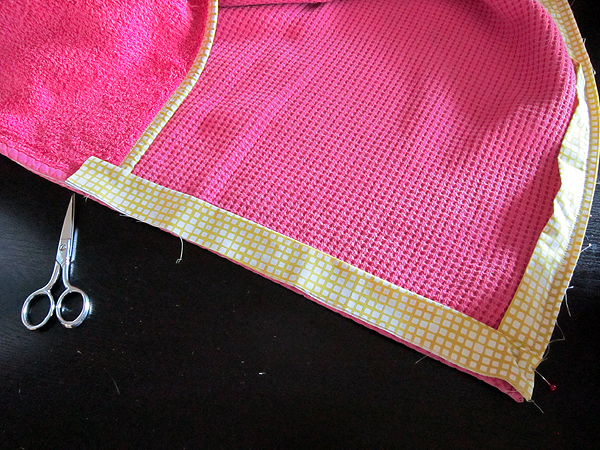
First, use a 2.5" binding strip to bind the hood. Attach the binding to the right side edges of the hood (raw edge of folded binding strip matches the raw edges of the contrast fabric). Cut off excess binding.
Fold and press binding around the hood edges. The folded edge of the binding will fall on the wrong side of the hood. Pin in place. Attach with a zigzag stitch.
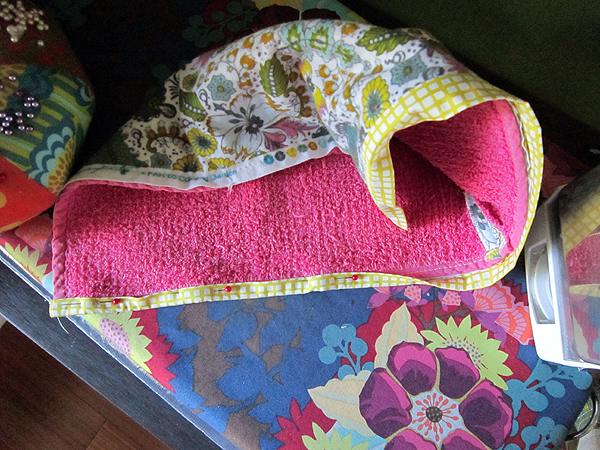
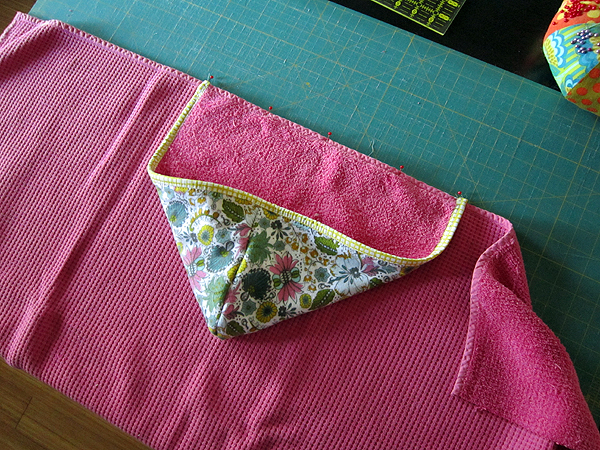
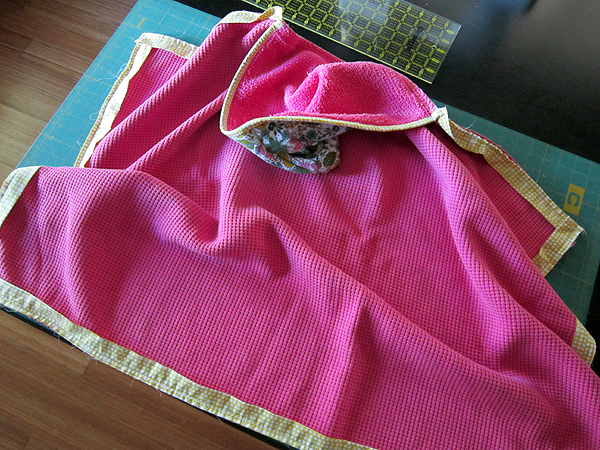
Center hood on a long edge of the bath towel. The long edge is finished, as is the long edge of the hood so we'll have only finished seams exposed at this join. Pin and join hood to bath towel with a 1/2" seam. Be sure to backstitch at start and finish, maybe even more than usual!
Follow the binding tutorial to join remaining binding strips as one long strip.
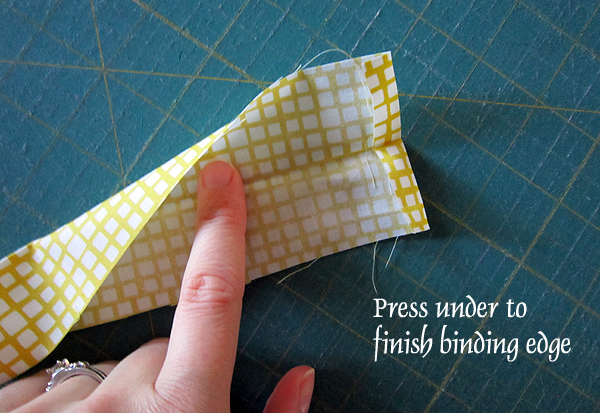
Press raw short ends under at one end and allow binding strip to fold closed again.
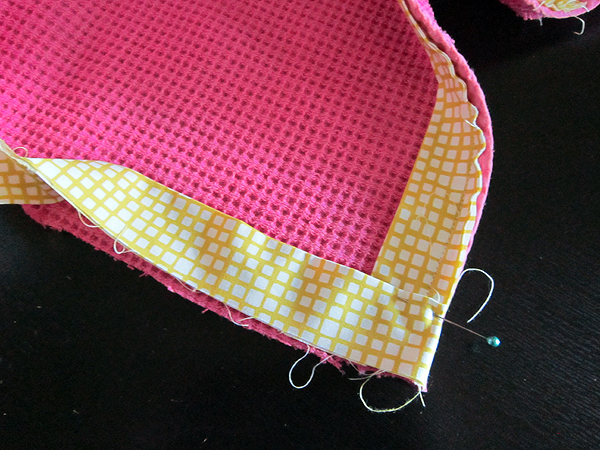
Attach binding to the bath towel. Begin by lifting the hood slightly to start attachment just inside the hood/bath towel seam for a neat appearance.

Attach binding just as if binding a quilt, mitering the corners.
When you come around to the hood again, cut off extra binding, leaving about a 1" overlap with hood.
Fold and press under the short raw edge of the just-cut binding. Then attach as before, sandwiching the binding in the hood/bath towel seam allowance. Now the binding is attached to the right side of the towel all the way around.
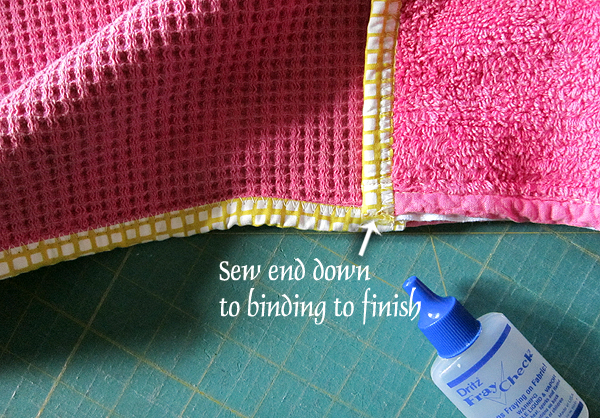
Finish attaching the binding as usual, with a zigzag finish. As a final touch, sew to attach the hood binding to the bath towel binding. I used a straight stitch on my Juki sewing machine, sewing very close to the raw edge of the hood binding. If your machine cannot sew through such thick layers, try hand stitching to finish. If you like, add a little fray check to reinforce the stitched down, raw edge of the hood ends.
Ta da! A lovely, large hooded towel made from bright pink towels we no longer need. Can't wait to snuggle my babe in it and snap some pictures for you sometime next year!
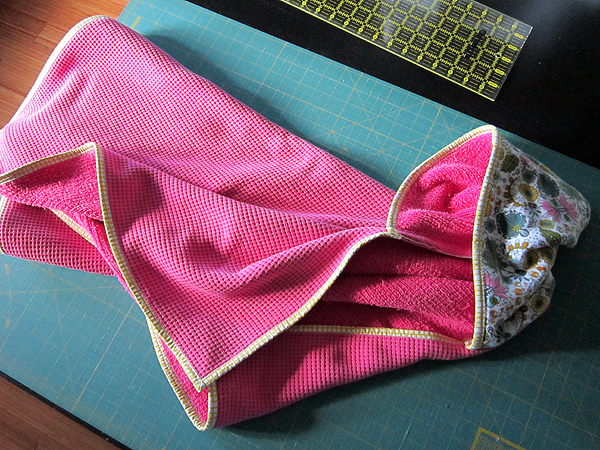
Happy making!