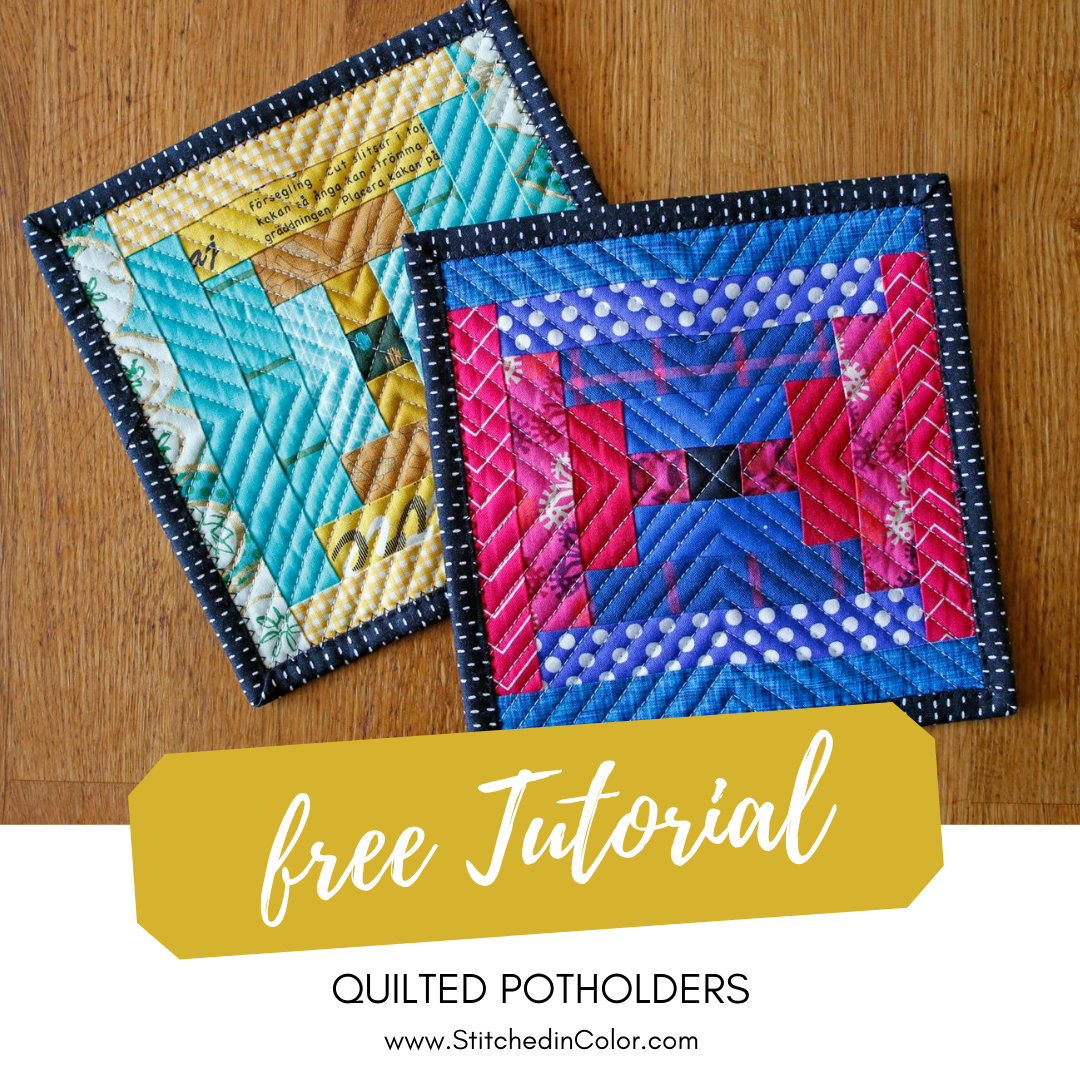
Baby + Toddler Fabric Headband tutorial

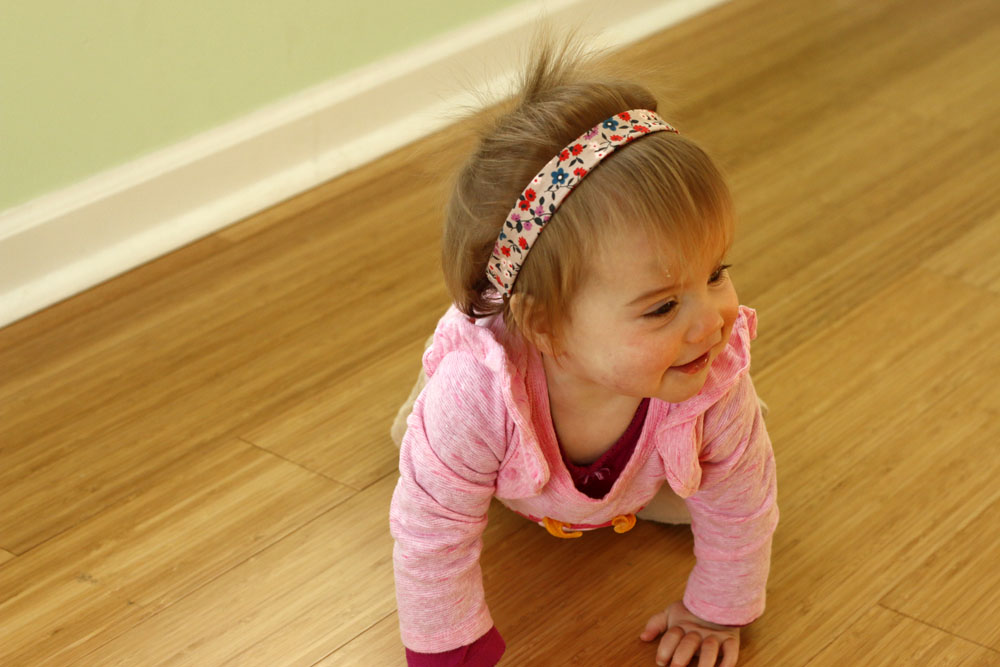
This simple tutorial creates an elastic headband to fit a baby or child, up to approximately three years old. Turn a fabric scrap into a sweet headband to tame that little one's locks! Miss Rora certainly needs all the assistance we can muster in that department!
Supplies
(2) fabric strips measuring 1 3/8" wide and 11" long.
9" length of fold over elastic.
matching thread
Prepare
Fold over elastic is a soft, fabric-like elastic that's available in many colors. I bought this set on Amazon*, which has a wide variety of pretty colors and enough elastic for other projects like toddler skirts. Match your elastic to your headband fabric as much as possible.

*affiliate link
Pin + Sew
1. Press one short end of your headband fabric 1/4" toward the wrong side. Repeat with the other headband fabric. You should have one end of each fabric strip pressed under, creating a finished edge. The opposite ends are raw.

2. Place the fabric strips right side up. Place the elastic in the center of one strip with a bit of the elastic extending beyond the short raw edge.
3. Stack the other fabric strip right sides together with the first. The elastic is sandwiched between the fabric strips. Align the finished fabric edge and pin. Then, pin along the center of the fabric, stabilizing the elastic at center so it will not shift while sewing.
4. Start sewing at the finished short end of the fabric strip. Sew a 1/4" seam traveling from one finished edge, all the way to the short raw edges and around back to the finished edge. Backstitch securely at start and finish of this thread path to secure threads.
Turn
5. The finished short edge is open to allow for turning. Before turning, clip the corners as shown (below, left) to facilitate the turn.


6. Turn the work right side out. This is the hard part, friends! Try using a dull point turner, such as the wrong side of a pencil, to help you turn this small tube. Resist the urge to pull on the elastic! The elastic will not help it turn (I promise!) and pulling it actually bunches up the fabric in an unhelpful way.


Finish
7. Press fabric tube flat. Wrap it around your child's head to determine ideal elastic length. Cut elastic to about 1/2" longer than desired length. For my 1-year-old I usually removed about 1" of elastic. Push raw end of elastic into the finished end of the fabric tub. Push about 1/2" of elastic into the tube. Pin in place. Sew fabric opening closed with matching thread, securing elastic at the same time.

Once you accept that turning the tube is fussy, I think you'll agree that this is a cute, quick little project. Aria helped me make this batch to share with our friends! I'll be tucking a couple into Rora's Christmas stocking. She will definitely enjoy chewing on them even more than wearing them...