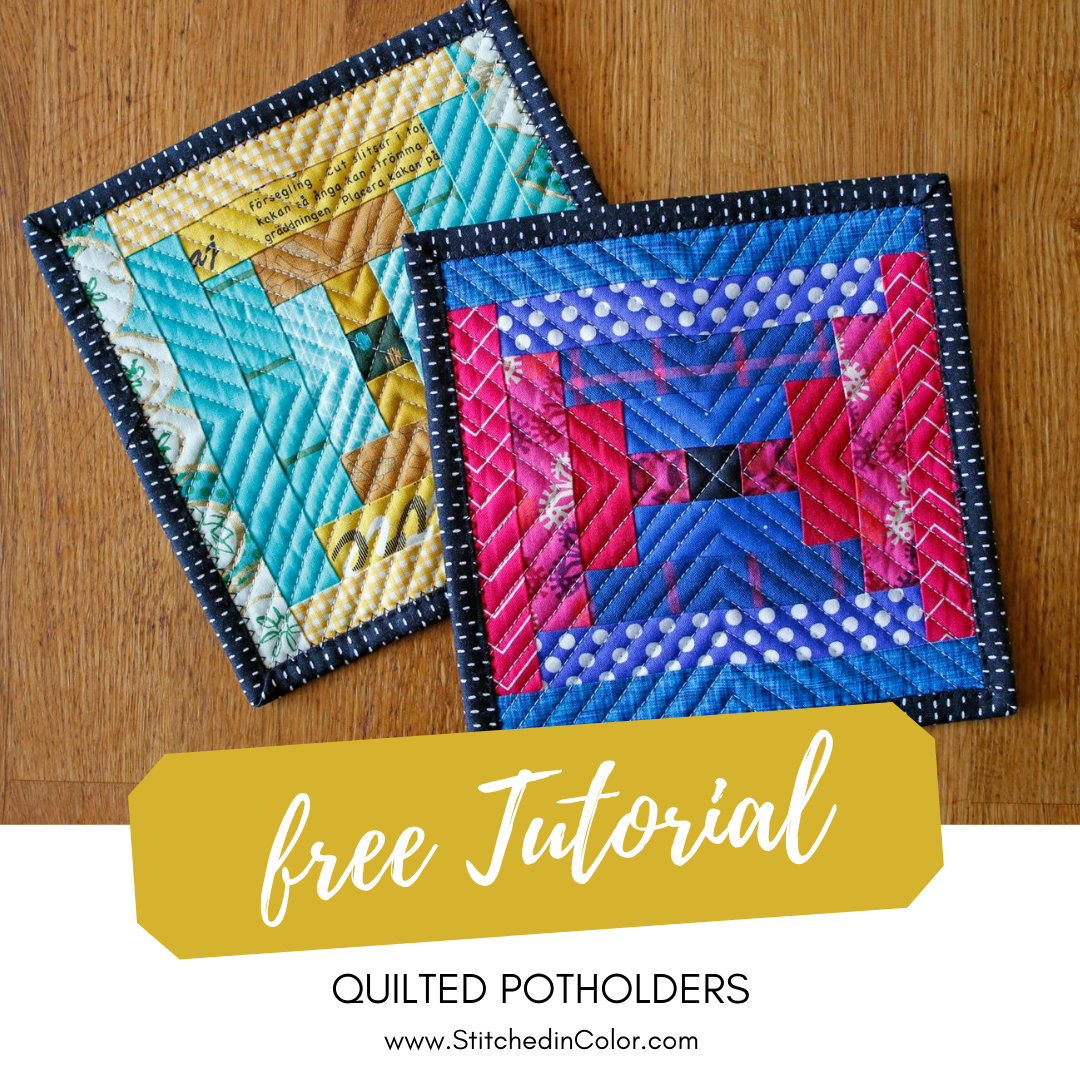
Courthouse Steps Potholder tutorial

Potholders are a fun little gift to make. They’re always useful and easy to personalize with the right colors and fabrics. I made a set for a friend’s birthday recently and took some photos to share the process with you.
Each potholder is a mini quilt made up of a single courthouse steps quilt block. I like to machine paper pieced the blocks for satisfyingly precise results. Basic foundation paper piecing skills are assumed. If you don’t know how to paper piece, search for a video tutorial to demonstrate the process. It’s a strange, but rewarding skill.
Have fun making your own!
Supplies
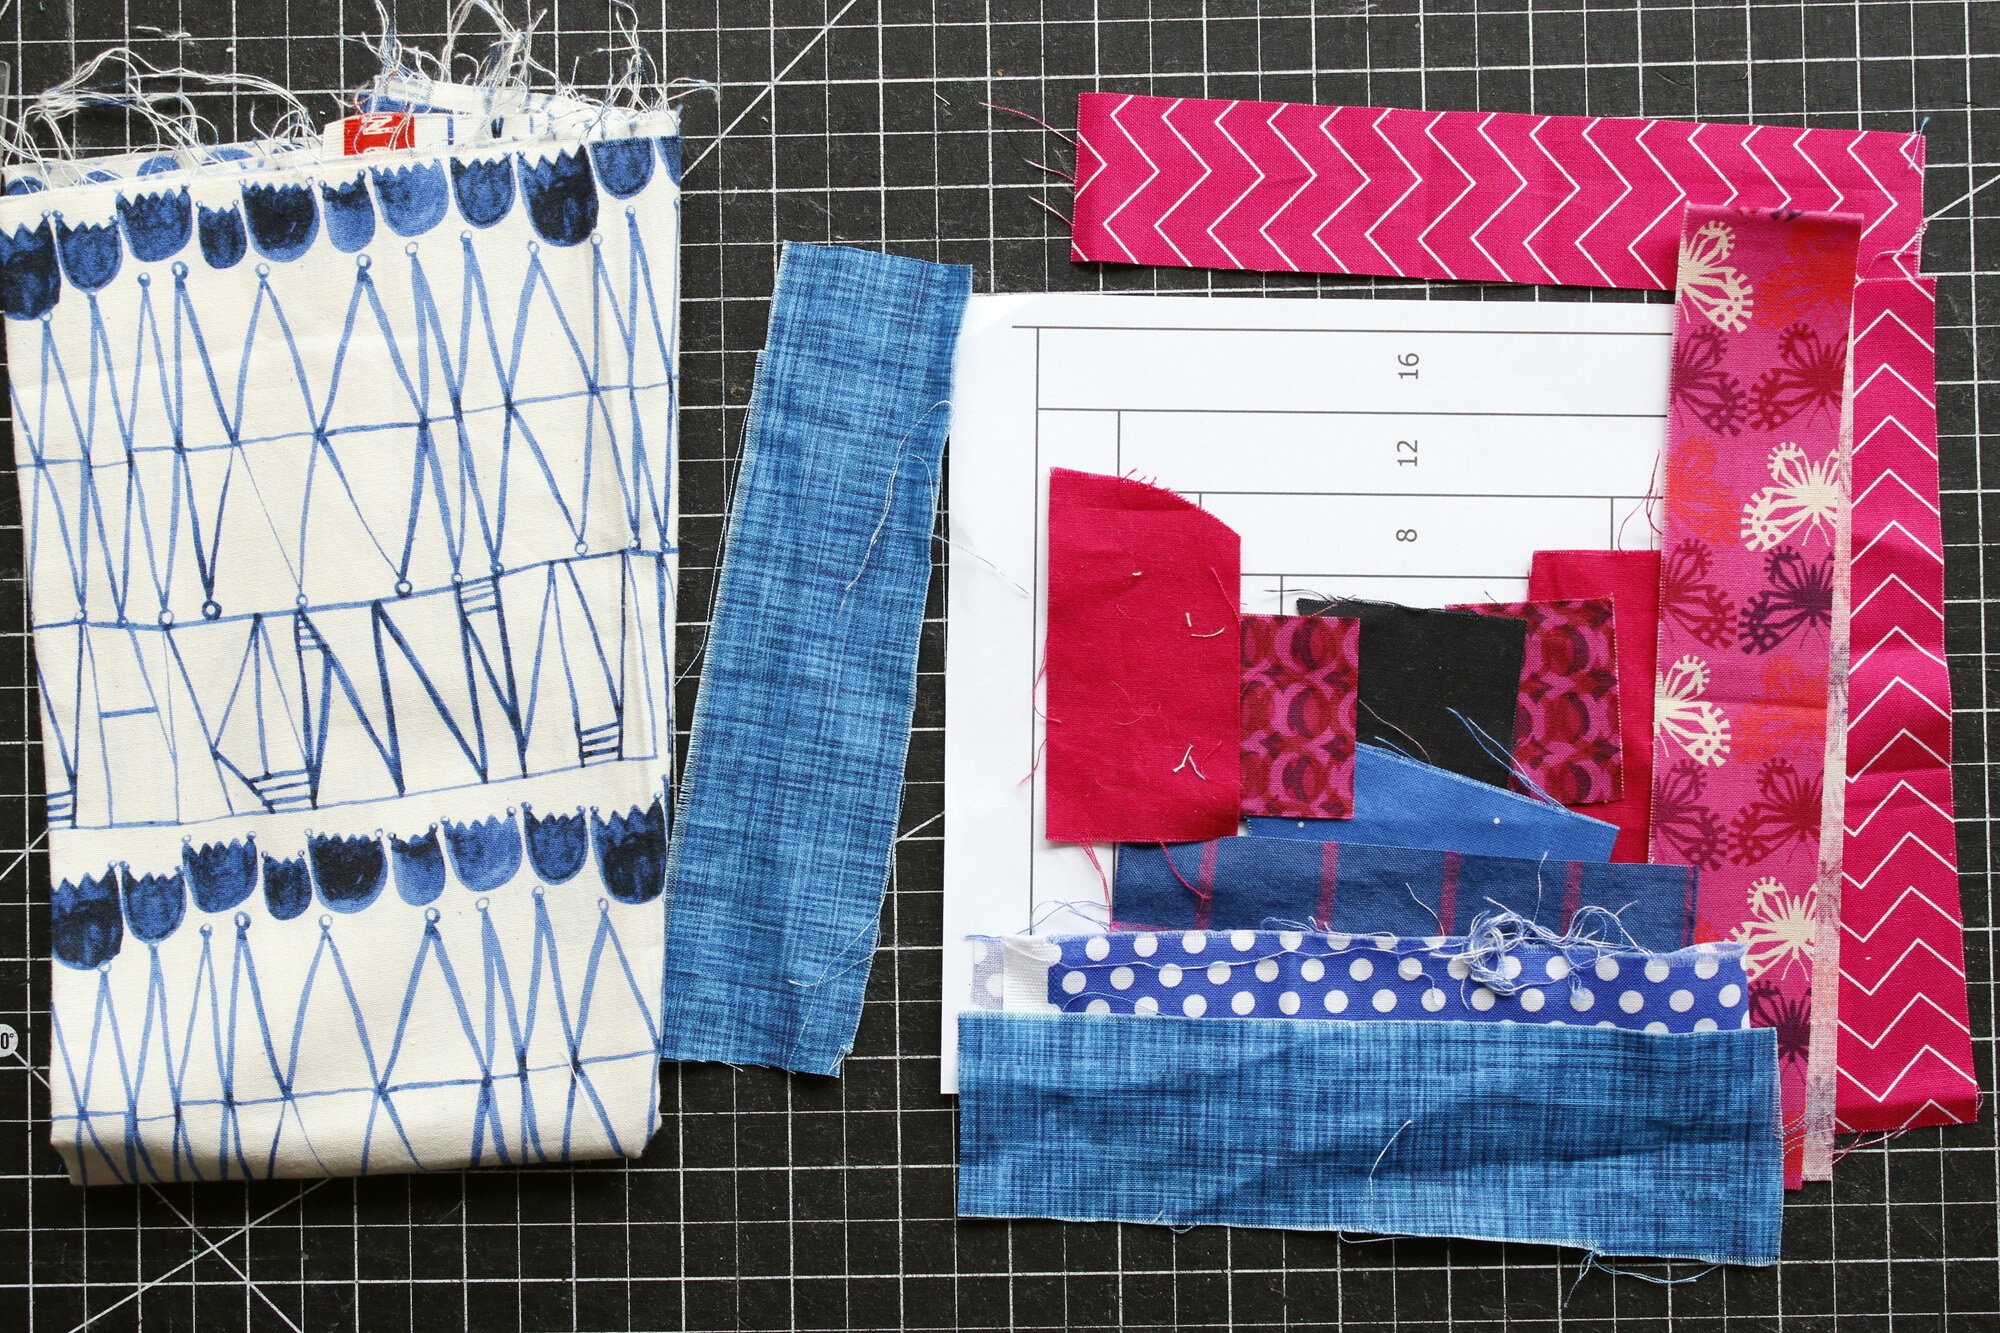
1 1/2” fabric scraps for courthouse steps patchwork
8” square fabric for backing
7 3/4” square regular batting
7 3/4” square heat resistant batting (I use Insul-bright)
2.5” width of fabric strip for binding
basting pins
coordinating thread for quilting and binding
hera marker or other fine marking tool

Step 1: Patchwork
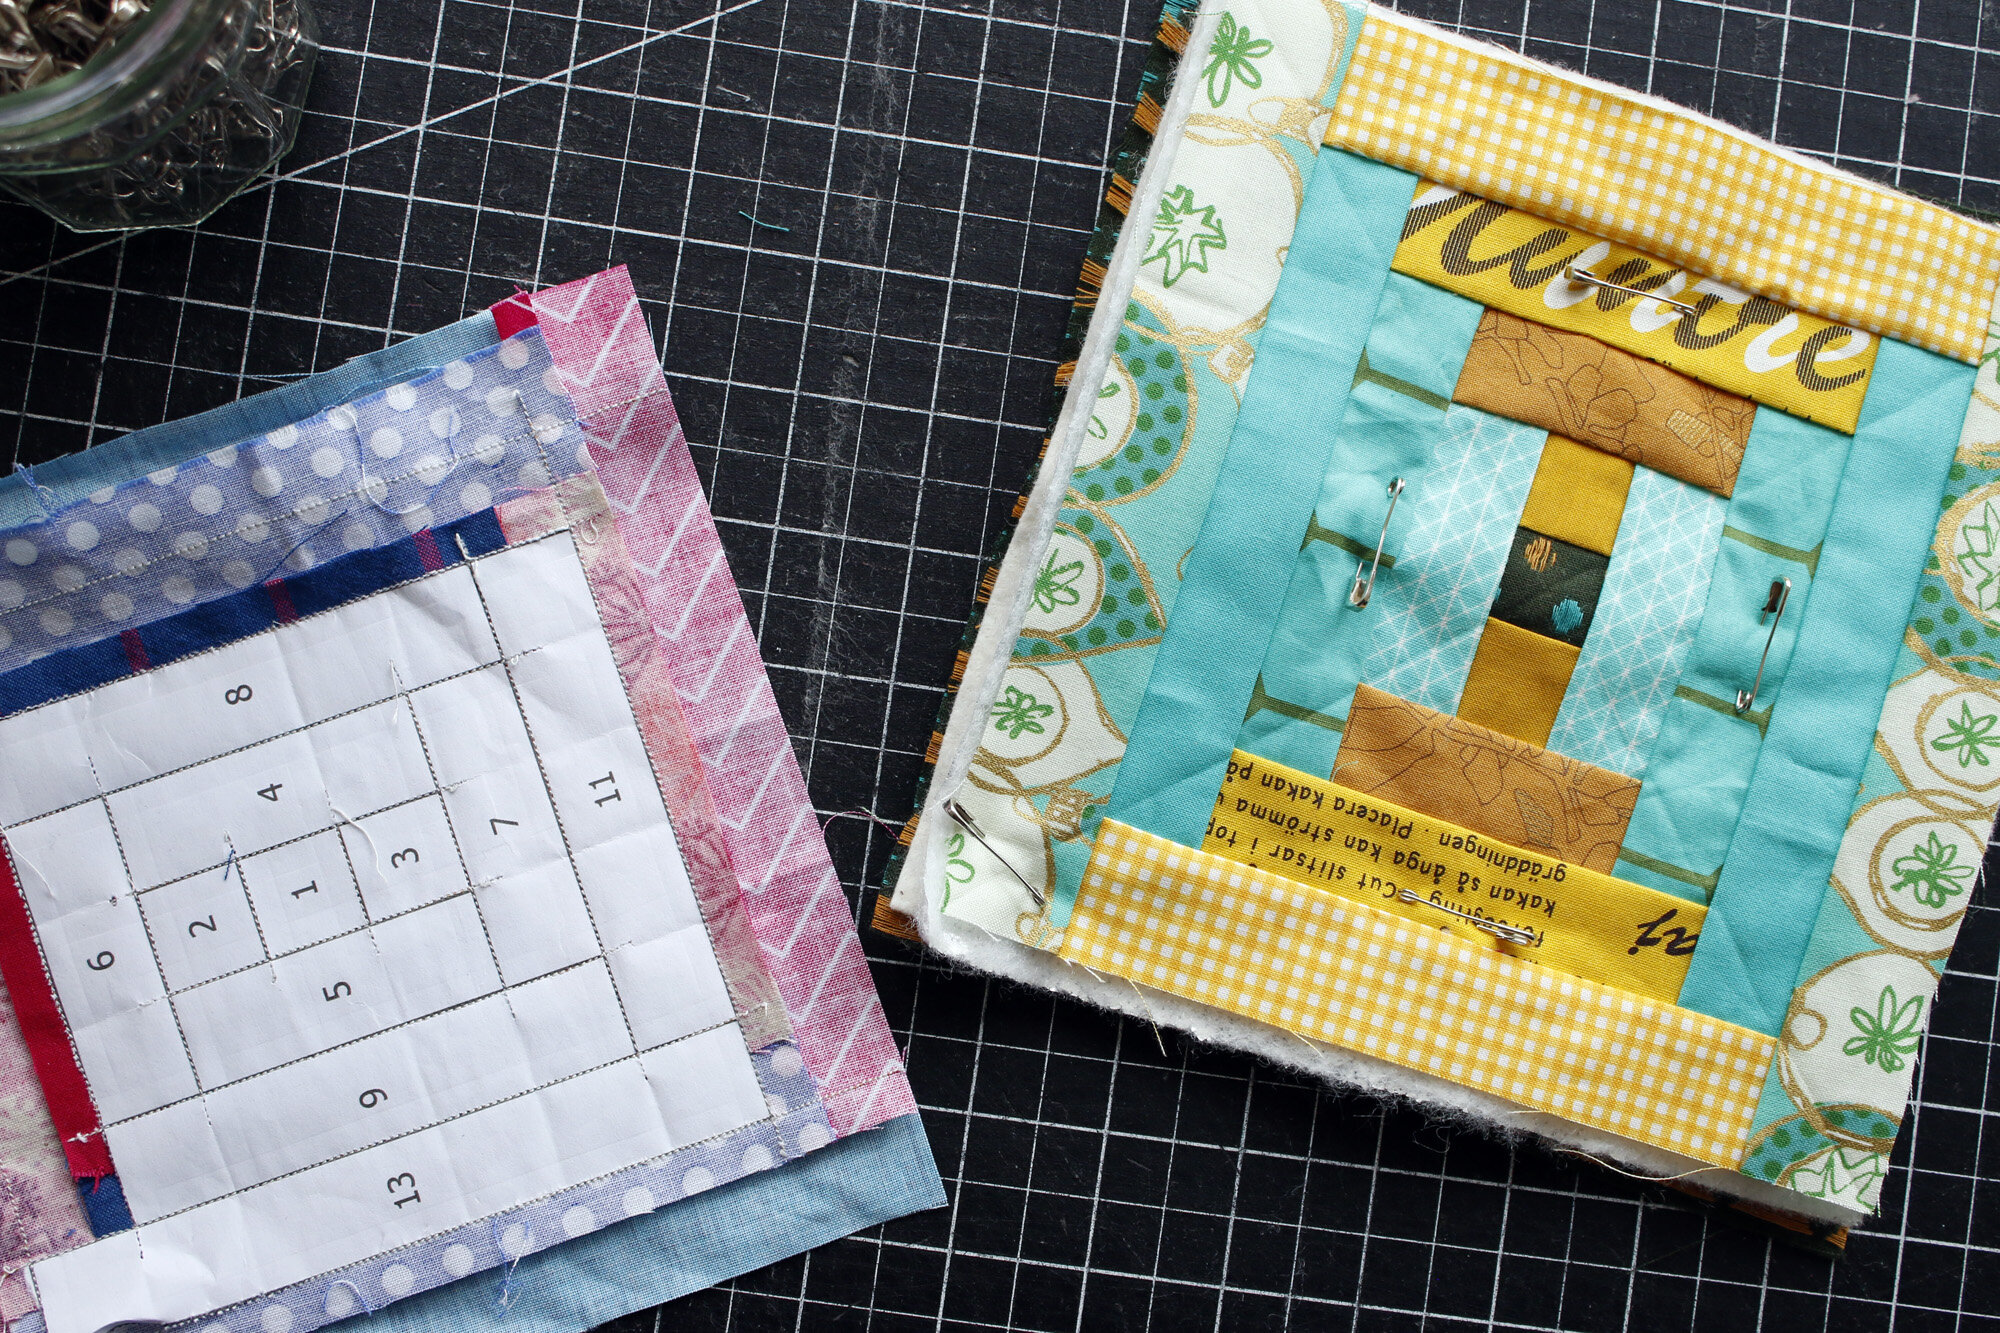
Print Courthouse Steps paper piecing pattern at actual size, with no scaling.
Using machine paper piecing techniques, sew the courthouse step block in numerical order. Start by sticking shape 1 with stick glue on the blank side of the pattern and then add shape 2. All pieces should be cut 1 1/2” wide, which will provide extra fabric for foundation piecing. Don’t forget to sew with a shorter than normal stitch length.

This is an ideal scrap project. I like to choose two colors per block and use the same fabrics for opposite “steps.” That little bit of symmetry is lovely. Also consider a contrast color for the center square, which you may like to match with the binding fabric.
Trim finished patchwork to 7.5” square.
Step 2: Quilt
Remove paper foundation from the wrong side of the work.
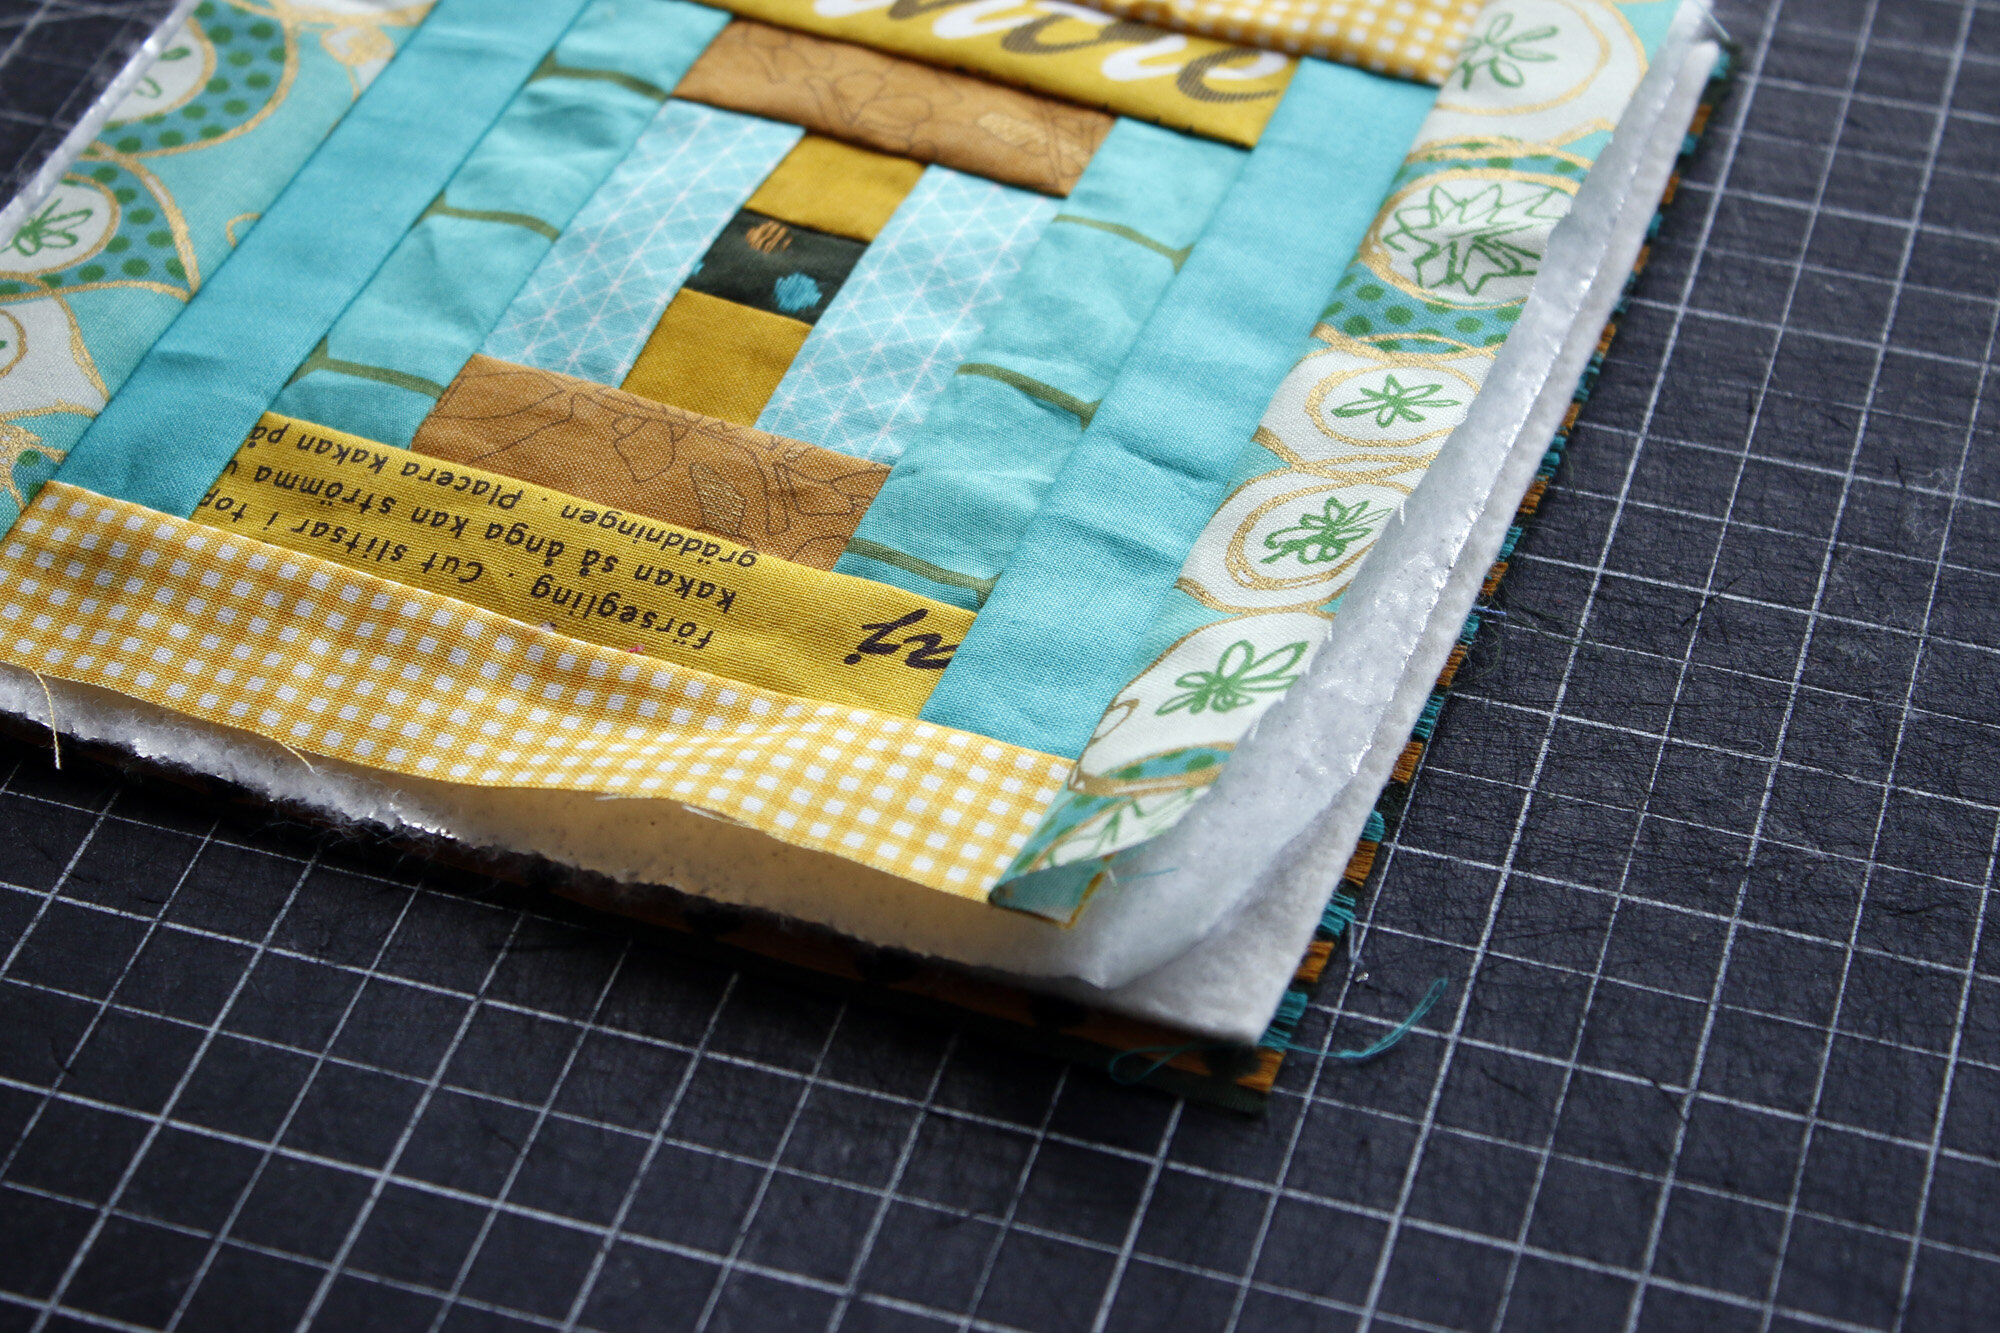
Layer the potholder elements:
backing square, wrong side up
regular batting
heat-resistant batting, shiny side up
patchwork square, right side up
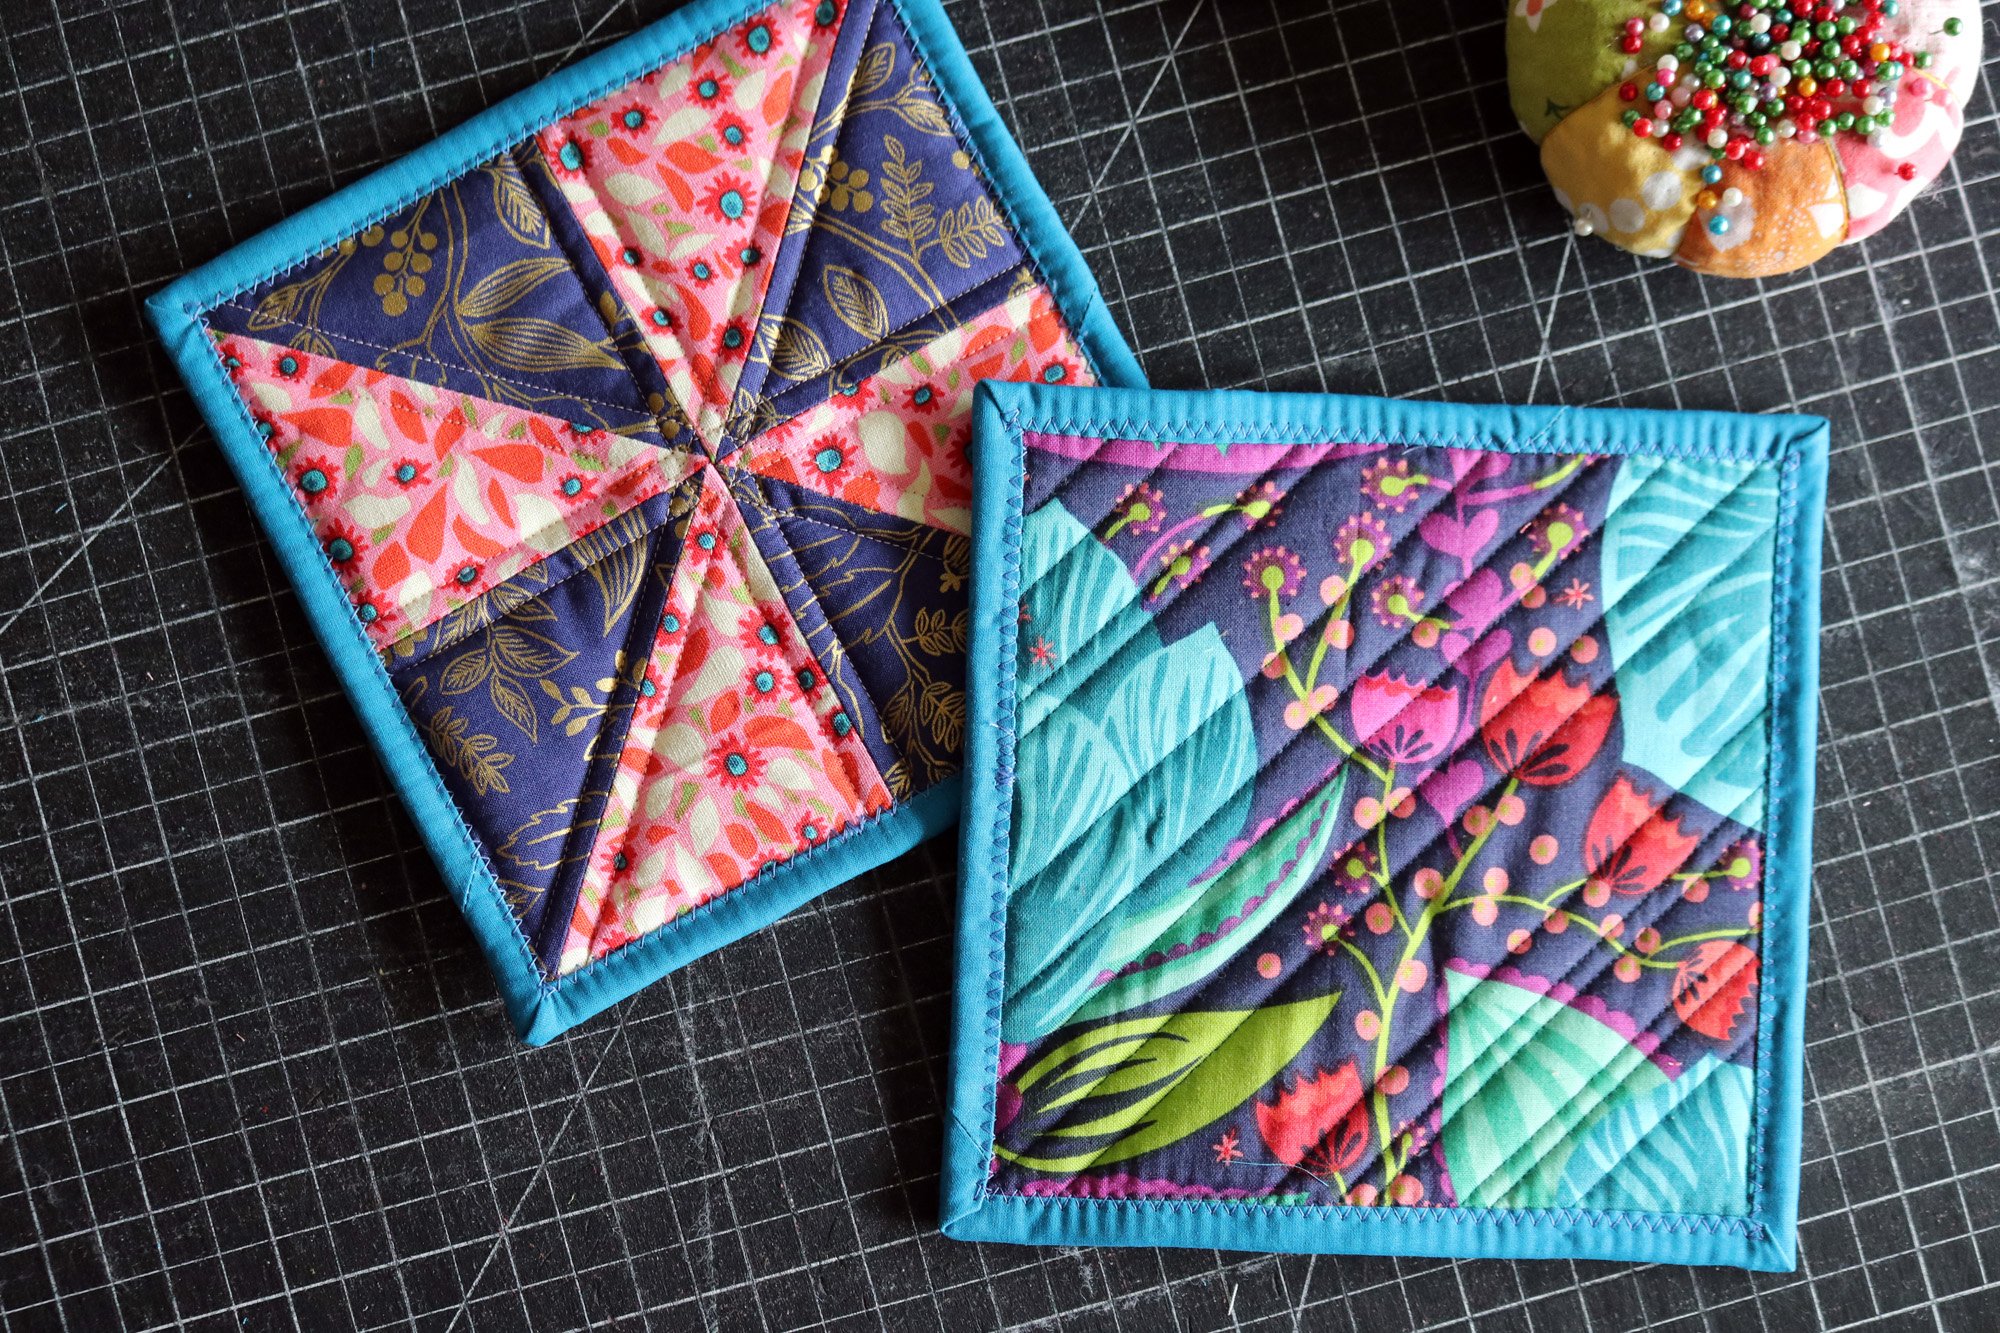
With a hera marker or other fine marking tool, bisect the patchwork with diagonal lines from corner to corner. The lines make an X in the center square. Use basting pins to secure layers.
Quilt along the marked X lines. Continue quilting at 1/4” intervals in the pattern shown on the finished potholders. This dense quilting makes the potholder durable for many washes!
Step 3: Bind
Cut a 2.5” wide width-of-fabric strip. Follow my zigzag binding tutorial to prepare and attach binding.
Attaching binding on a small square is challenging. To make it easier, begin attaching binding just before one corner, leaving a long binding tale. Continue attaching working around the square and stop just after turning the fourth corner. This leaves almost one complete side of the square un-attached. Then join binding strips as per tutorial and finish attaching binding.
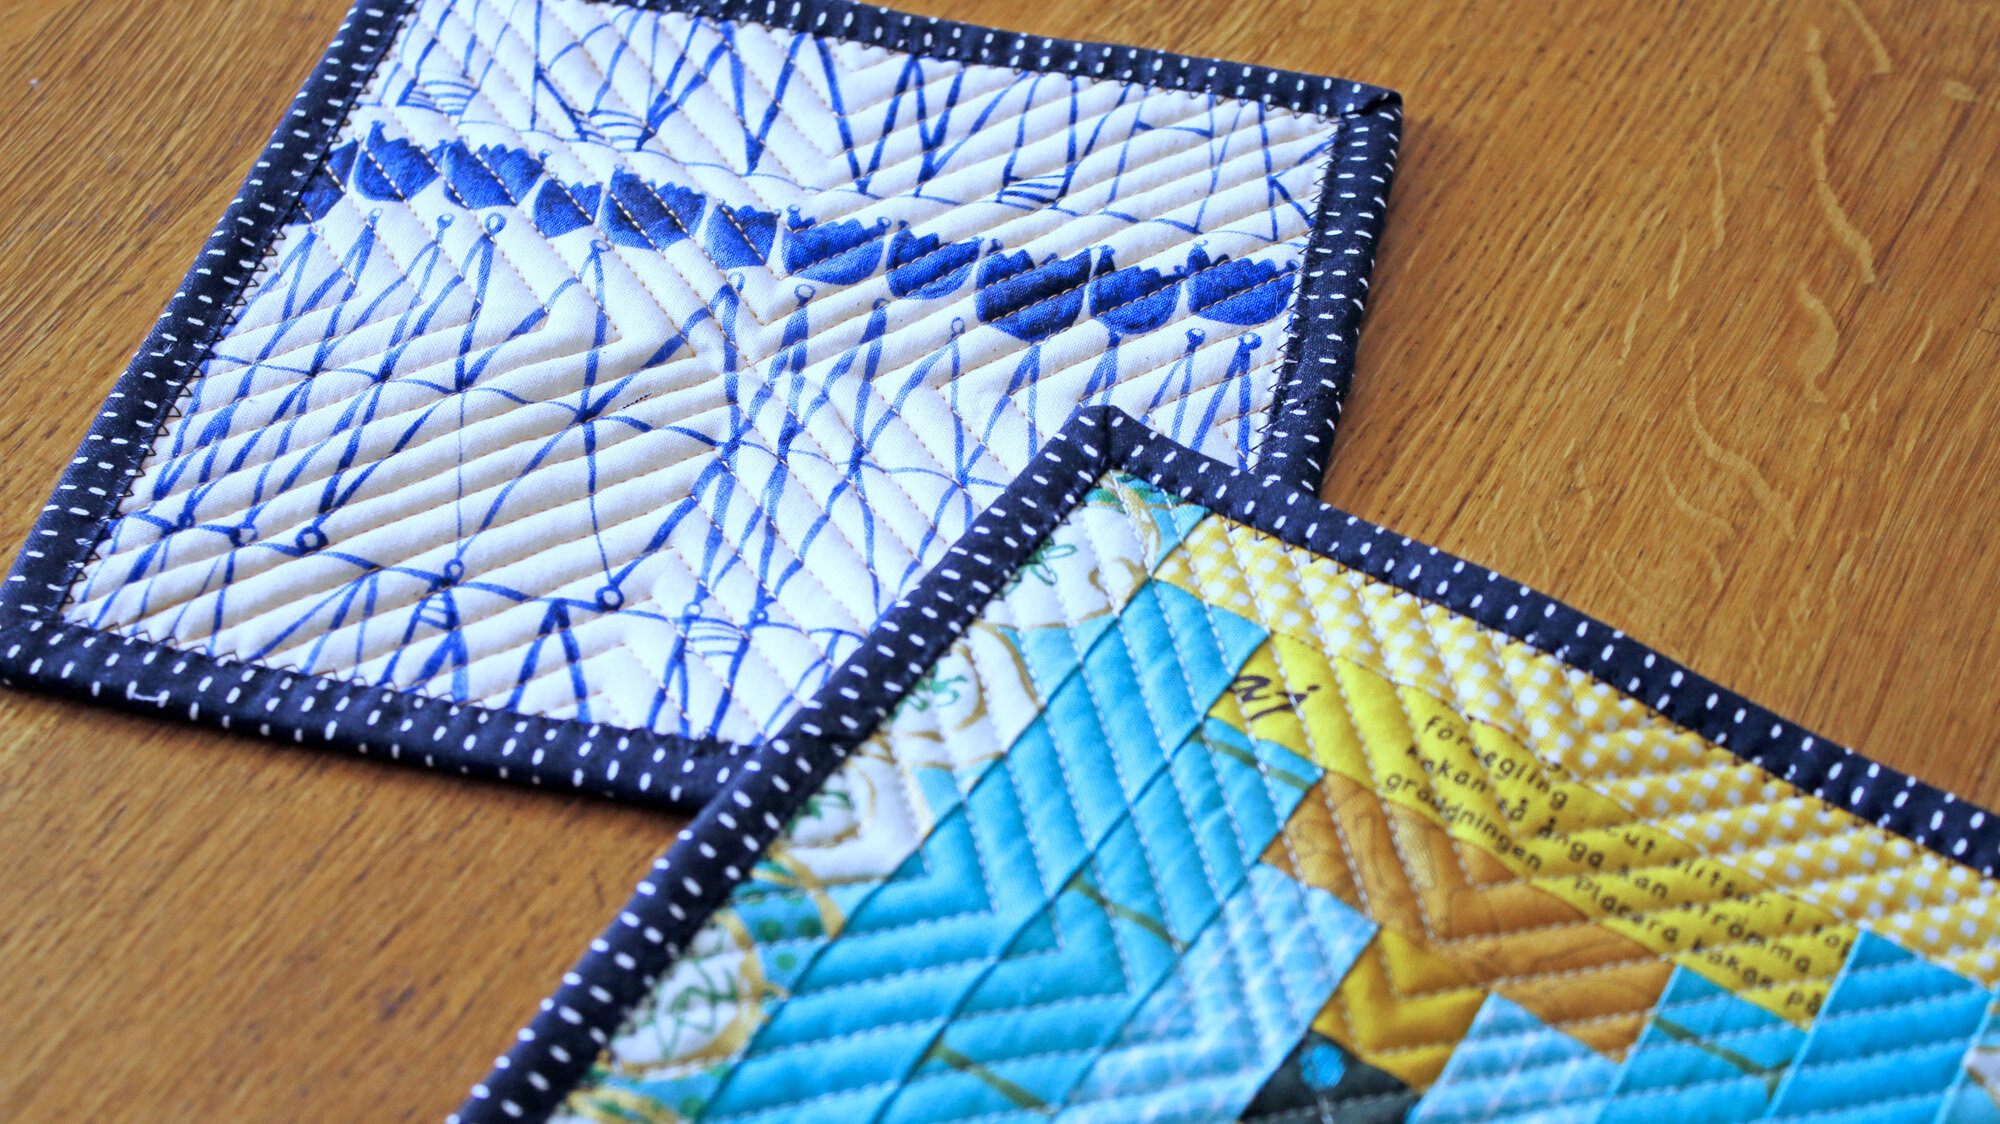
Make a pretty pair! They’re sure to brighten up your kitchen or that of a friend.