tips for taking Quilt Photos
So, you’ve finished that special quilt. Hurrah! Now photograph it, while your enthusiasm is fresh. You don’t need a special camera or a professional set up to take good quilt photographs. I hope that these tips will inspire you to document your creativity in all its original glory. Your quilt is totally worth the trouble!
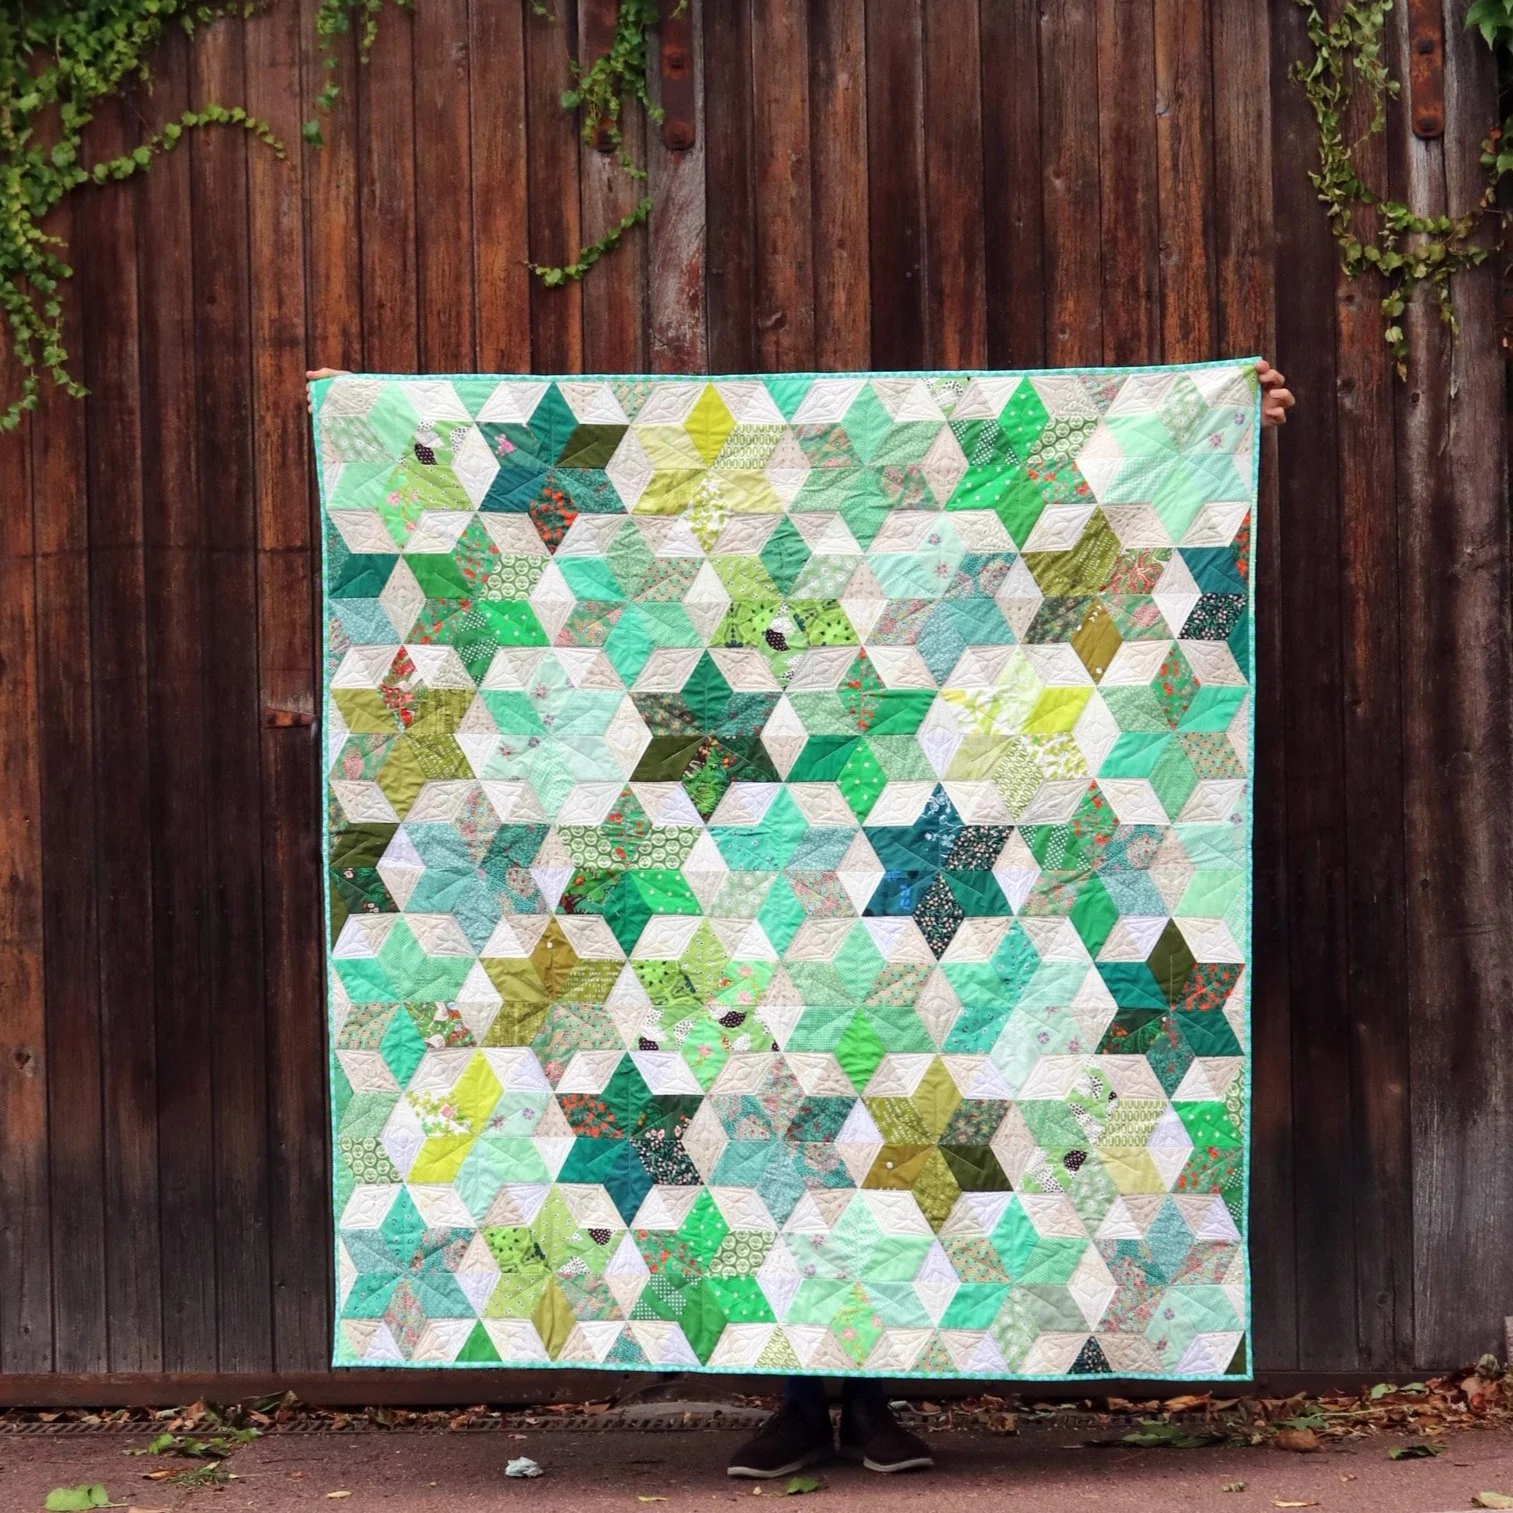
no. 1 Good Lighting
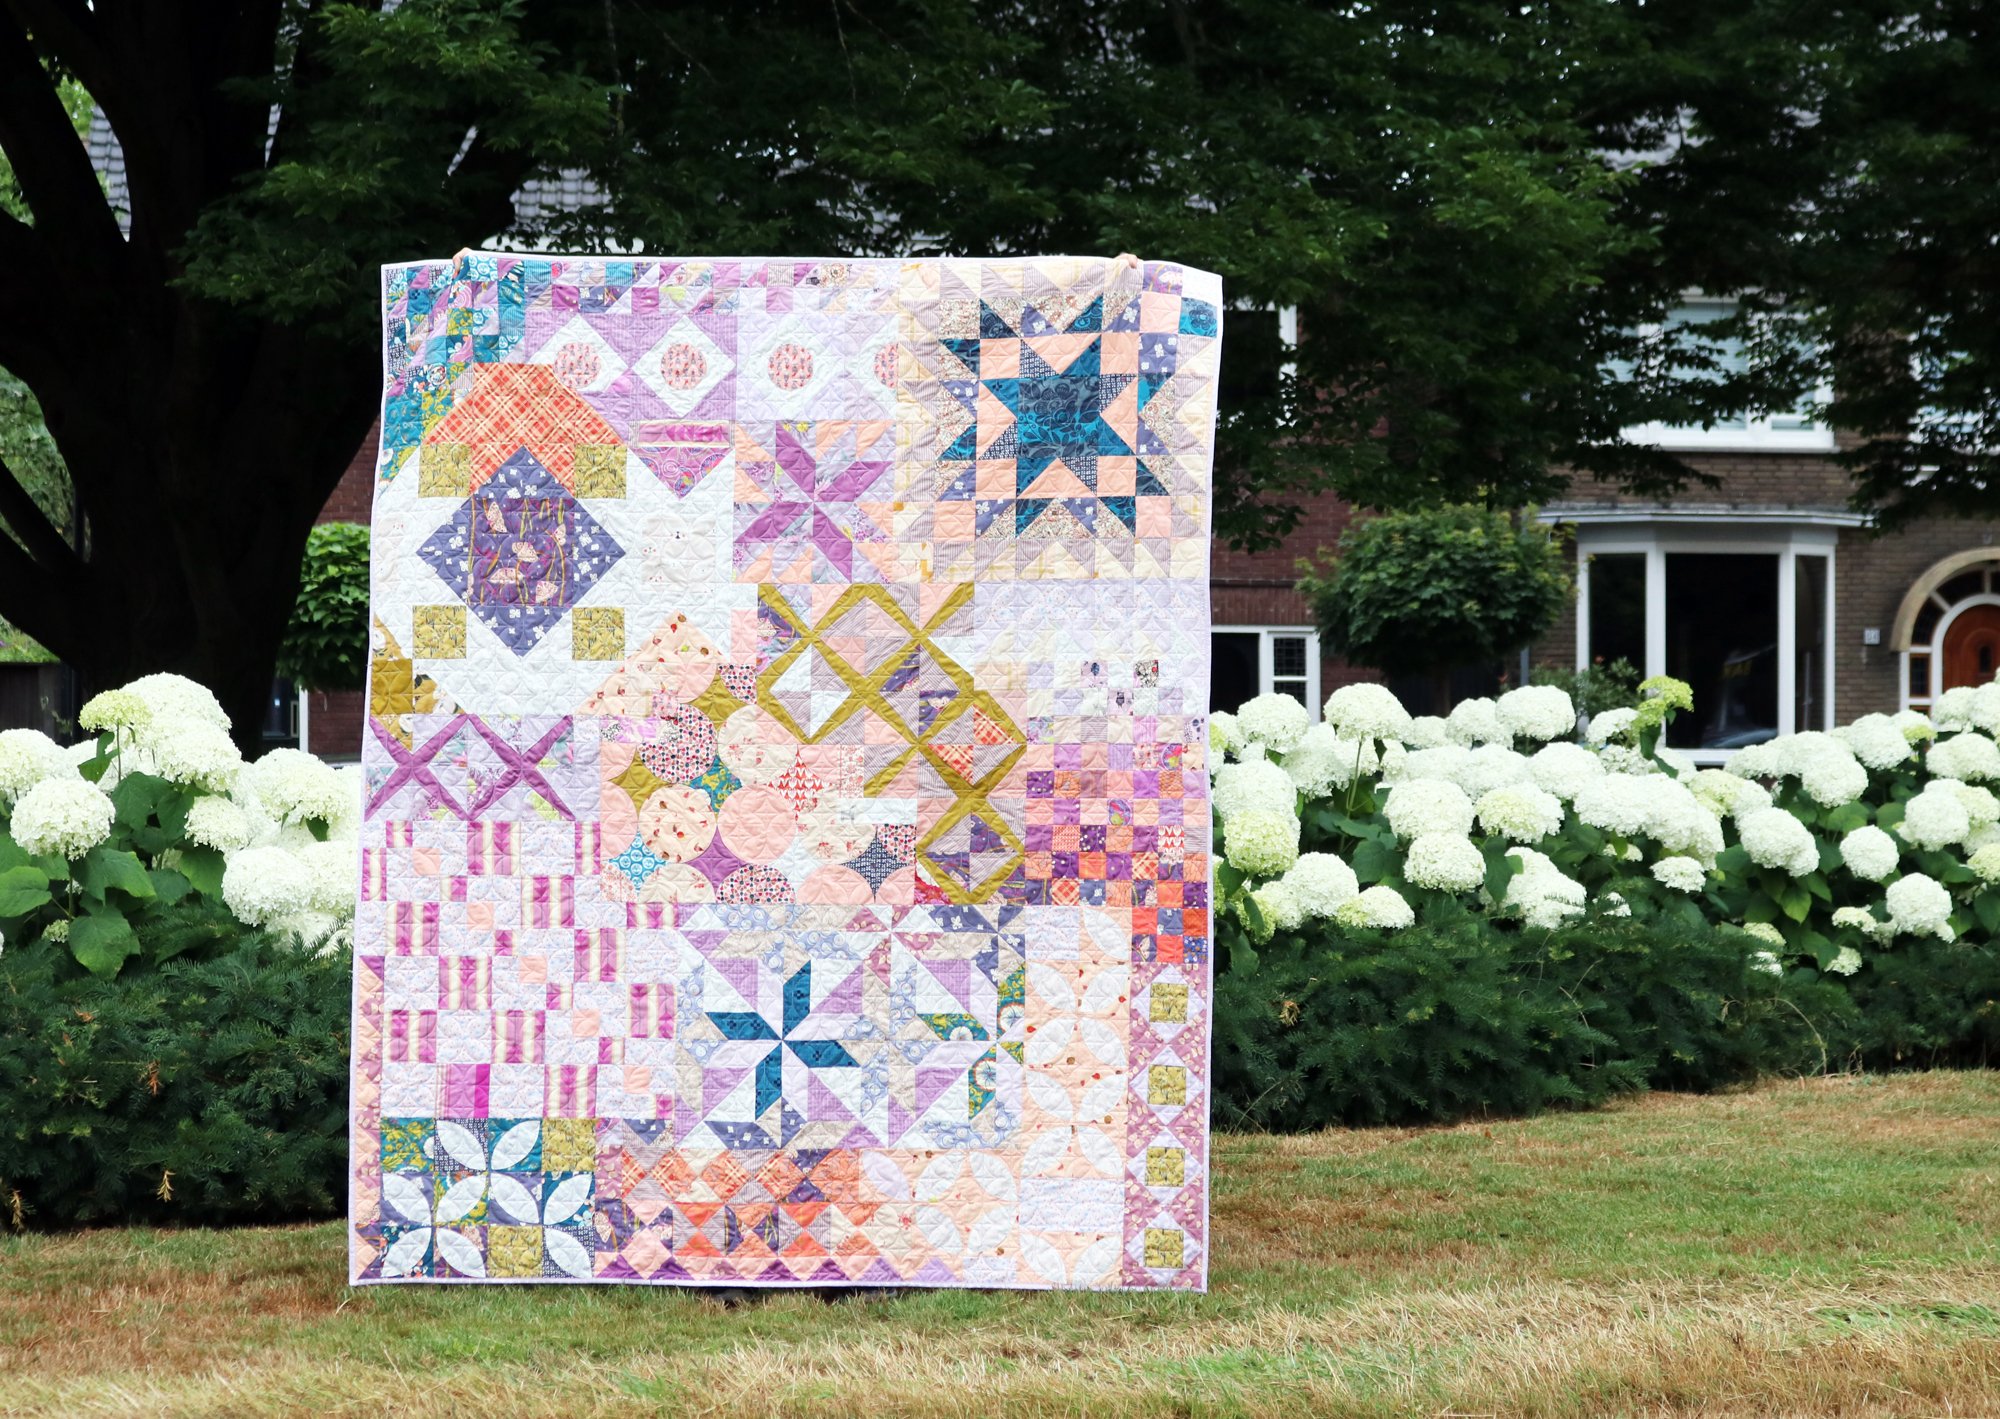
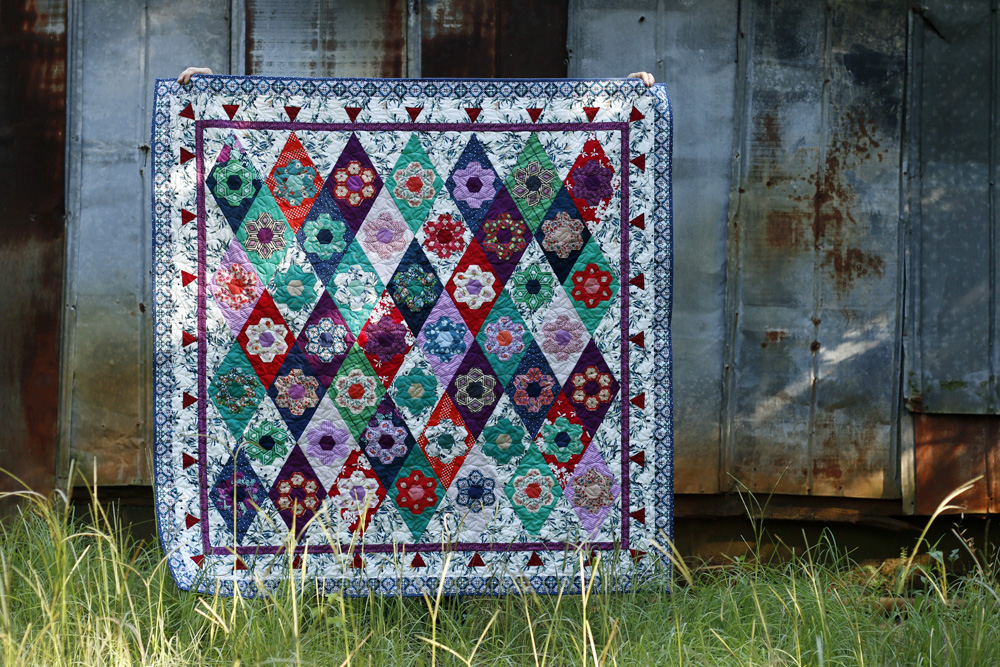
The most important factor is good lighting. Never never use artificial indoor lighting or a camera flash. You want to have generous natural lighting, which is difficult to achieve indoors but almost guaranteed outdoors, even on a cloudy day. In fact an overcast day is ideal because it creates a soft, diffuse light instead of harsh shadows.
on an overcast day, the quilt is clearly and evenly lit
Is it so dark and cloudy outside that cars are using headlights? In that case the light is likely too dim to make sharp photos. On the other hand, if you are photographing outdoors on a bright, sunny day, don’t stand in the sun. Find a shady spot, such as under a tree or beside a building, for more even and flattering lighting.
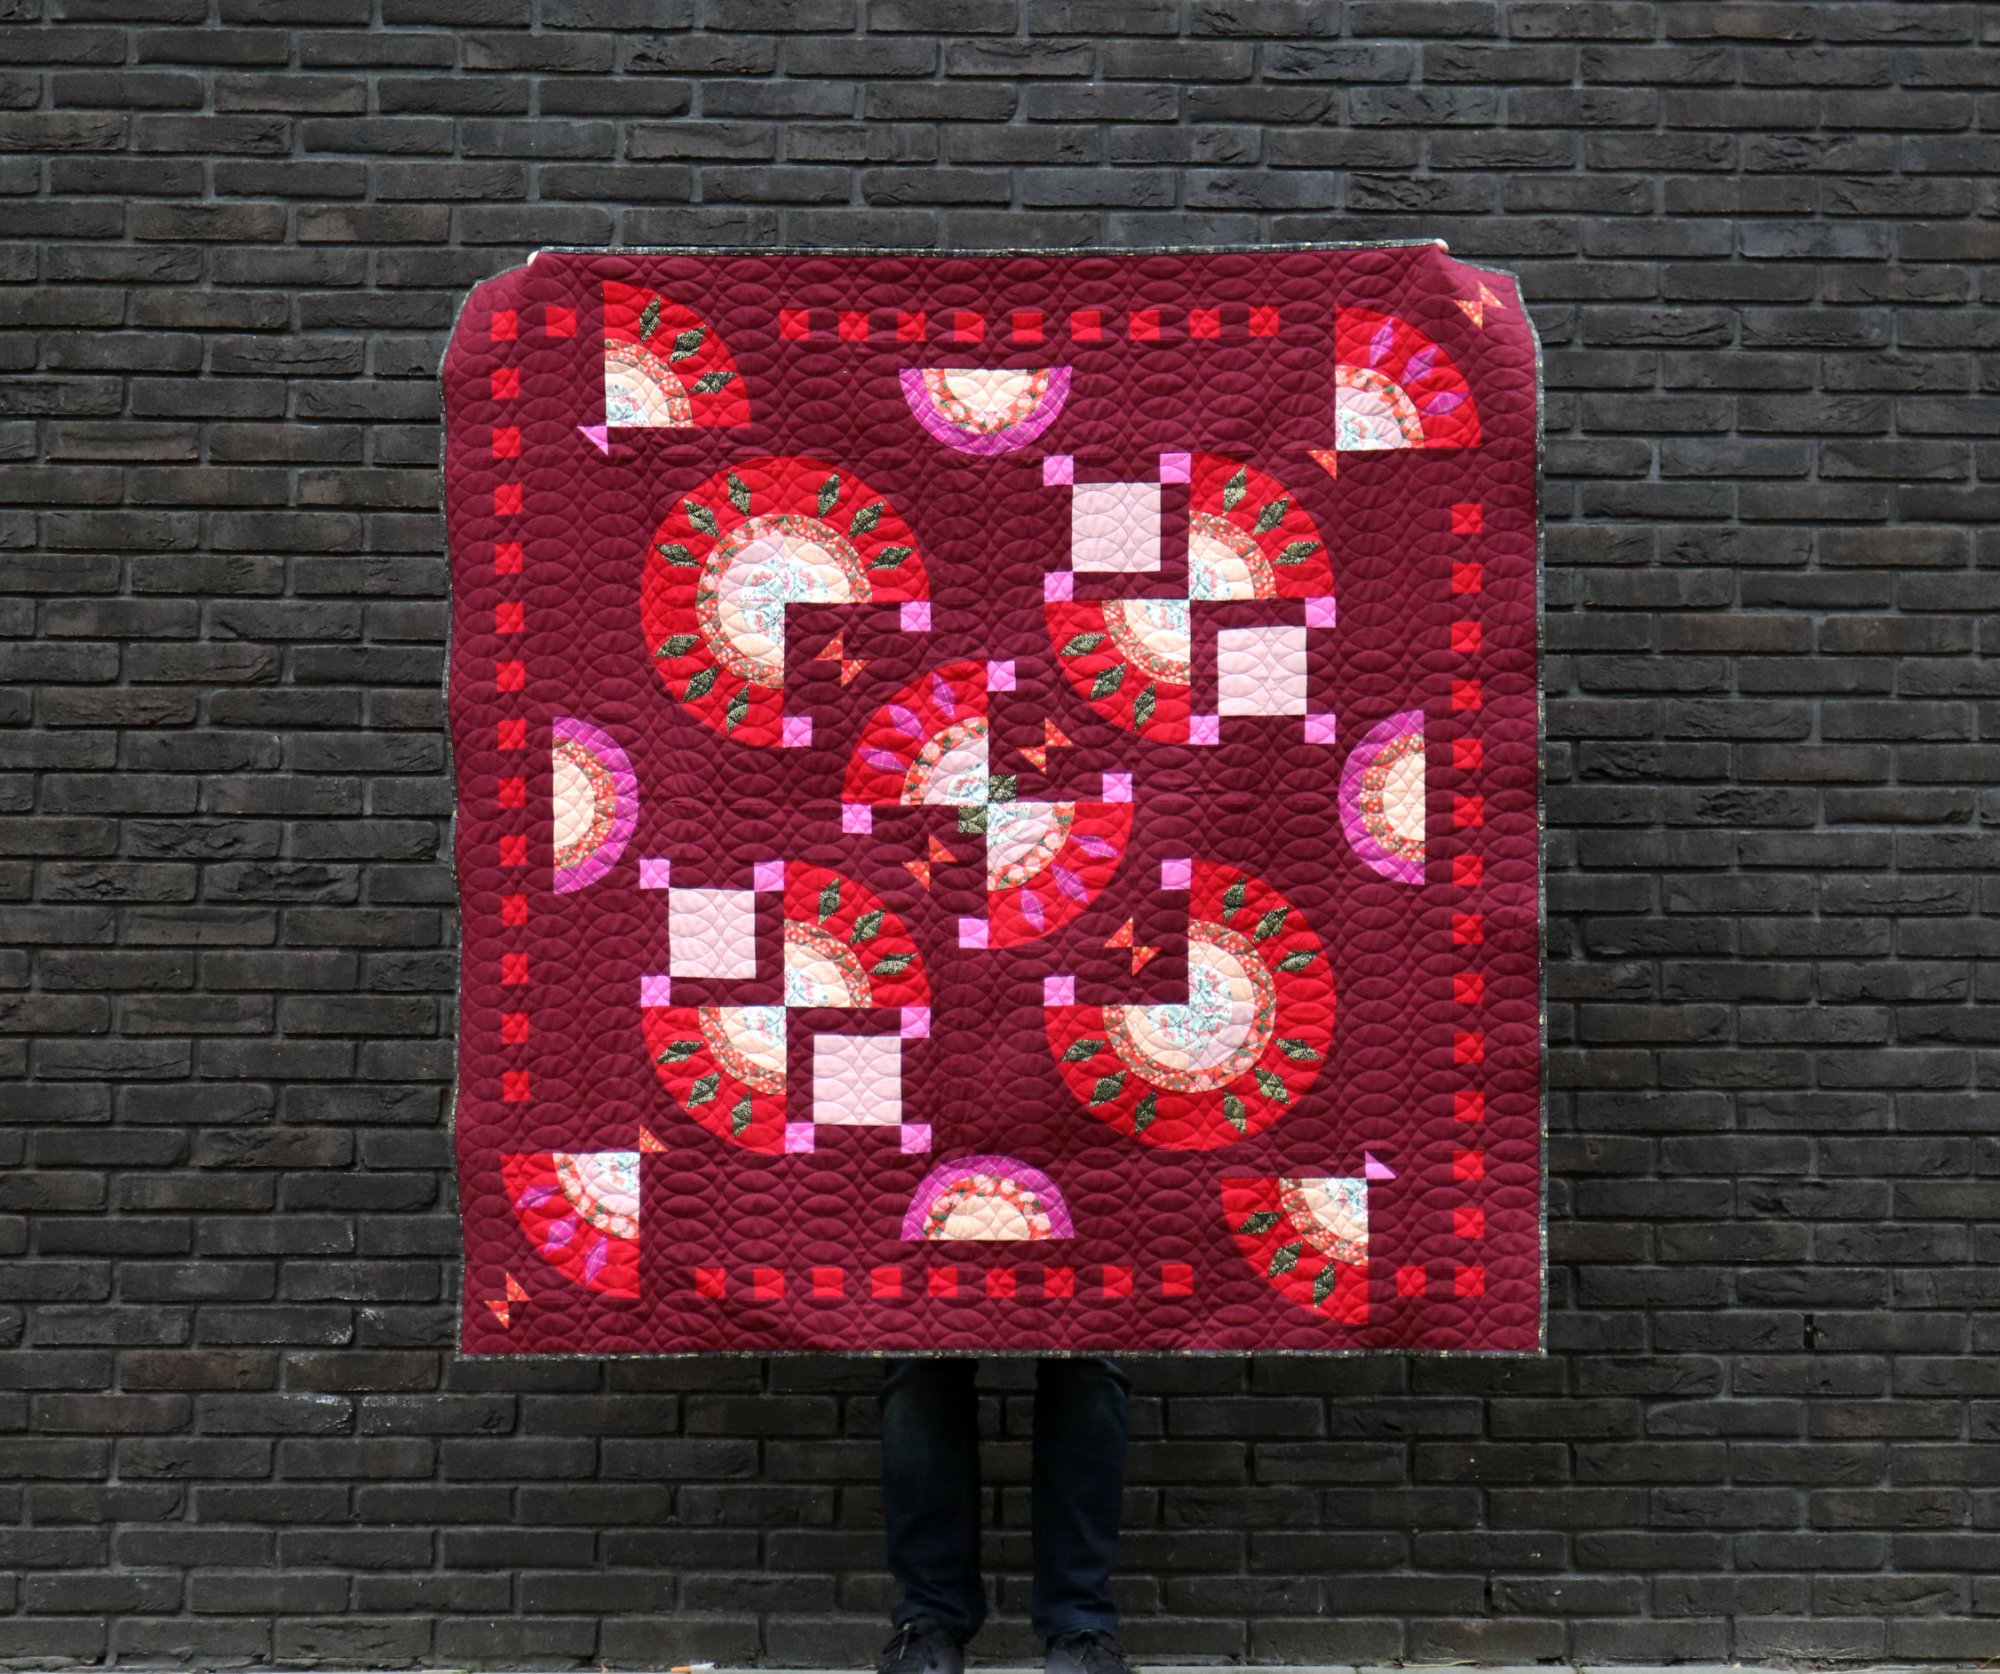
no. 2 Simple Background
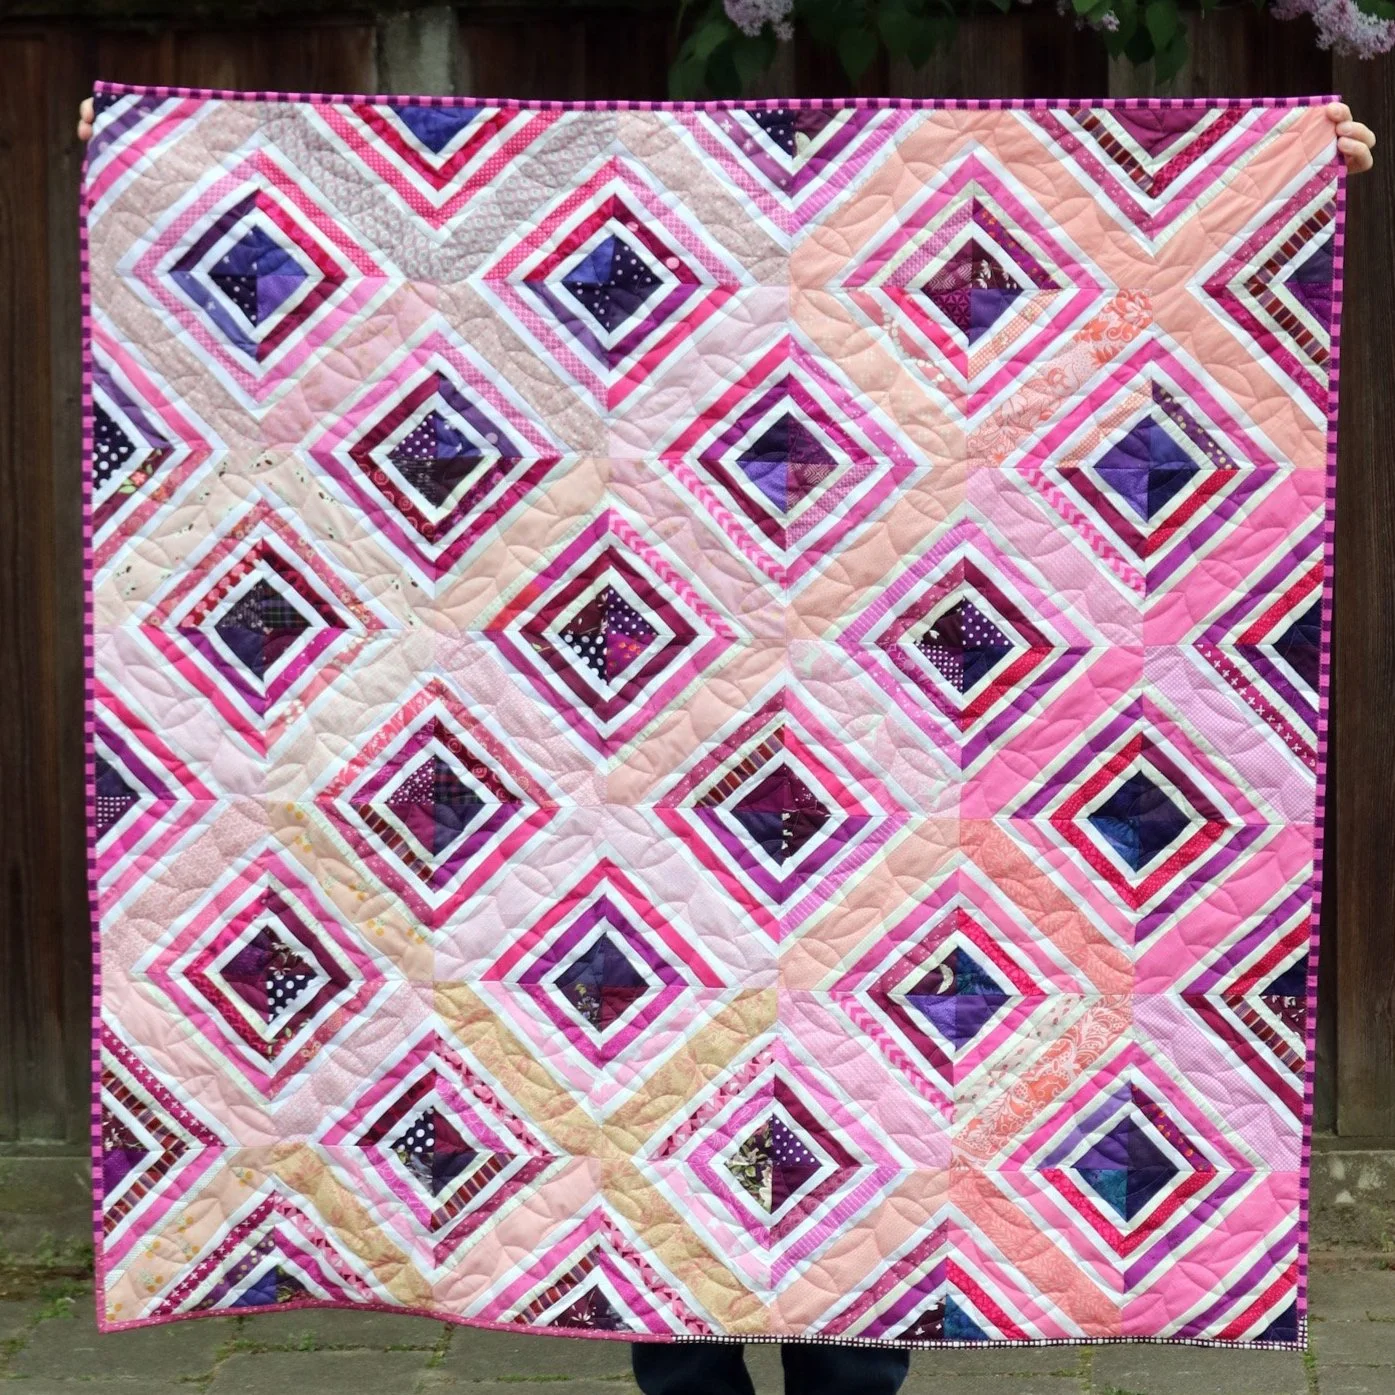
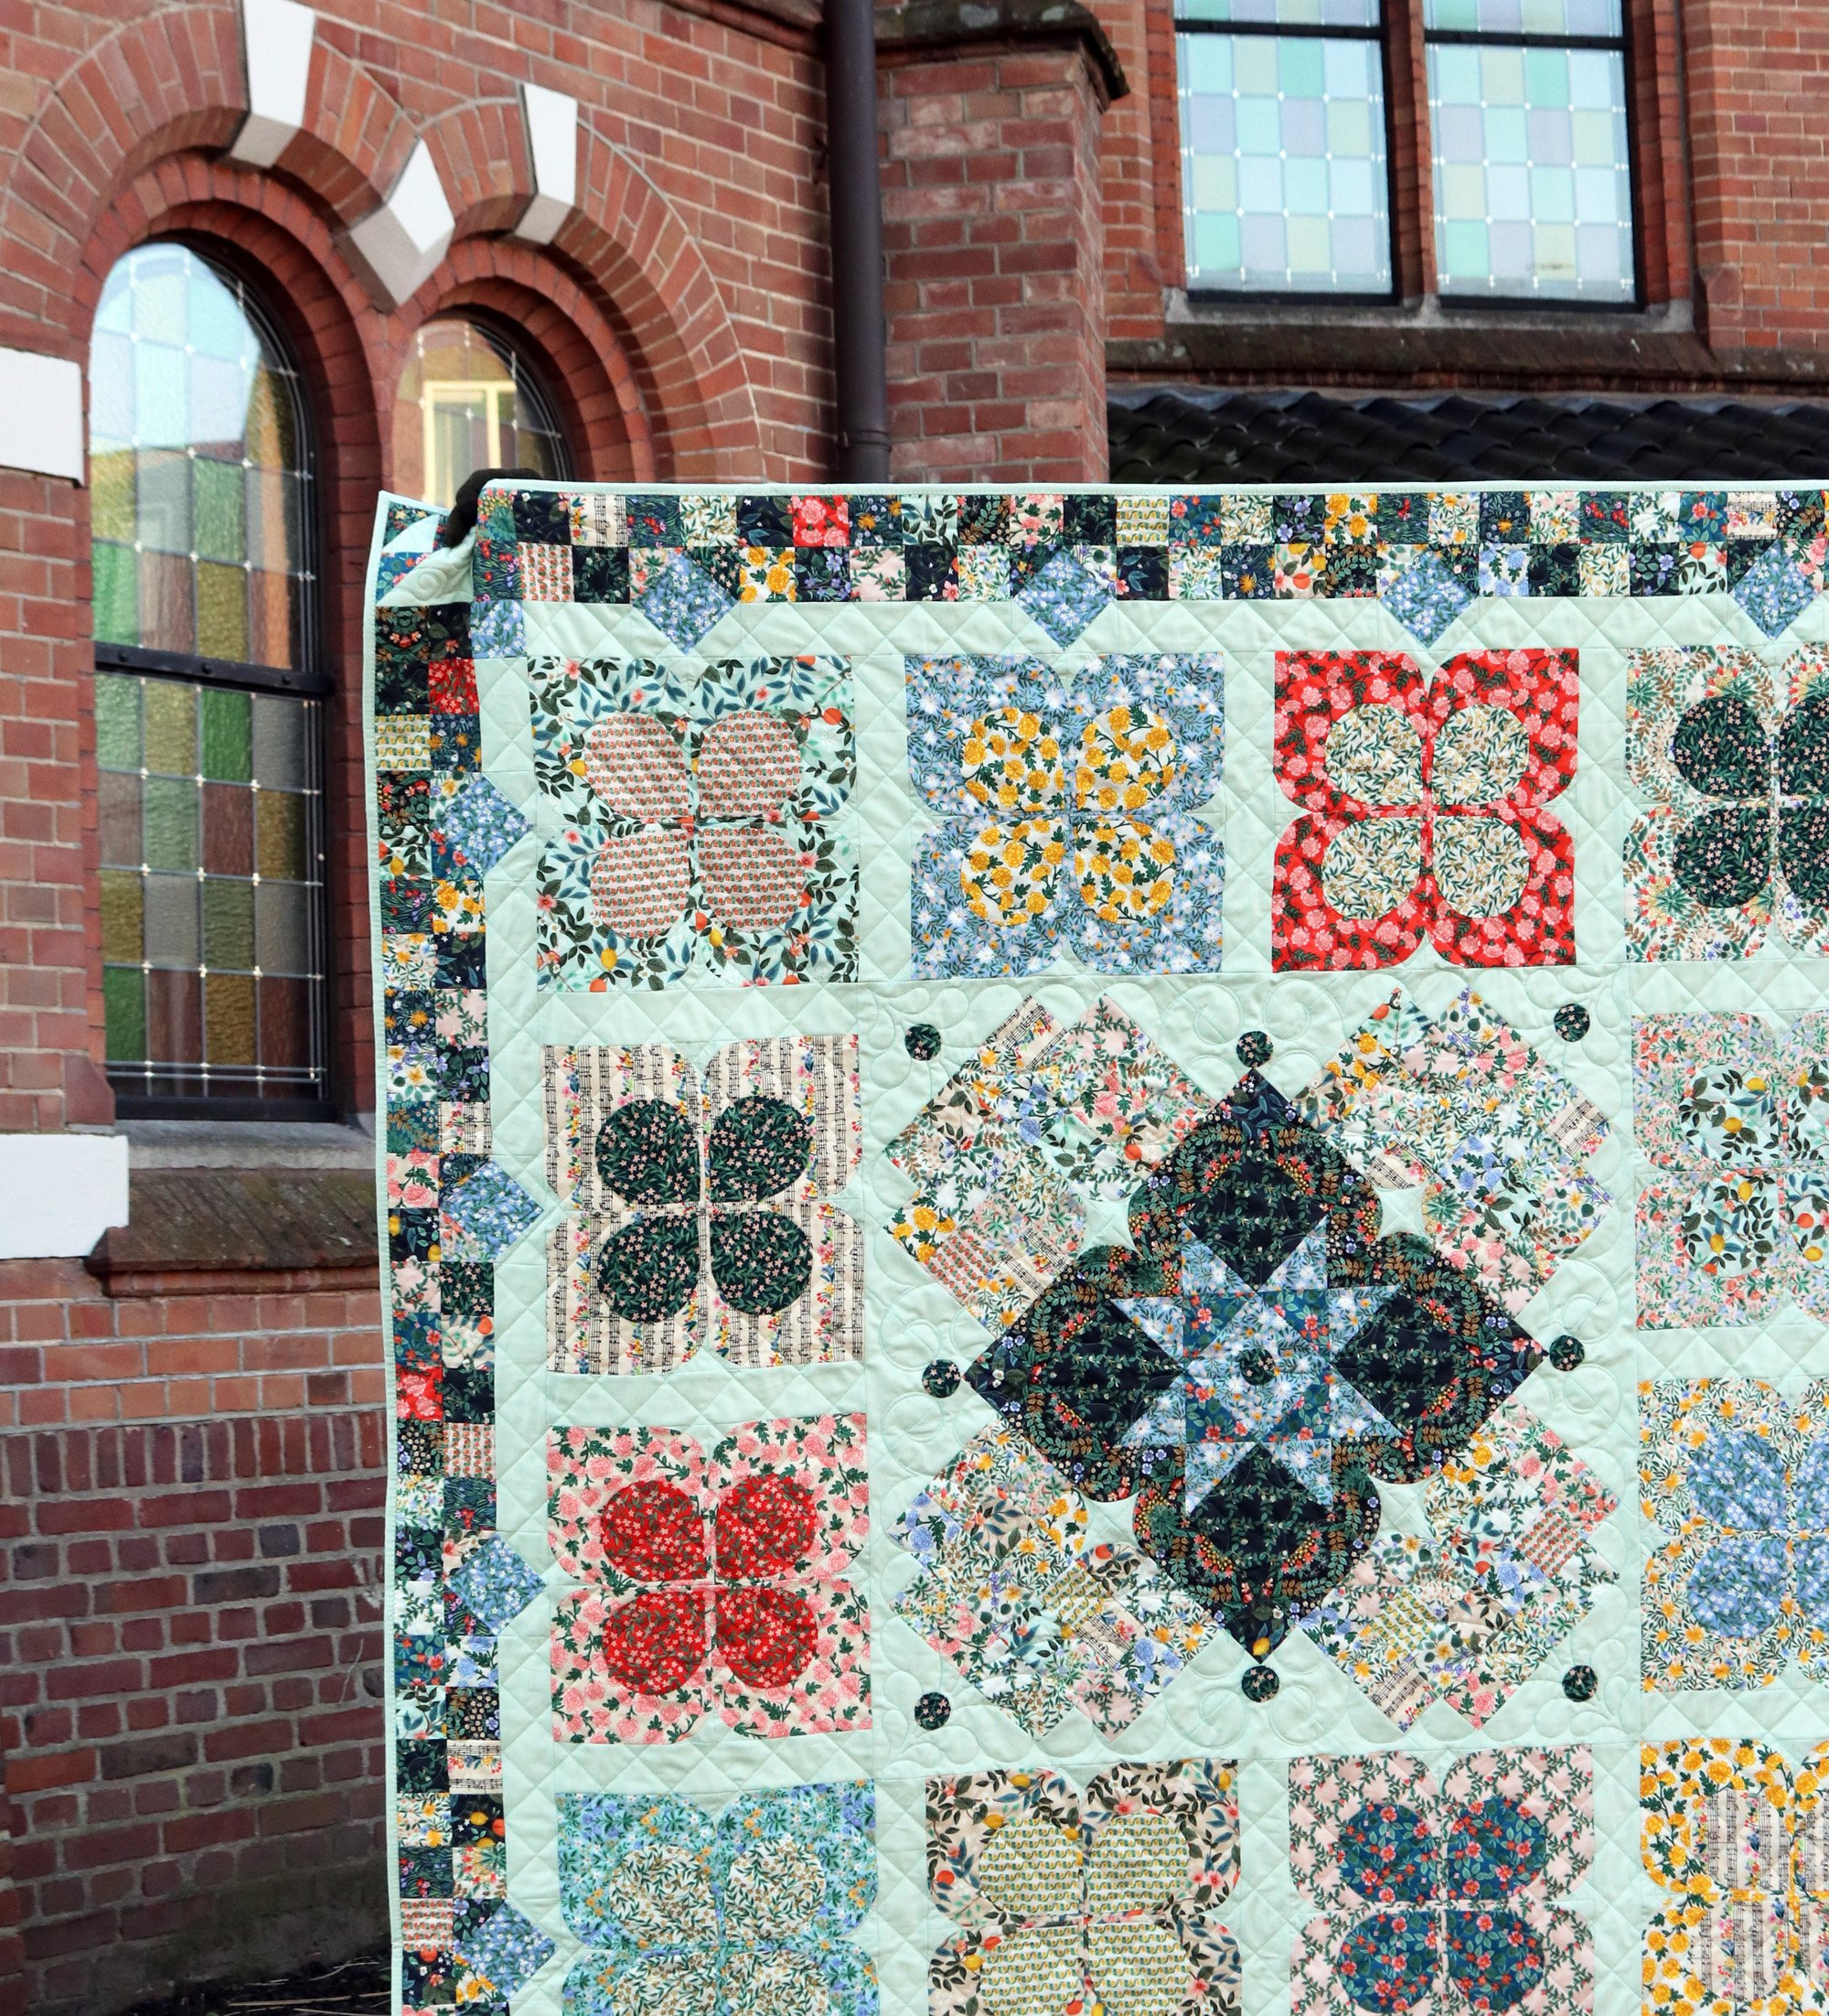
When choosing a background for your quilt photograph, think about the colors and style of the quilt. Would it be complimented by lush greenery? An urban wall? A waterway or flower field? Whatever direction you take it, keep the background simple. Something that offers one major texture or color or point of interest is ideal. I avoid people and cars for sure. Sometimes even pretty things, such as a lovely church, can be too detailed and distract from the object of your photo - the quilt.
because the background was a bit too busy, I cropped the photo to visually simplify
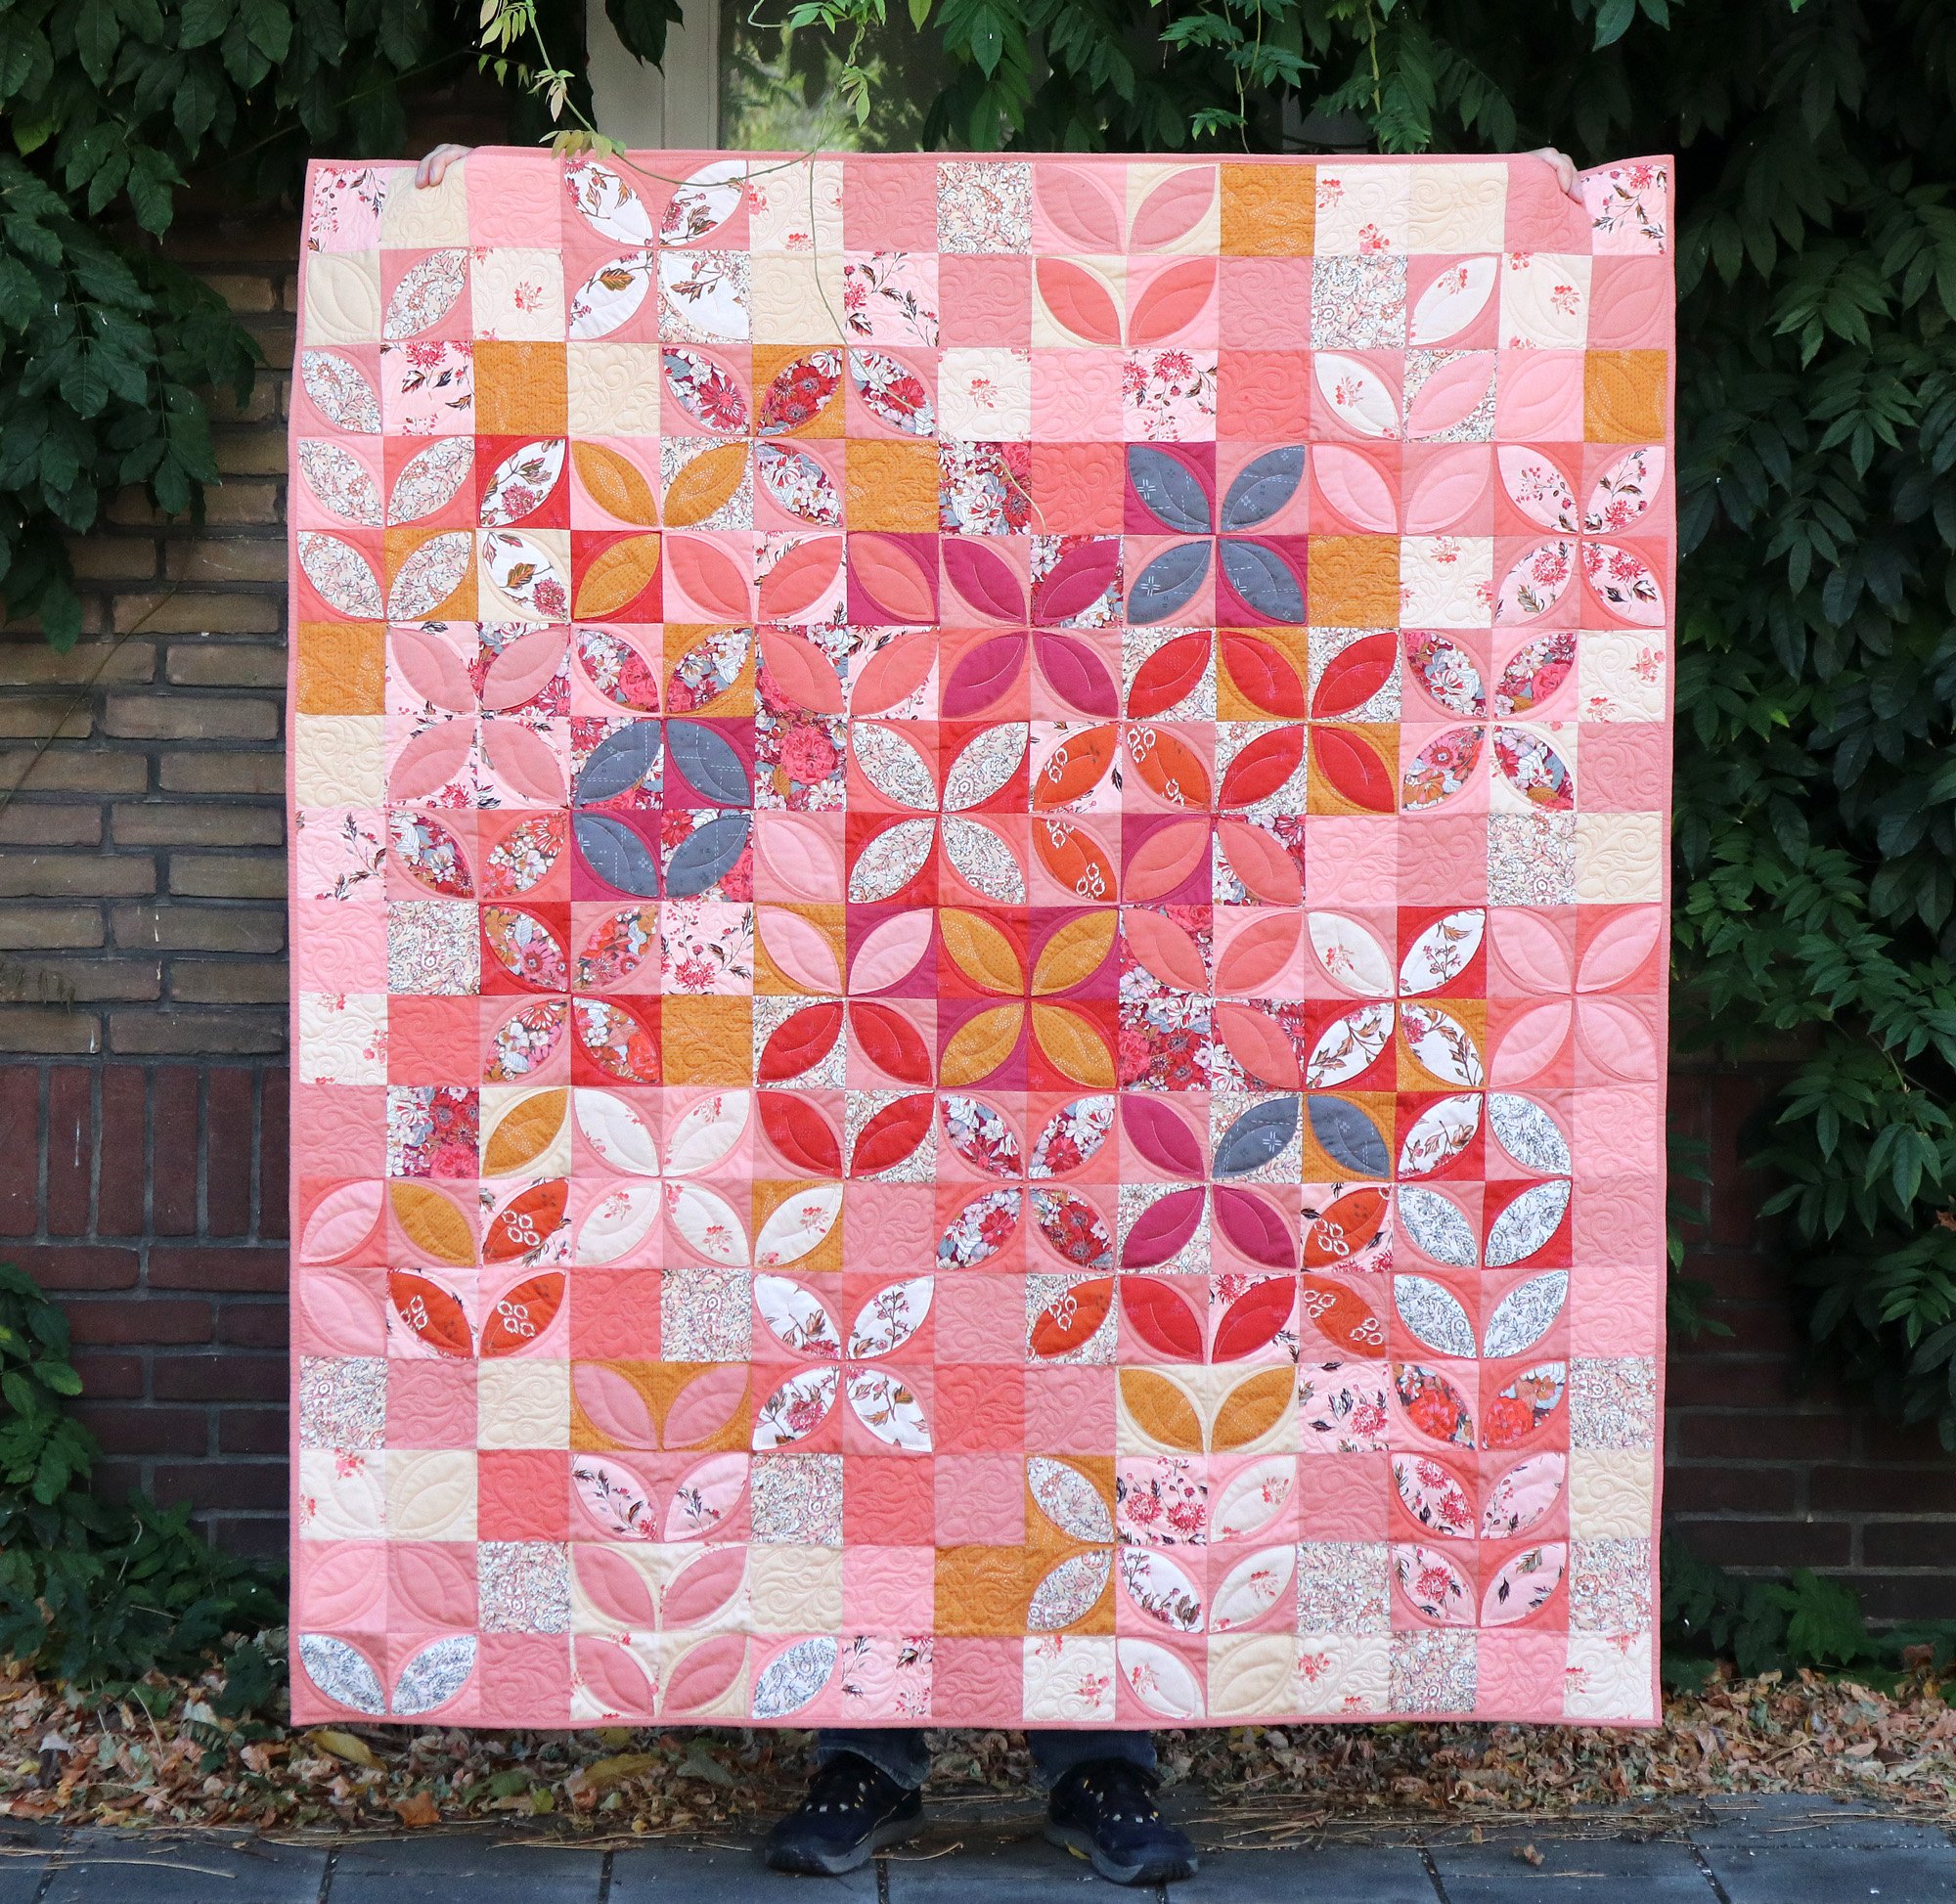
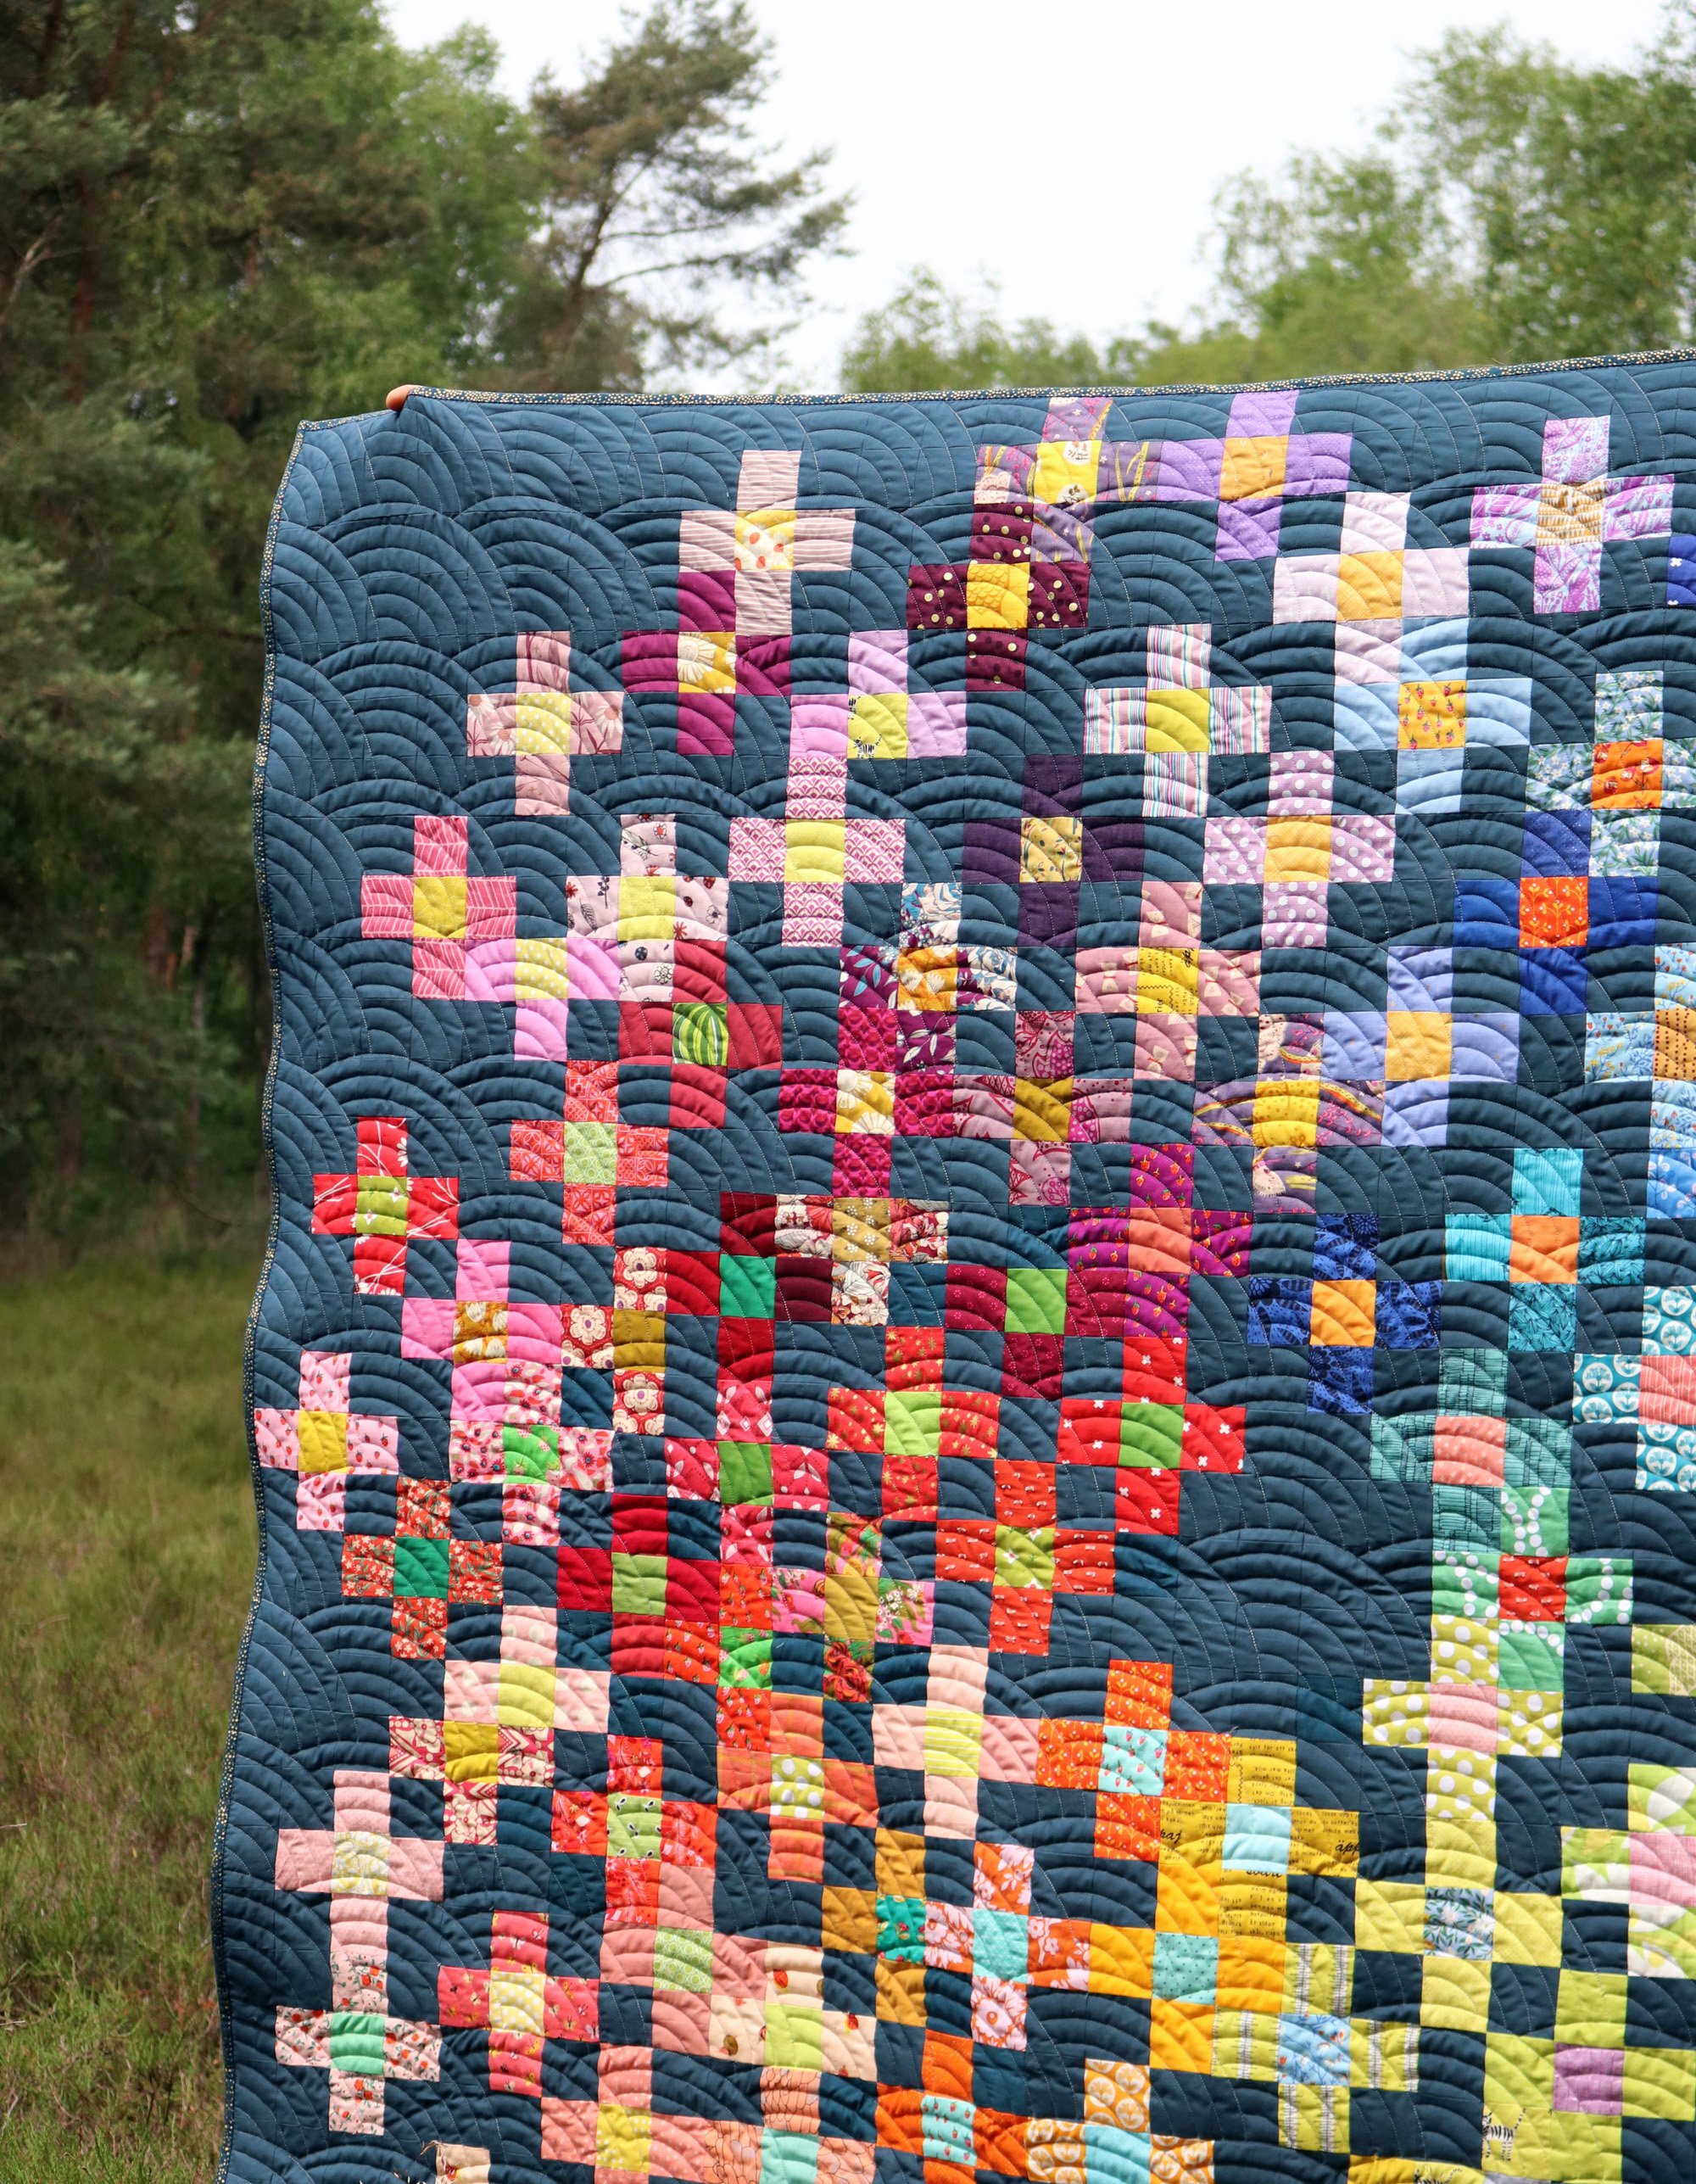
Sometimes I choose a background in advance, but just as often I go out with a quilt and my camera and an open mind. If you walk around a park or neighborhood looking for photo opportunities, there is often much to be found! And it can be that your original background idea isn’t the best one after all, so try multiple locations if the ideas keep coming.

a dark, leafy background does the job beautifully
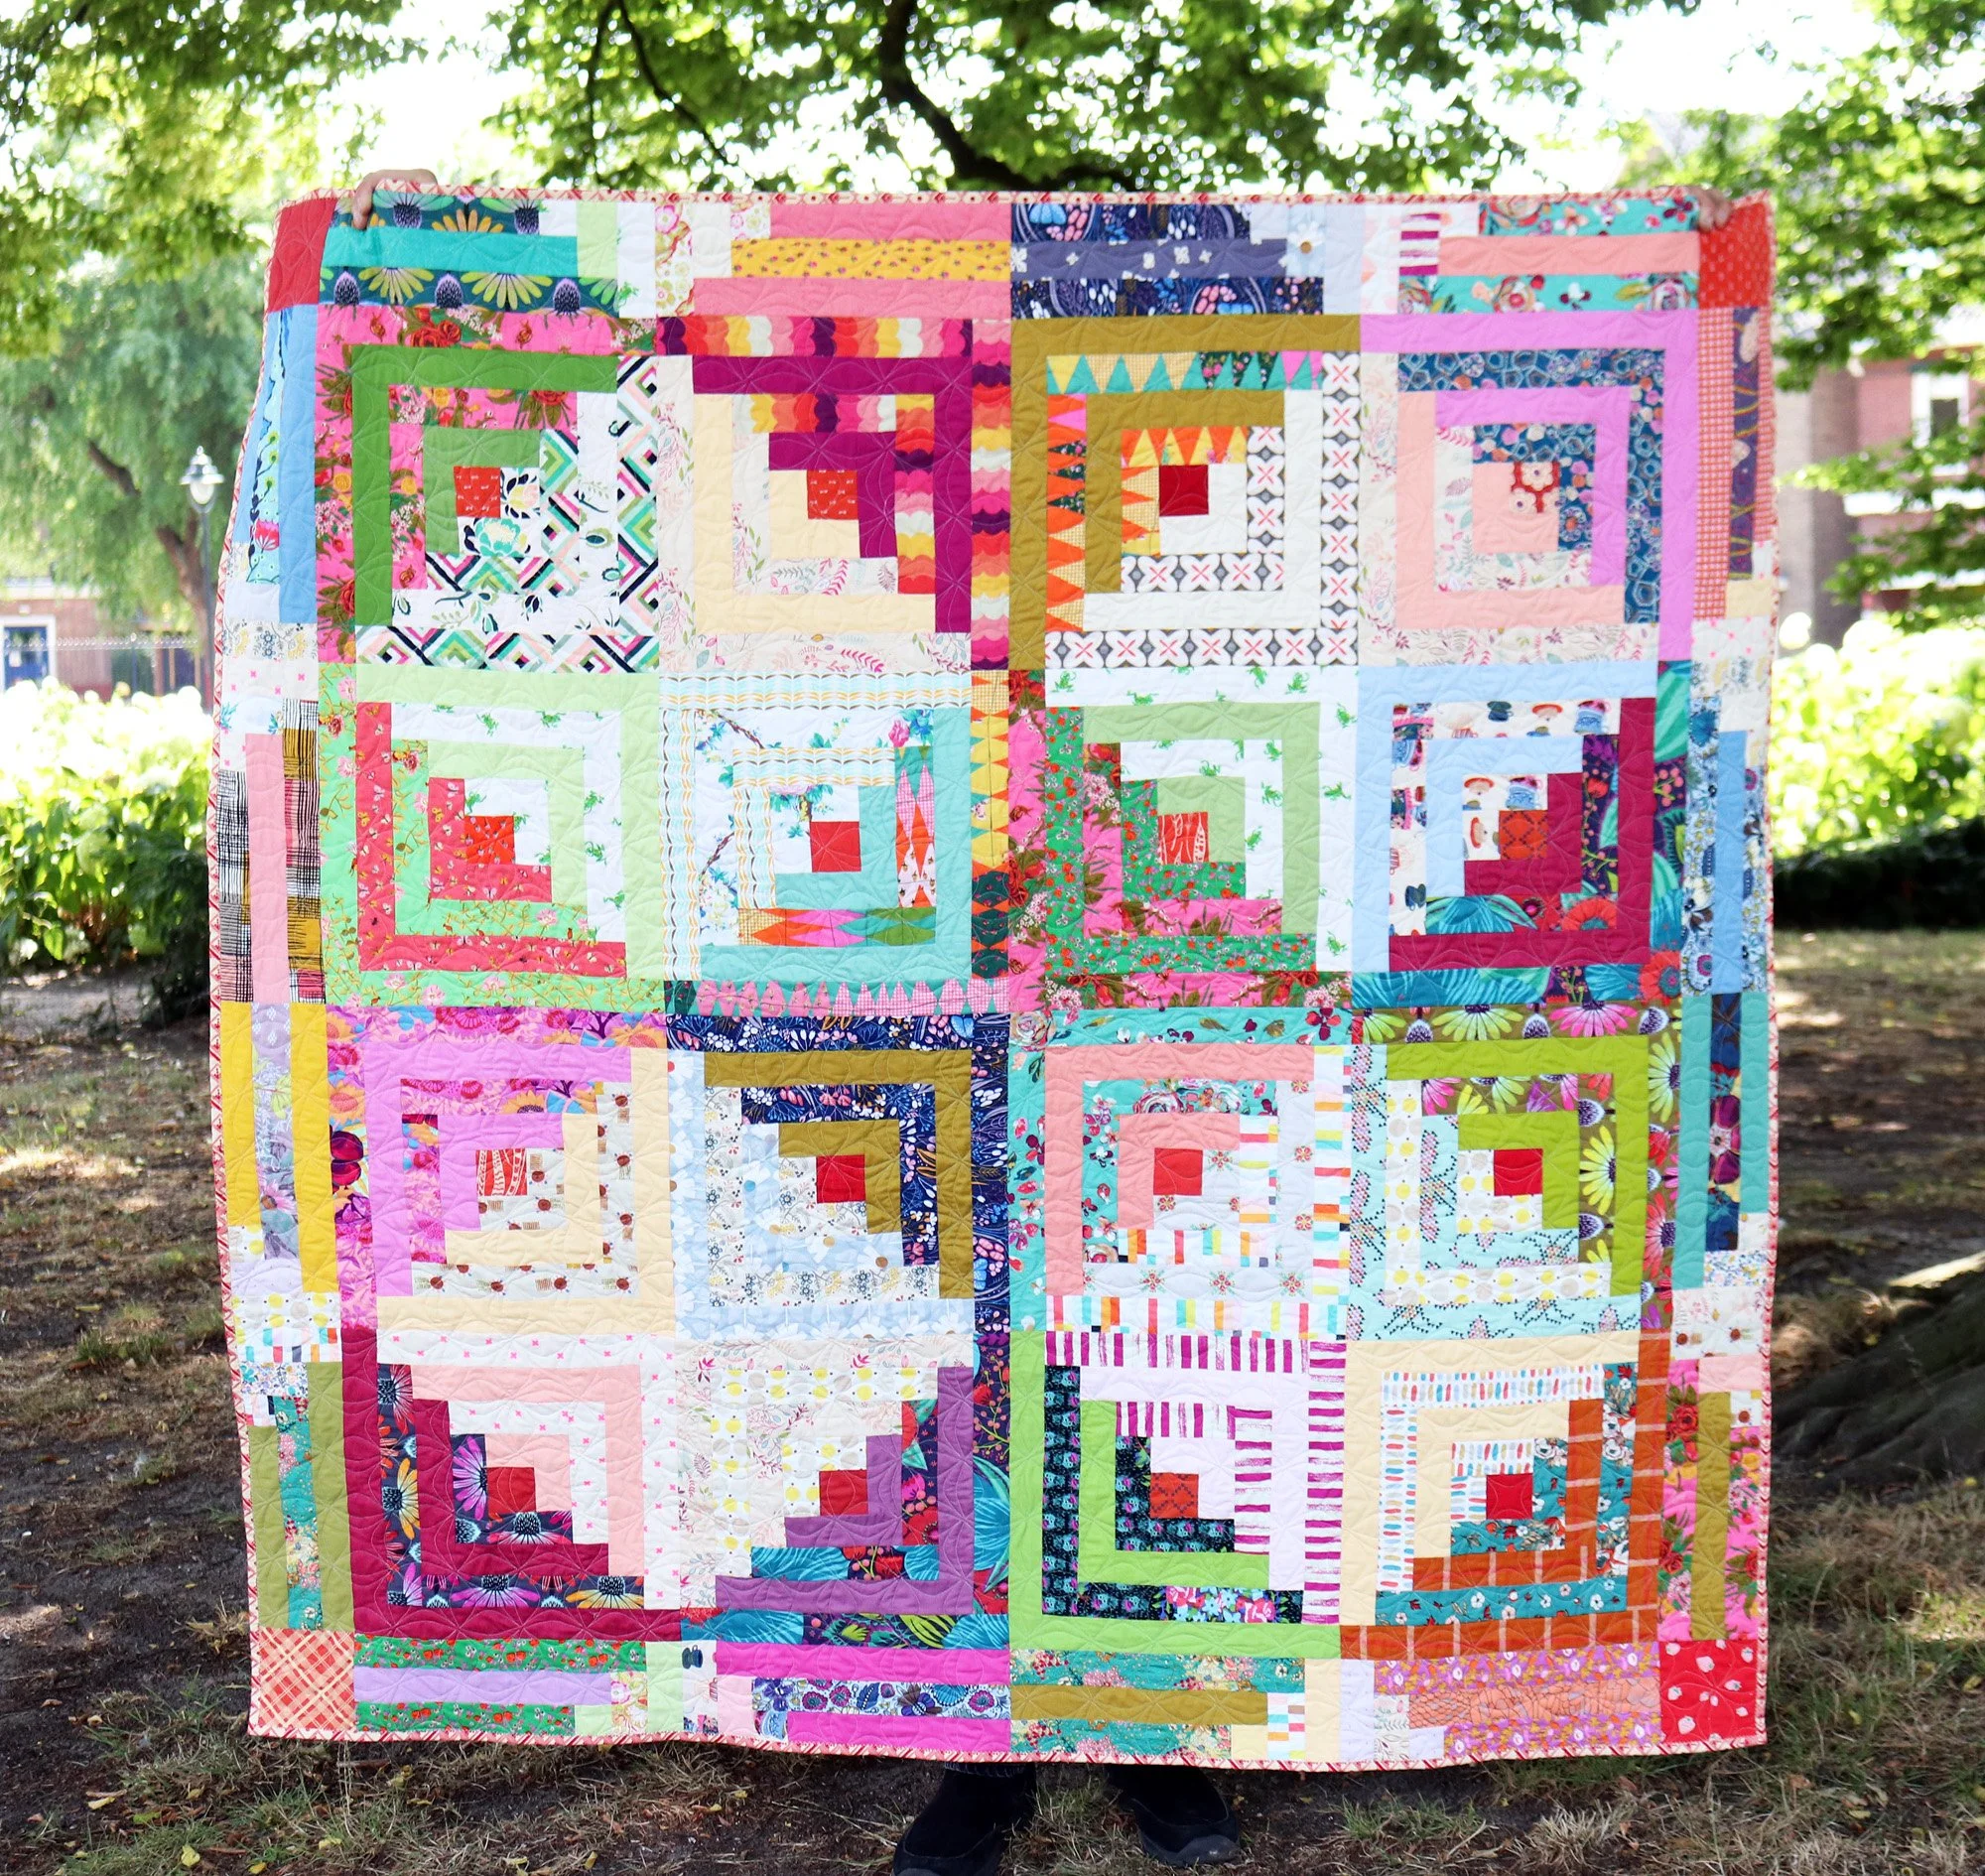
no. 3 the Big Photo
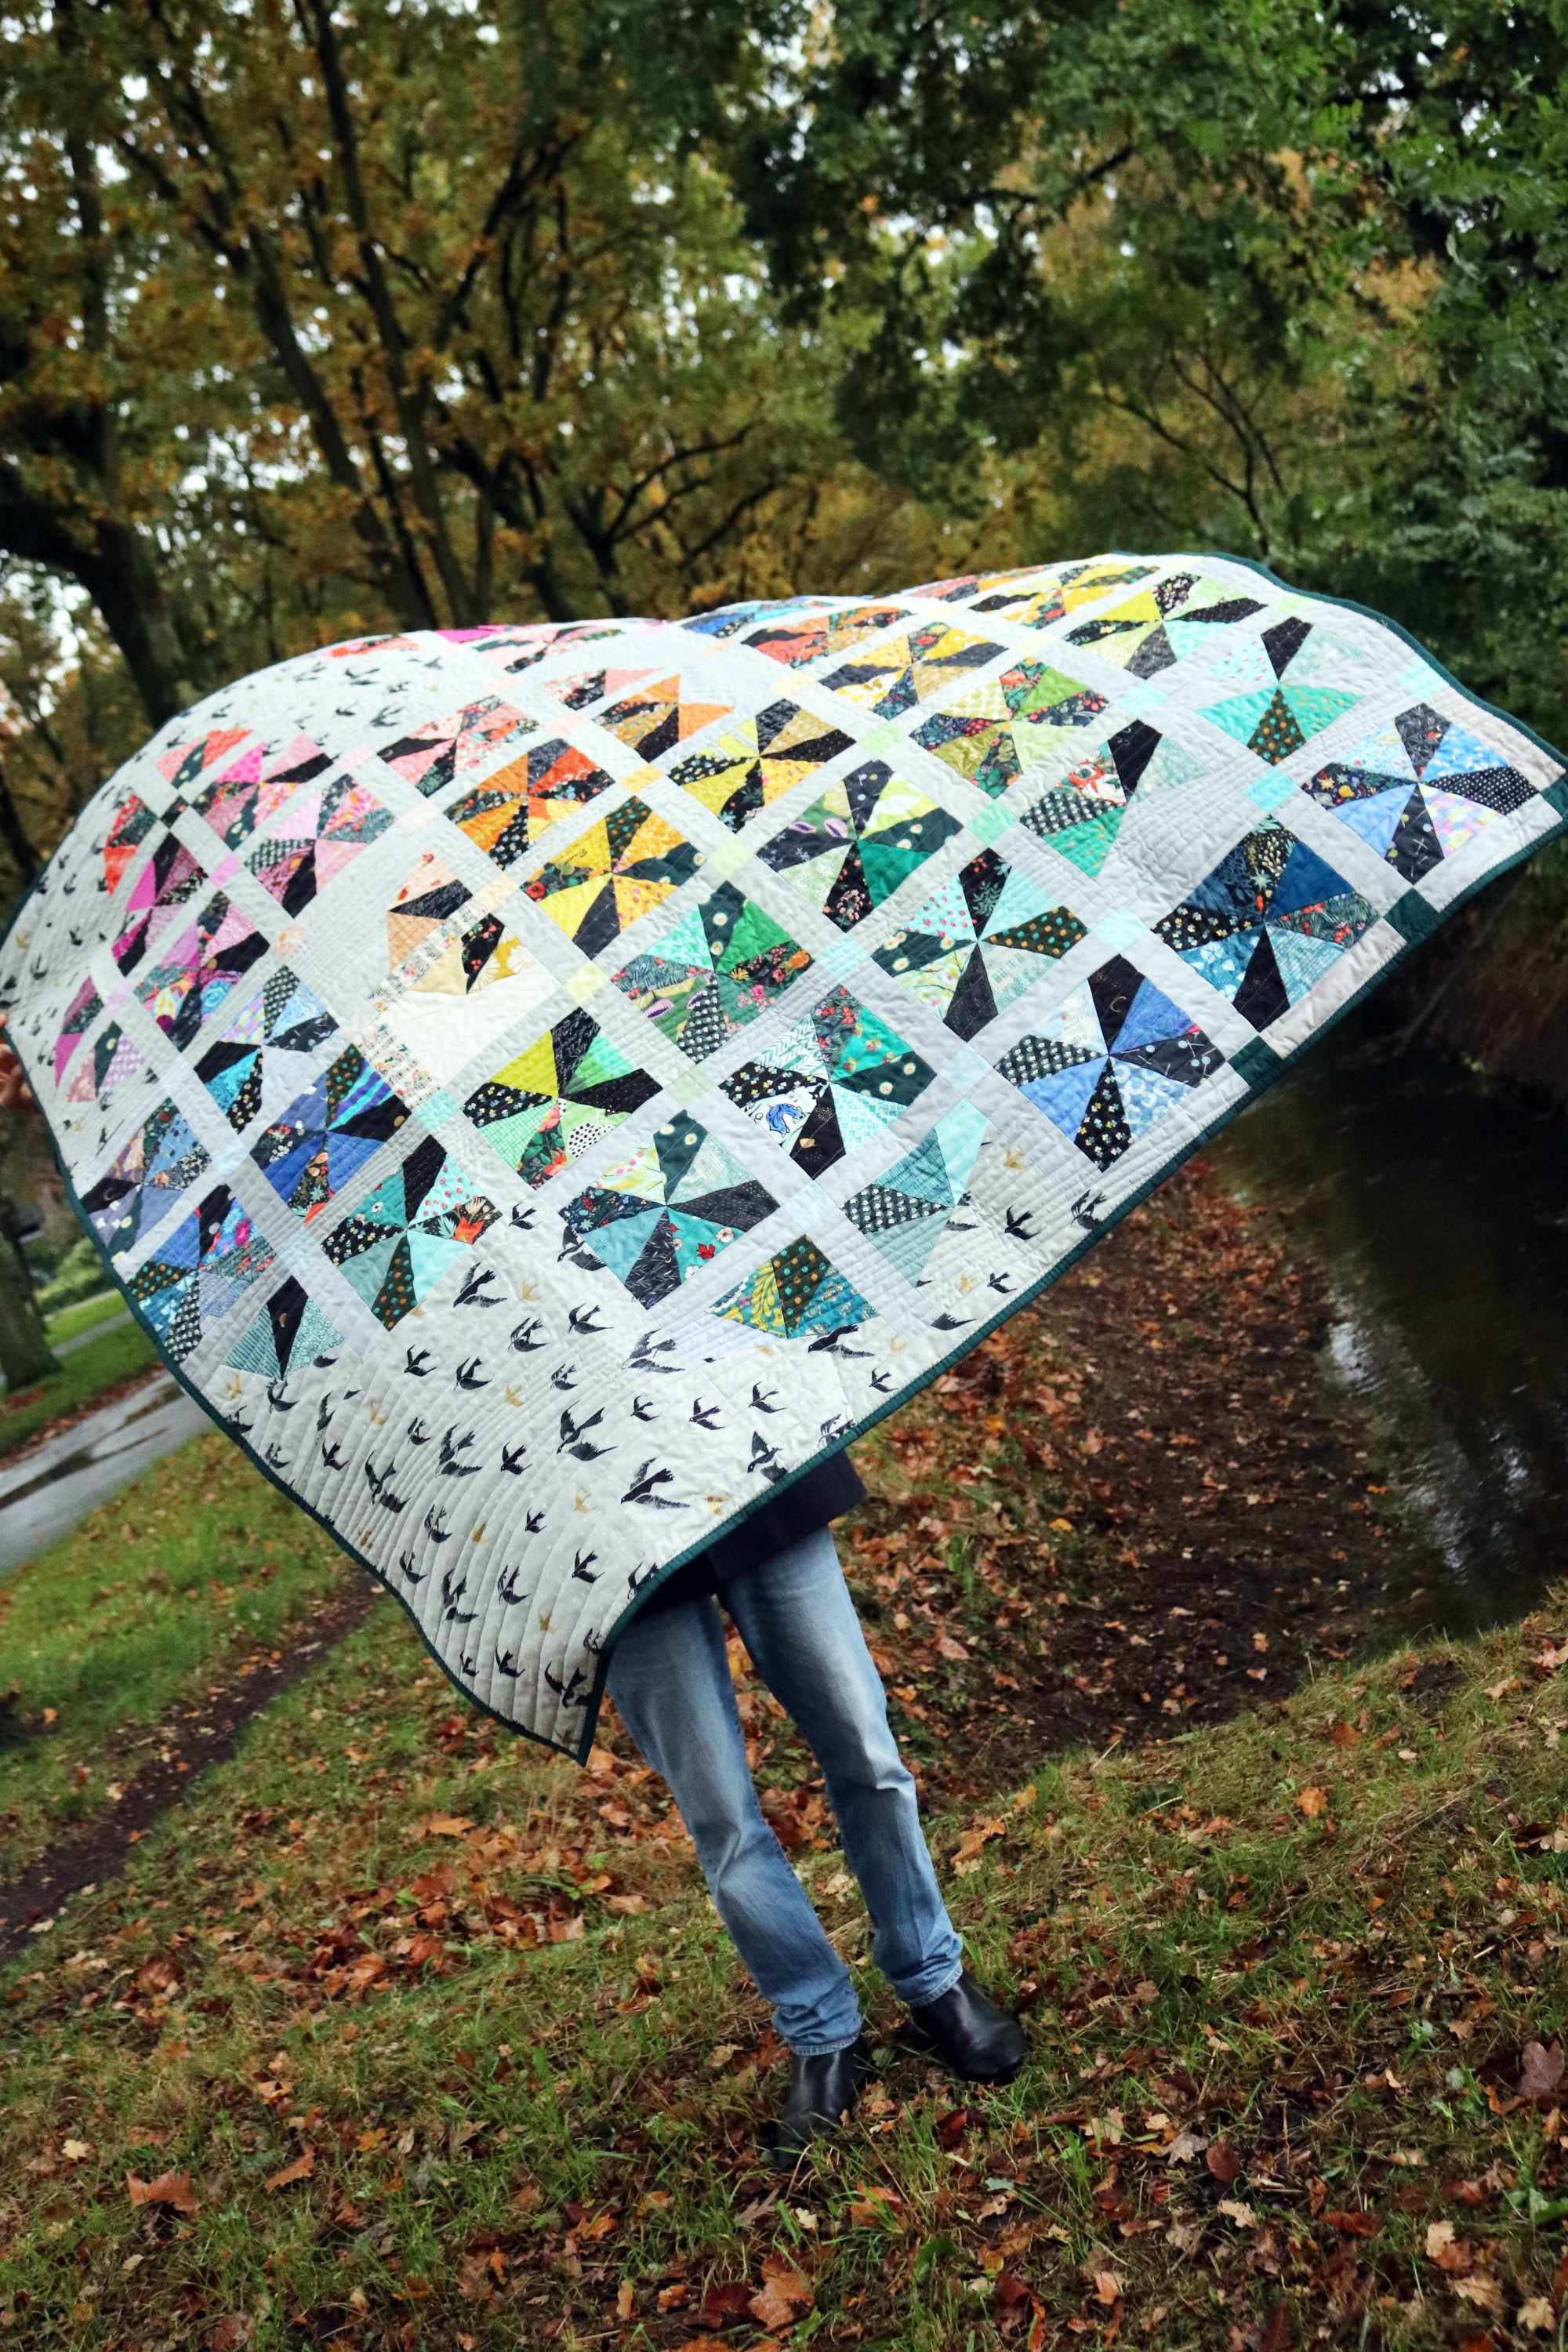
Make sure that you get one photo that shows the entire quilt. Usually the easiest way to accomplish this is to have someone hold the quilt, preferably a tall someone whose arm span can do the job. Yes, that means that you will see the hands holding the quilt in the photo, and perhaps some legs or feet sticking out underneath. That’s ok - your quilt can’t hover. We all get that. And anyways sometimes it’s fun later to remember who was holding that special quilt. Quilt-holding is a hard job though, so be ready to shoot fast and make your holder feel appreciated.
almost all of my full-quilt photos have hands!
On a windy day, getting the big photo can be super tricky. If you are really desperate to get the perfect photo, you could try temporarily attaching something weighty on the back of the quilt, such as pinned-on bean bags. But probably the answer is patience - either from your holder, who can keep holding the quilt while you wait poised to snap the photo the second the wind stops, or from you, if the quilt can be photographed on a calmer day.
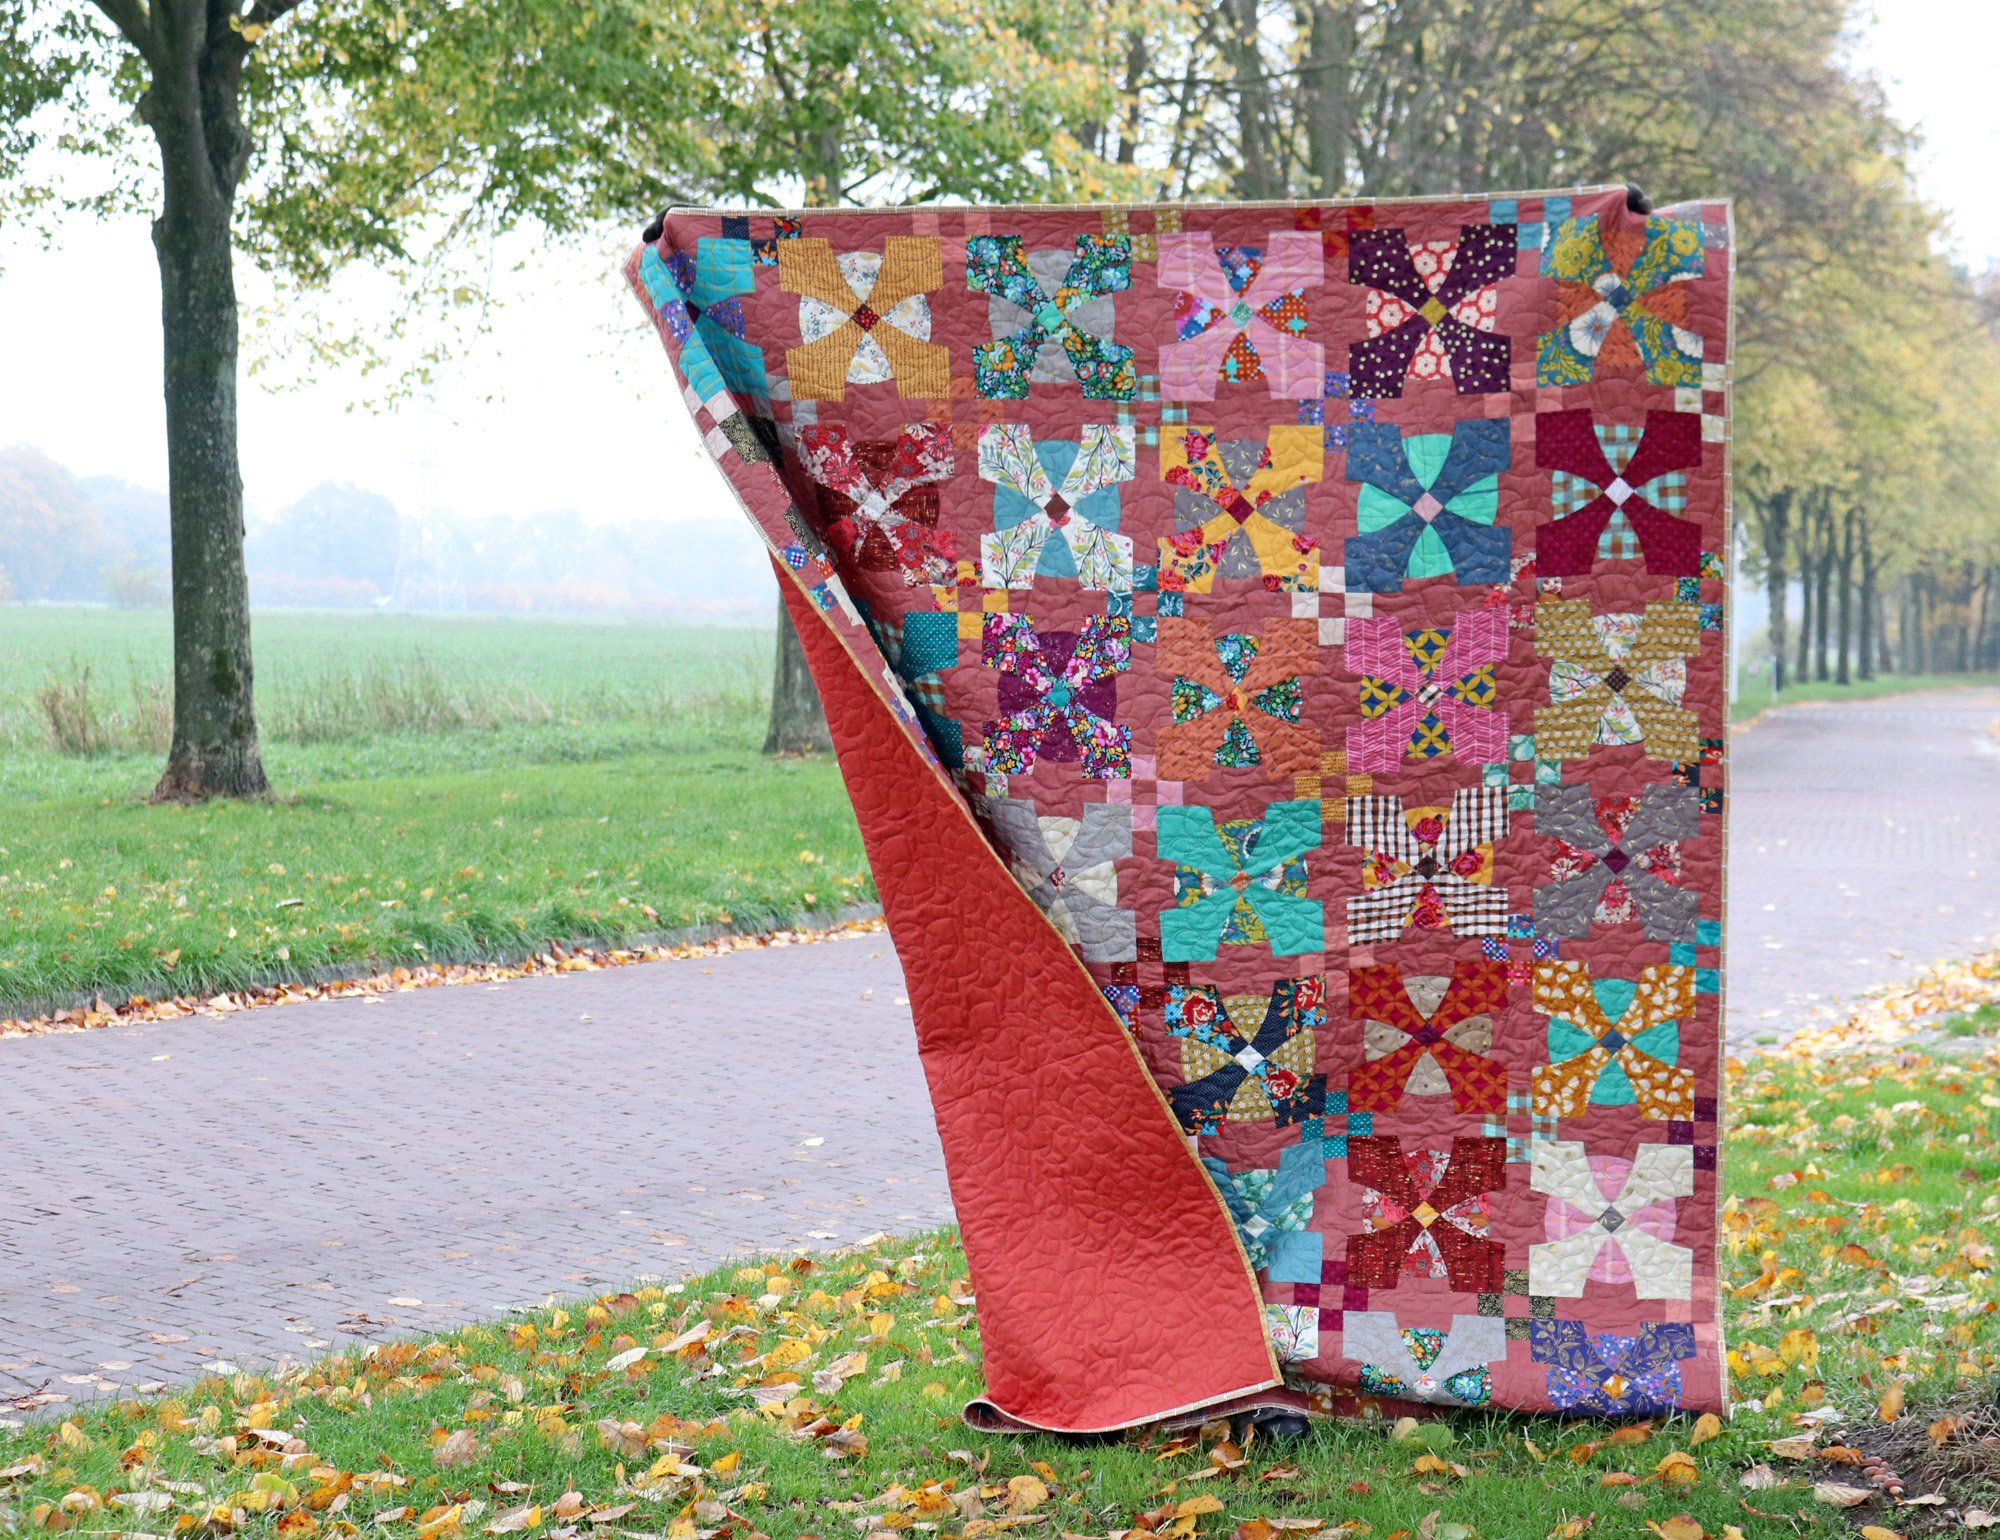
windy shots can also be cool!
no. 4 Details
Once I am satisfied with the big photo of the entire quilt, I begin playing around with detail shots. Zoom in on a favorite corner, photograph the bottom edge or try taking a photo from the side or tilted. When taking these alternative shots notice how each angle changes the lighting slightly and can make the details of the quilt easier to see.
Here are some ideas for detail shots.
Lay the quilt on a horizontal surface with light coming across the quilt from one direction. Stand so that the camera is facing the the light source (likely a window). This is a surefire way to emphasize the quilting texture.
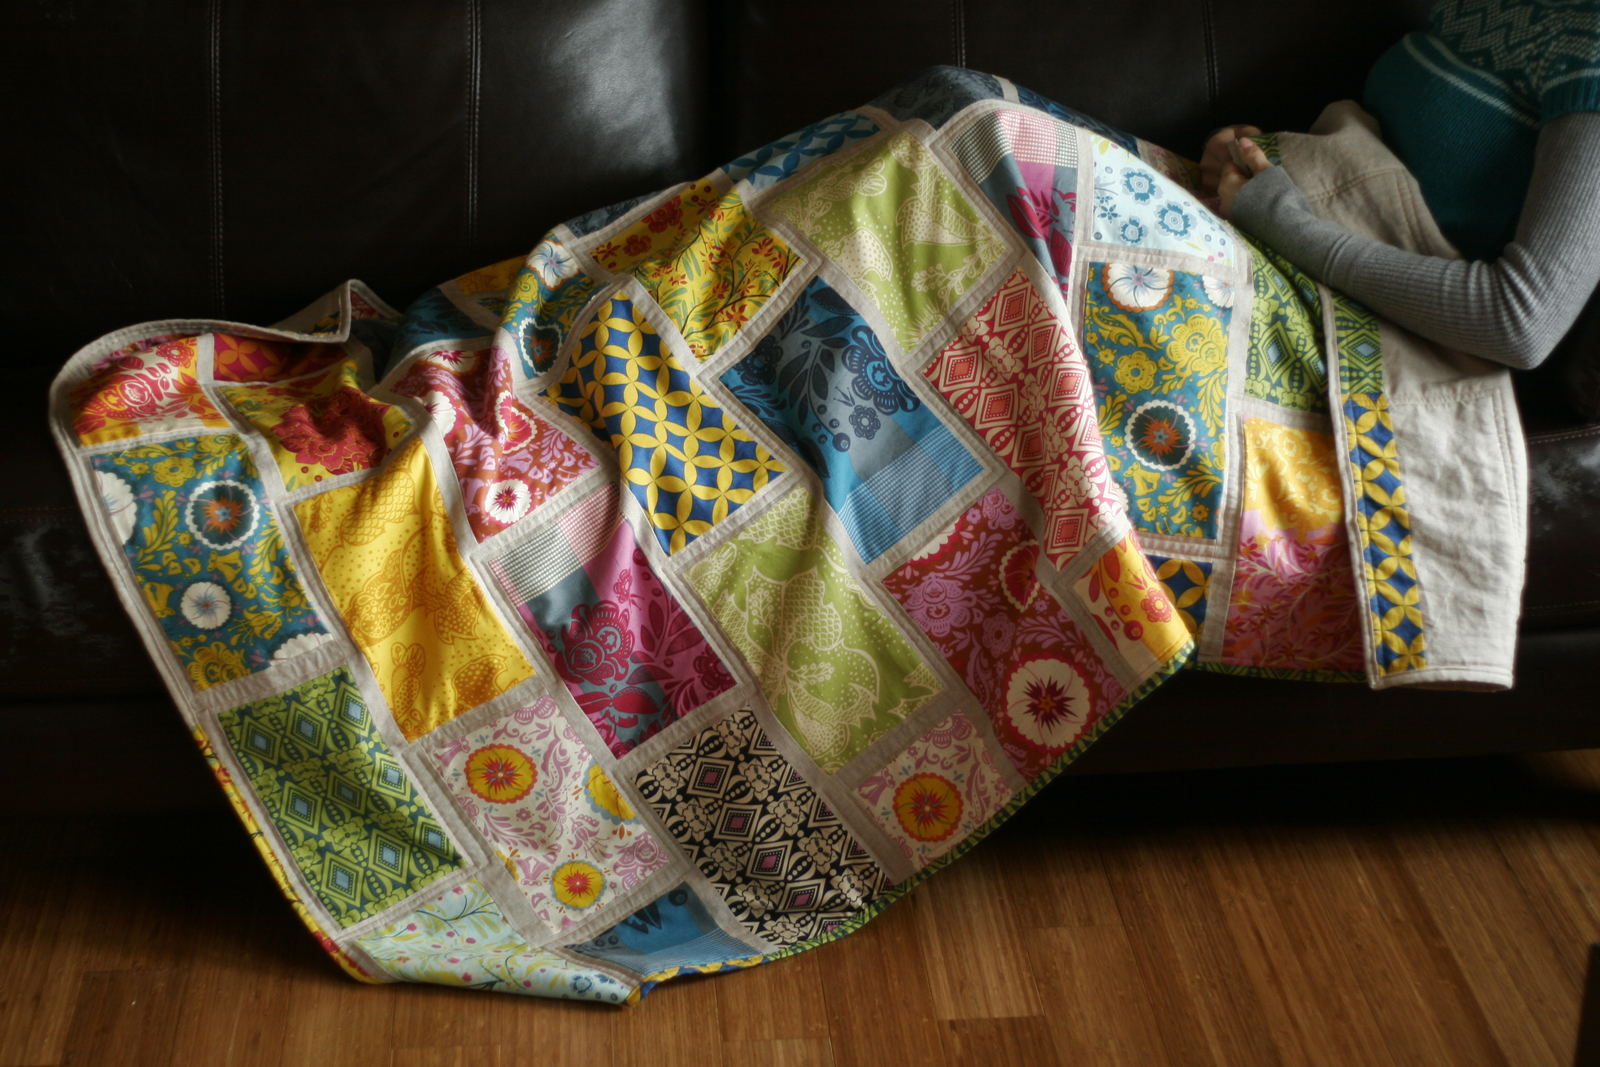
Fold or roll the quilt and place it on a bed, sofa or shelf. This photograph can emphasize the binding edges or the thickness of your quilt.
Drape the quilt off the end of a bed or sofa, so that it puddles on the floor. Again when you take the photograph, stand so that the camera is looking toward the window for the most attractive lighting. Alternatively, stand on the bed or sofa and photograph the edge that is on the ground from above. This shot can show the cuddly, cozy nature of the quilt, as well as many details.
Have someone sit with the quilt on the sofa or stand by a window, wrapped up on your quilt. Adding that human touch is very special.

on a horizontal surface

from above, puddled on floor

folded quilt
with a person
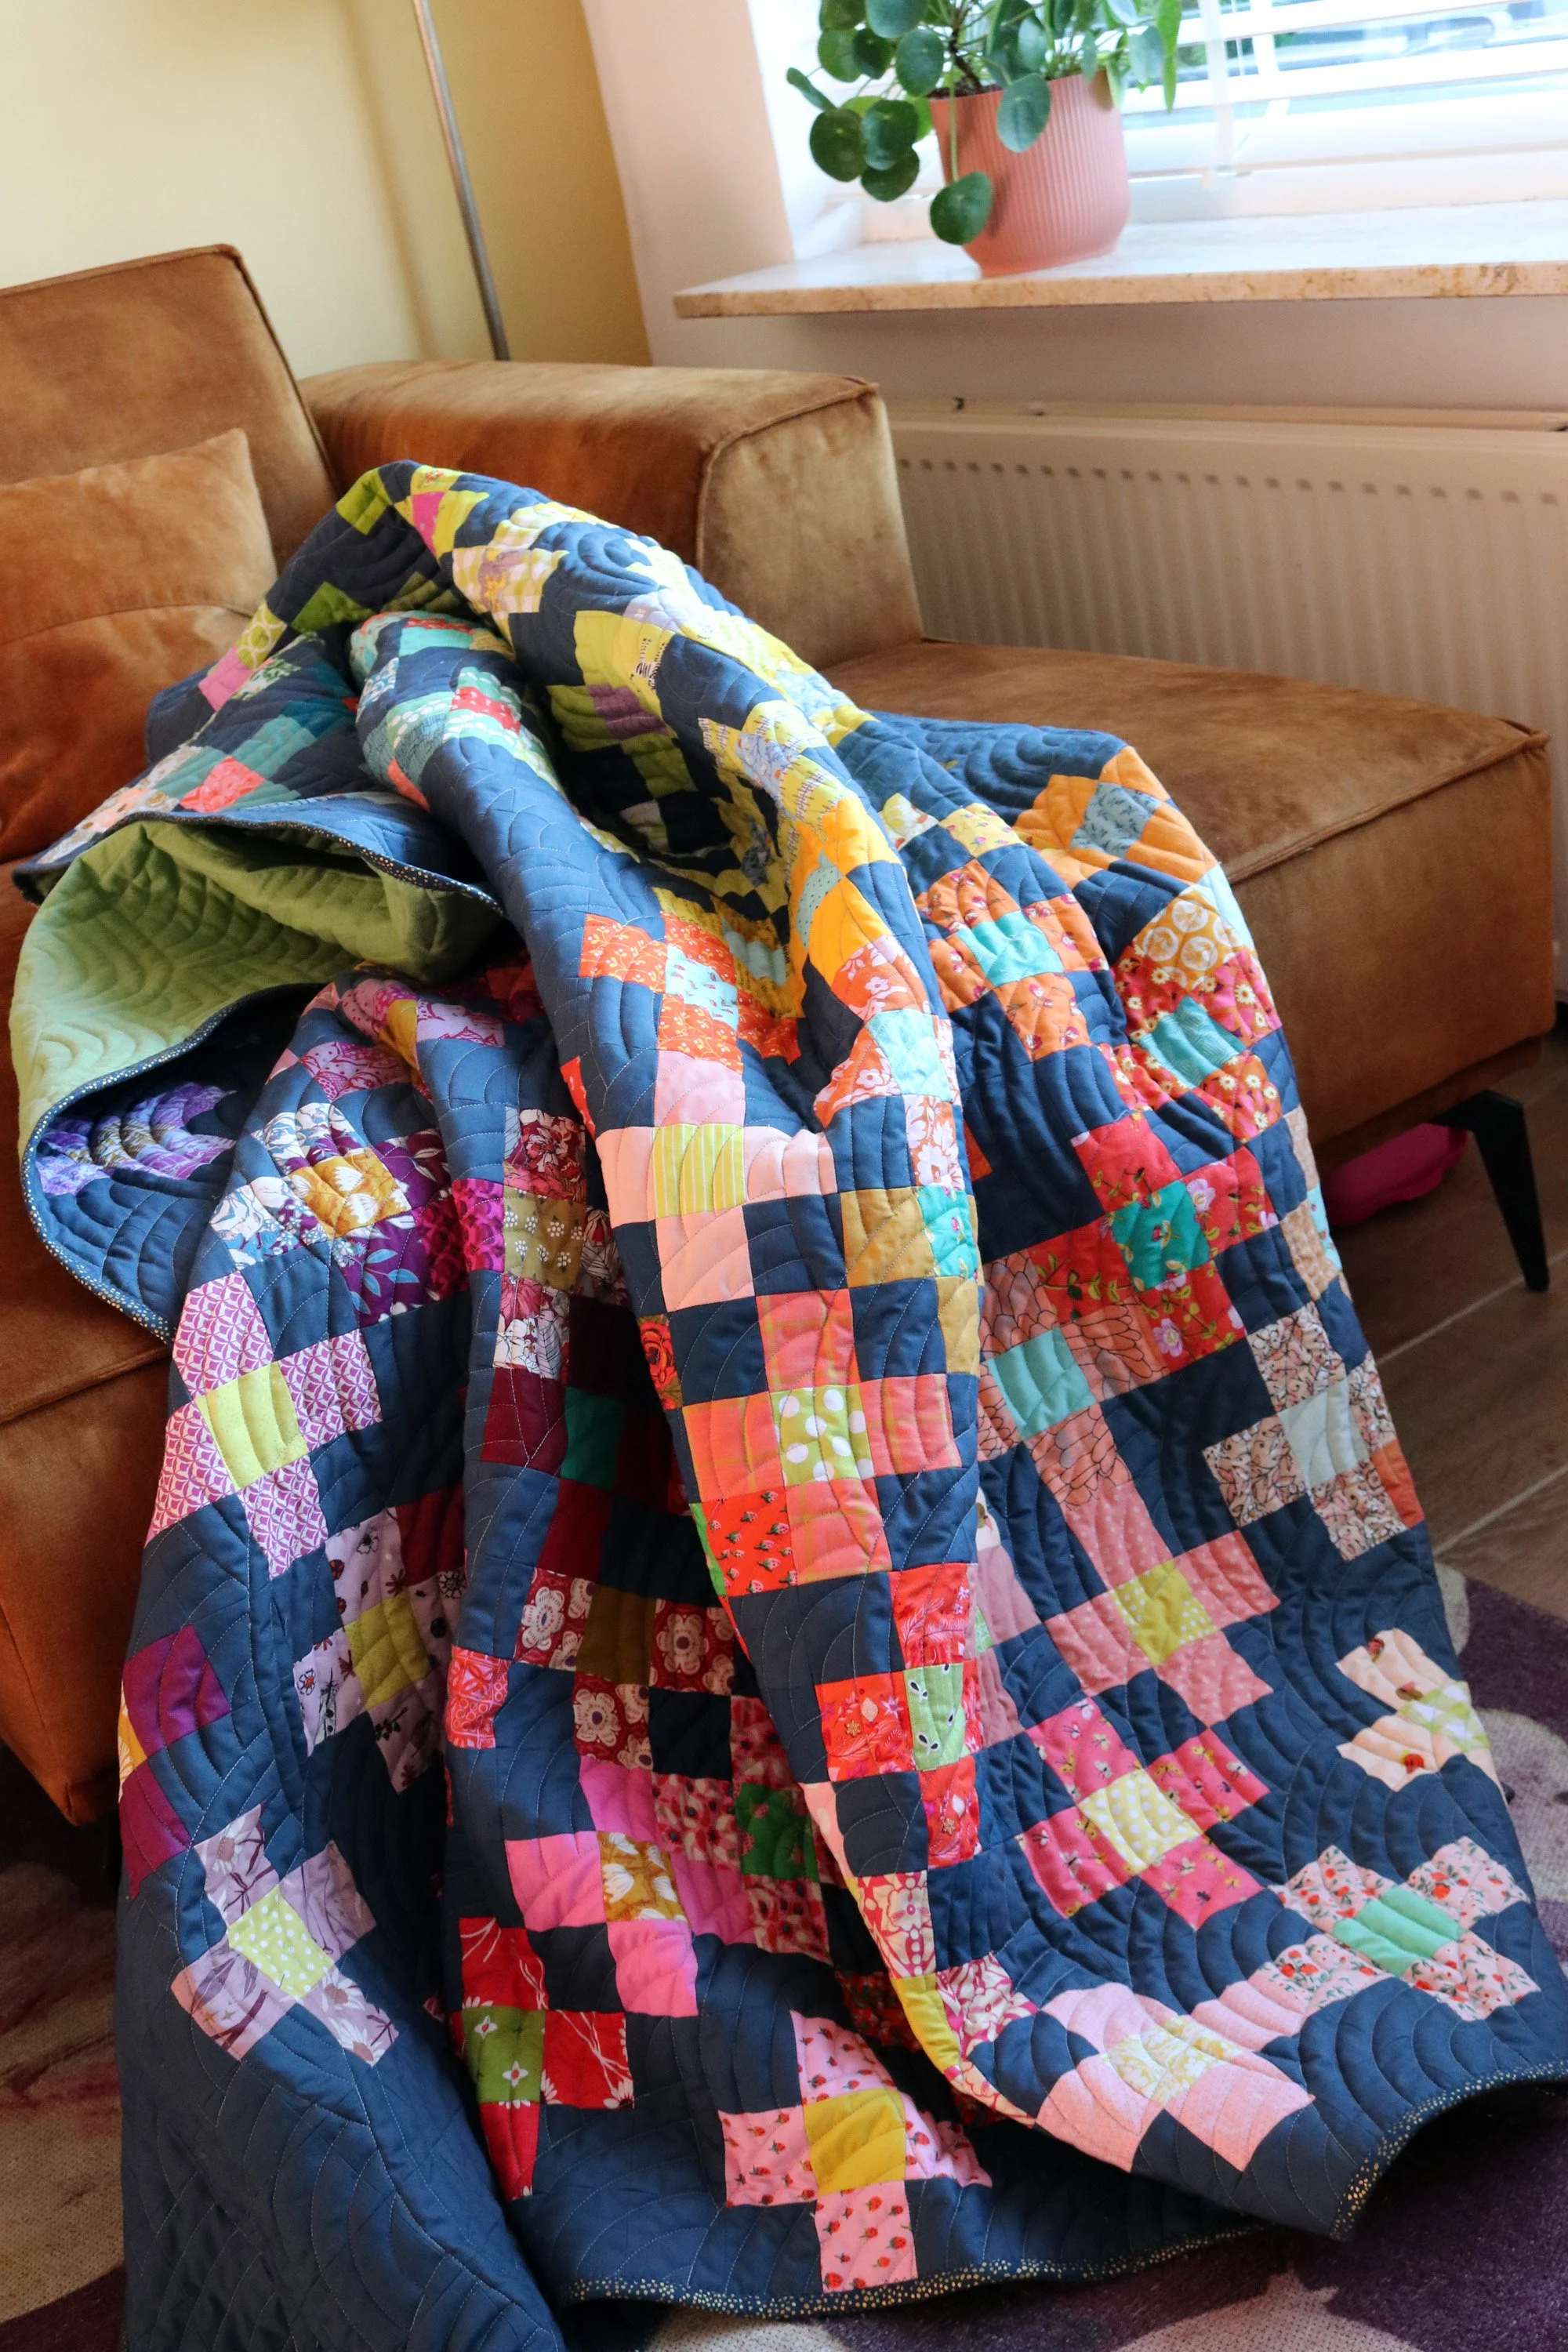
draped on sofa

with a person
Do you have more tips for us? Do you photograph your quilts, and if not, why not? It’s never too late to start!