Drummer Boy Dresdens: Week 4

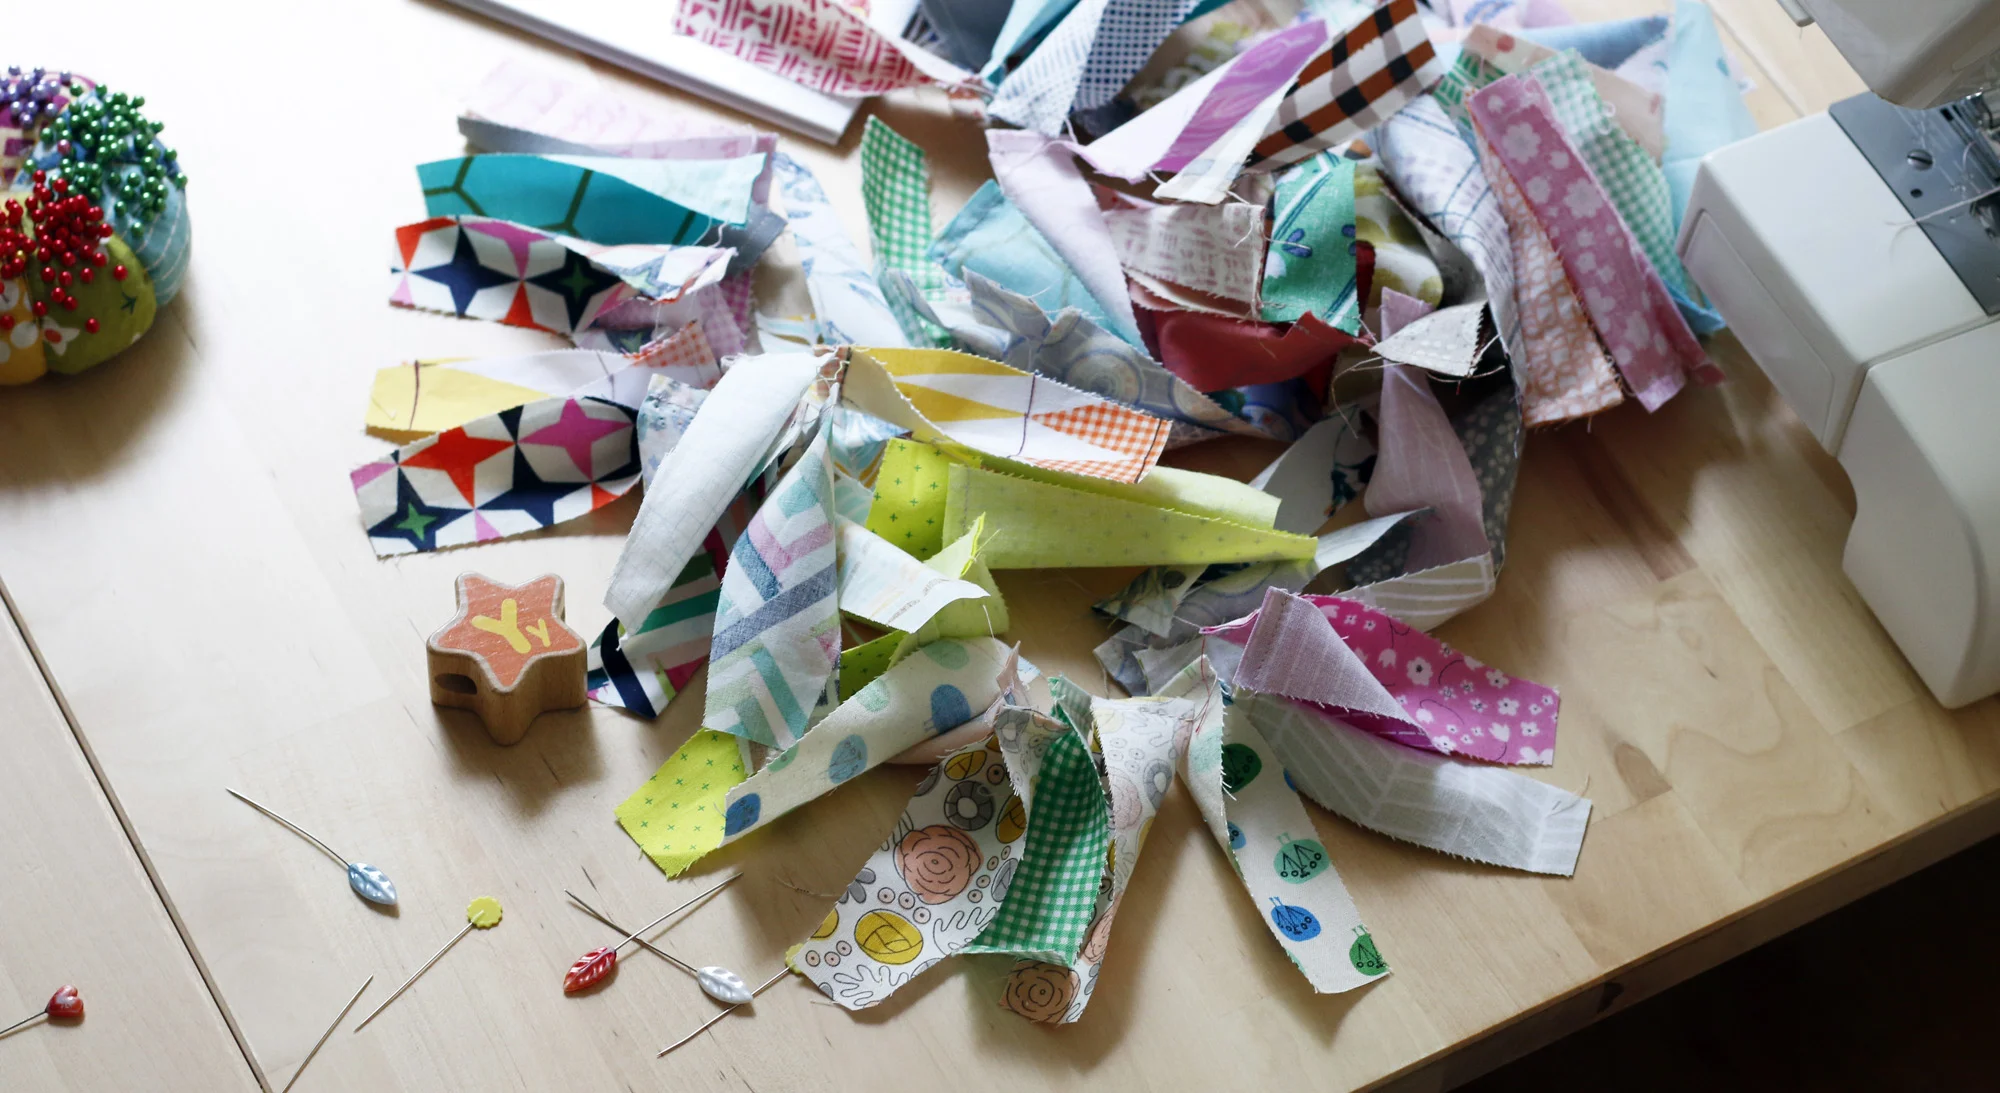
I’m excited that this week we’ll be completing Drummer Boy Dresden blocks! I’m all for the time saving efficiency of batch sewing, but it’s so satisfying to stack up finished blocks, don’t you think?
I know a bunch of you have already finished blocks and shared photos at #DrummerBoyDresdens. That’s great. This sew-along is meant to be totally flexible. Feel free to chart your own course! I’m providing this schedule for those who like a guide. If you’re just joining us, check out the complete schedule.
This post is part of the Drummer Boy Dresdens Sew-Along! See all posts.

Week 4 Goal
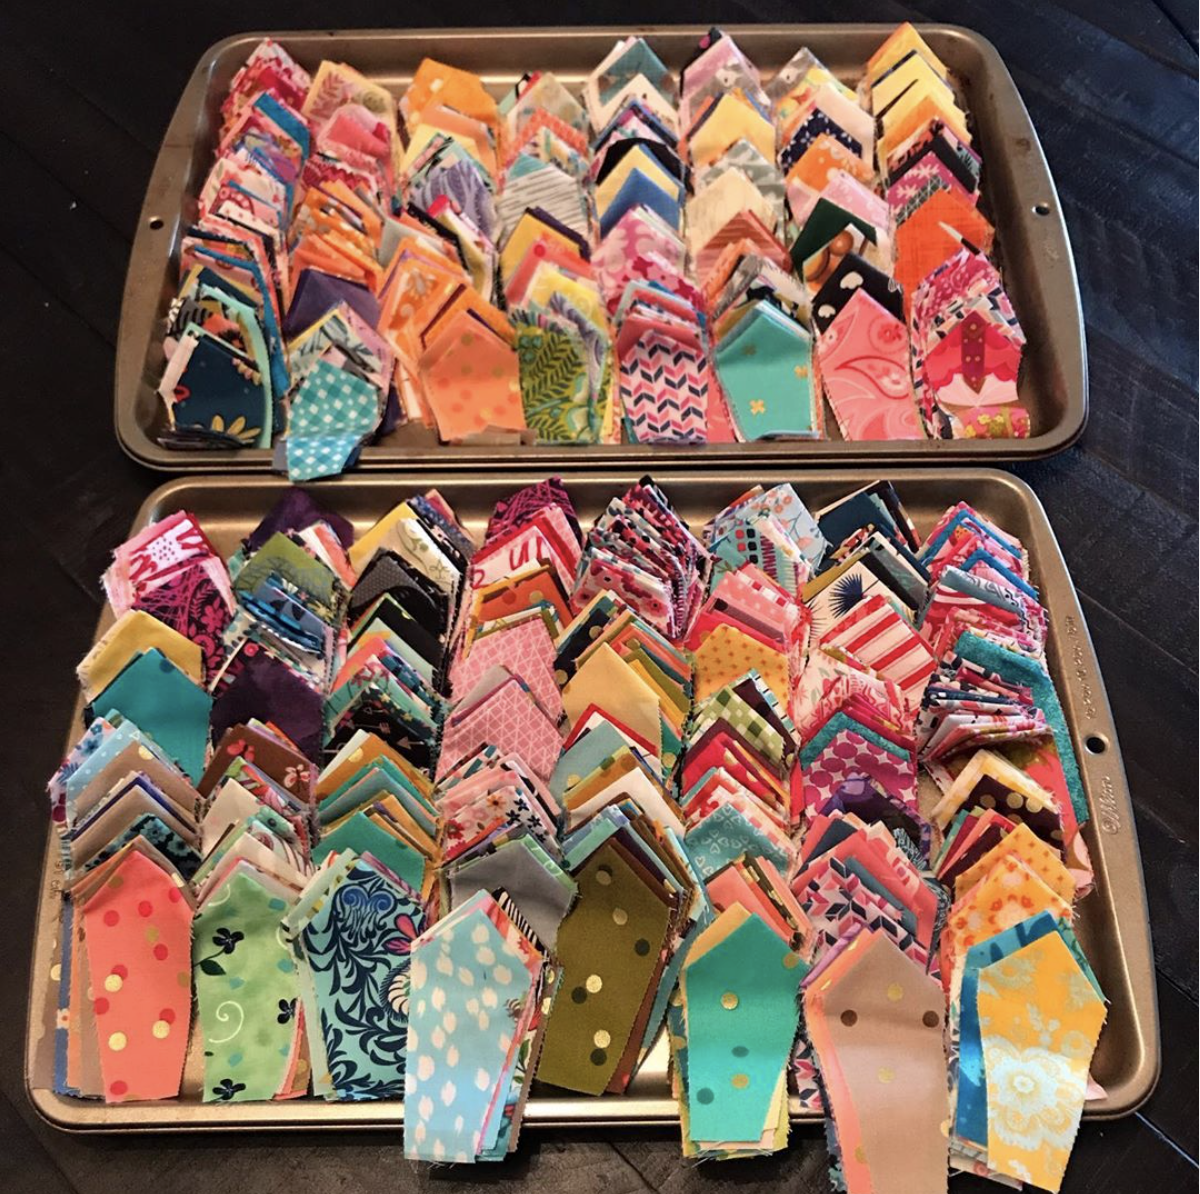
33 Dresden Blocks
This week we combine 33 dresdens fans and 33 already-cut background squares to complete 1/3 of your total blocks for a throw-sized Drummer Boy Dresdens quilt. With the parts already prepped, completing 33 blocks is totally doable, at least if you are machine sewing like me. If you are appliquéing by hand adjust expectations accordingly and enjoy!
Step 1: Sew Curved Seams
Ok, it’s time to get your curve on. Each block has a single curved seam, joining the quarter circle to the dresden fan. Refer to the Drummer Boy Dresden quilt pattern for some visuals, especially if you plan to pin this seam.
I personally prefer to sew curves without pinning. I find it much less fussy. Sure, sometimes I have to unsew a seam and try again, but overall I sew through them so much faster without taking time to pin.


Wondering how that works? Here is the two fabric pieces on left. On right is how I would orient them to start sewing (the ruler is just holding fabrics in place for the photo). I’ll start sewing at the top right corner of the quarter circle, where raw edges are aligned. Notice that the fan piece is on top. Most people have better success when the concave piece (in this case the fan) is on top as you feed the seam through your machine.
Some tips:
go slow
set your machine to stop with the needle down
pay attention to your seam allowance at the needle, ignore the rest
does your fan piece seem too big for the quarter circle? Try a slightly scanter seam allowance.
does your fan piece seem too small for the quarter circle? Try a slightly more generous seam allowance.

Step 2: Appliqué Dresdens
Attach your Dresdens to backgrounds, making sure to cover all of the background square along the raw edges of the fan. It’s ok if some dresden fan raw edges extend off the edge of the background square. That just makes a few dresdens slightly smaller than the rest. It won’t be noticeable!
Step 3: Trim Blocks
One by one, place each block wrong side up on your cutting mat. Trim any dresden fan that is visible from the wrong side of the block. You’re returning your blocks to a perfect 6.5” square.

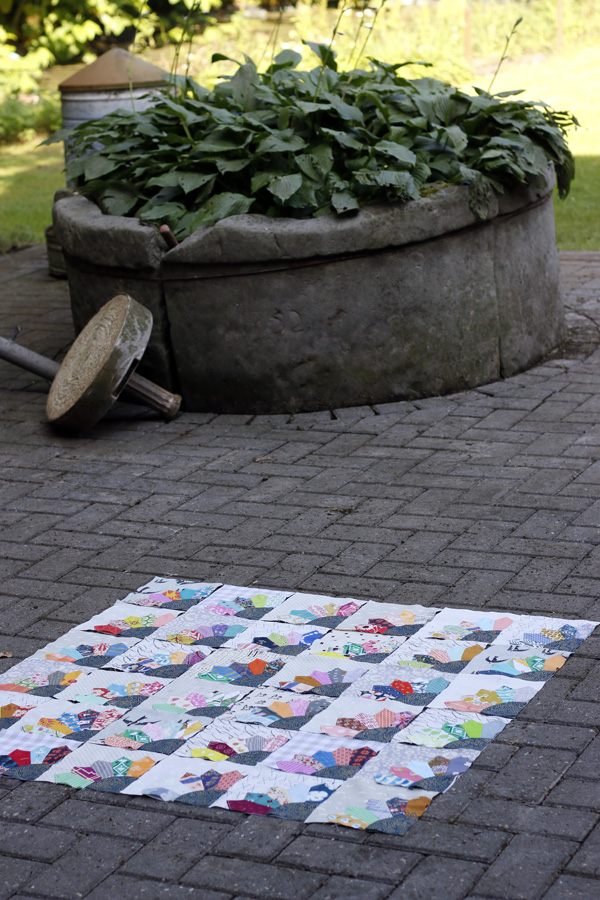
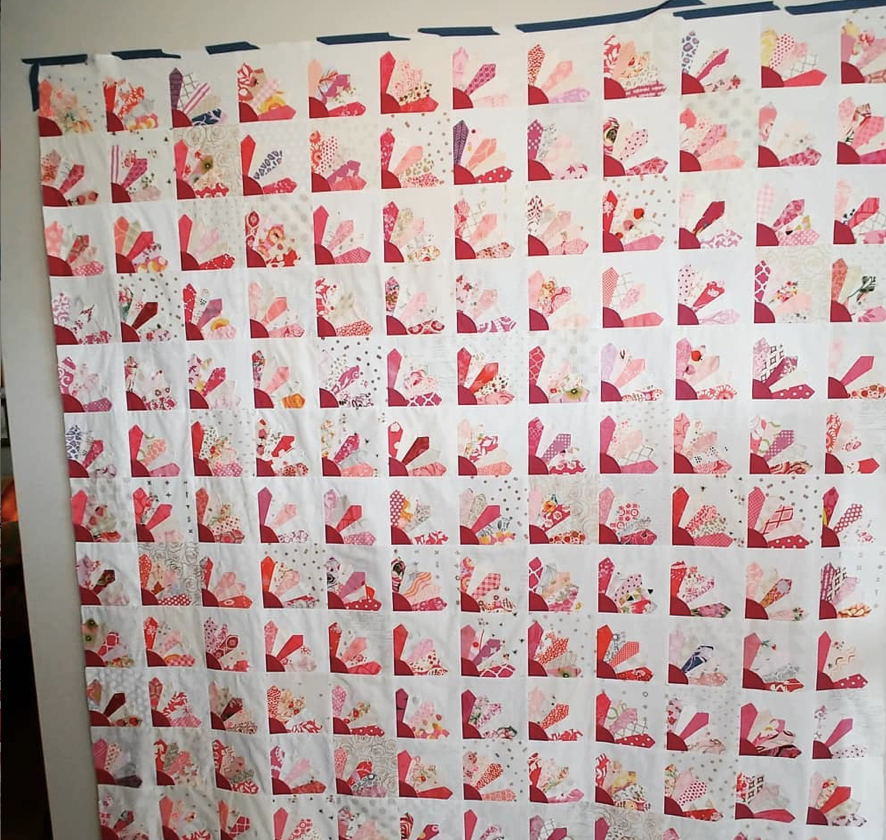
Here is my collection of finished blocks! I’m so excited to see they have the spunk and happy scrappy charm I was hoping for.

Come Sew-Along!
Join the community by sharing your progress photos on Instagram with hashtag #DrummerBoyDresdens. Every image equals a chance to win a prize. This week you’ll be in the running for a $35 gift certificate to Kiwi Fabric!

With a wide selection of designer fabrics organized into easy-to-browse categories, Kiwi Fabric is a great Etsy shop based out of Northern California. You’ll find beautiful bundles, both precut and custom. I’m particularly fond of their text prints and stripes!
Make sure you follow @KiwiFabric for your chance to win, plus @StitchedinColor and my cohost @TheMakingsofJoy. Good luck!