Economy block tutorial
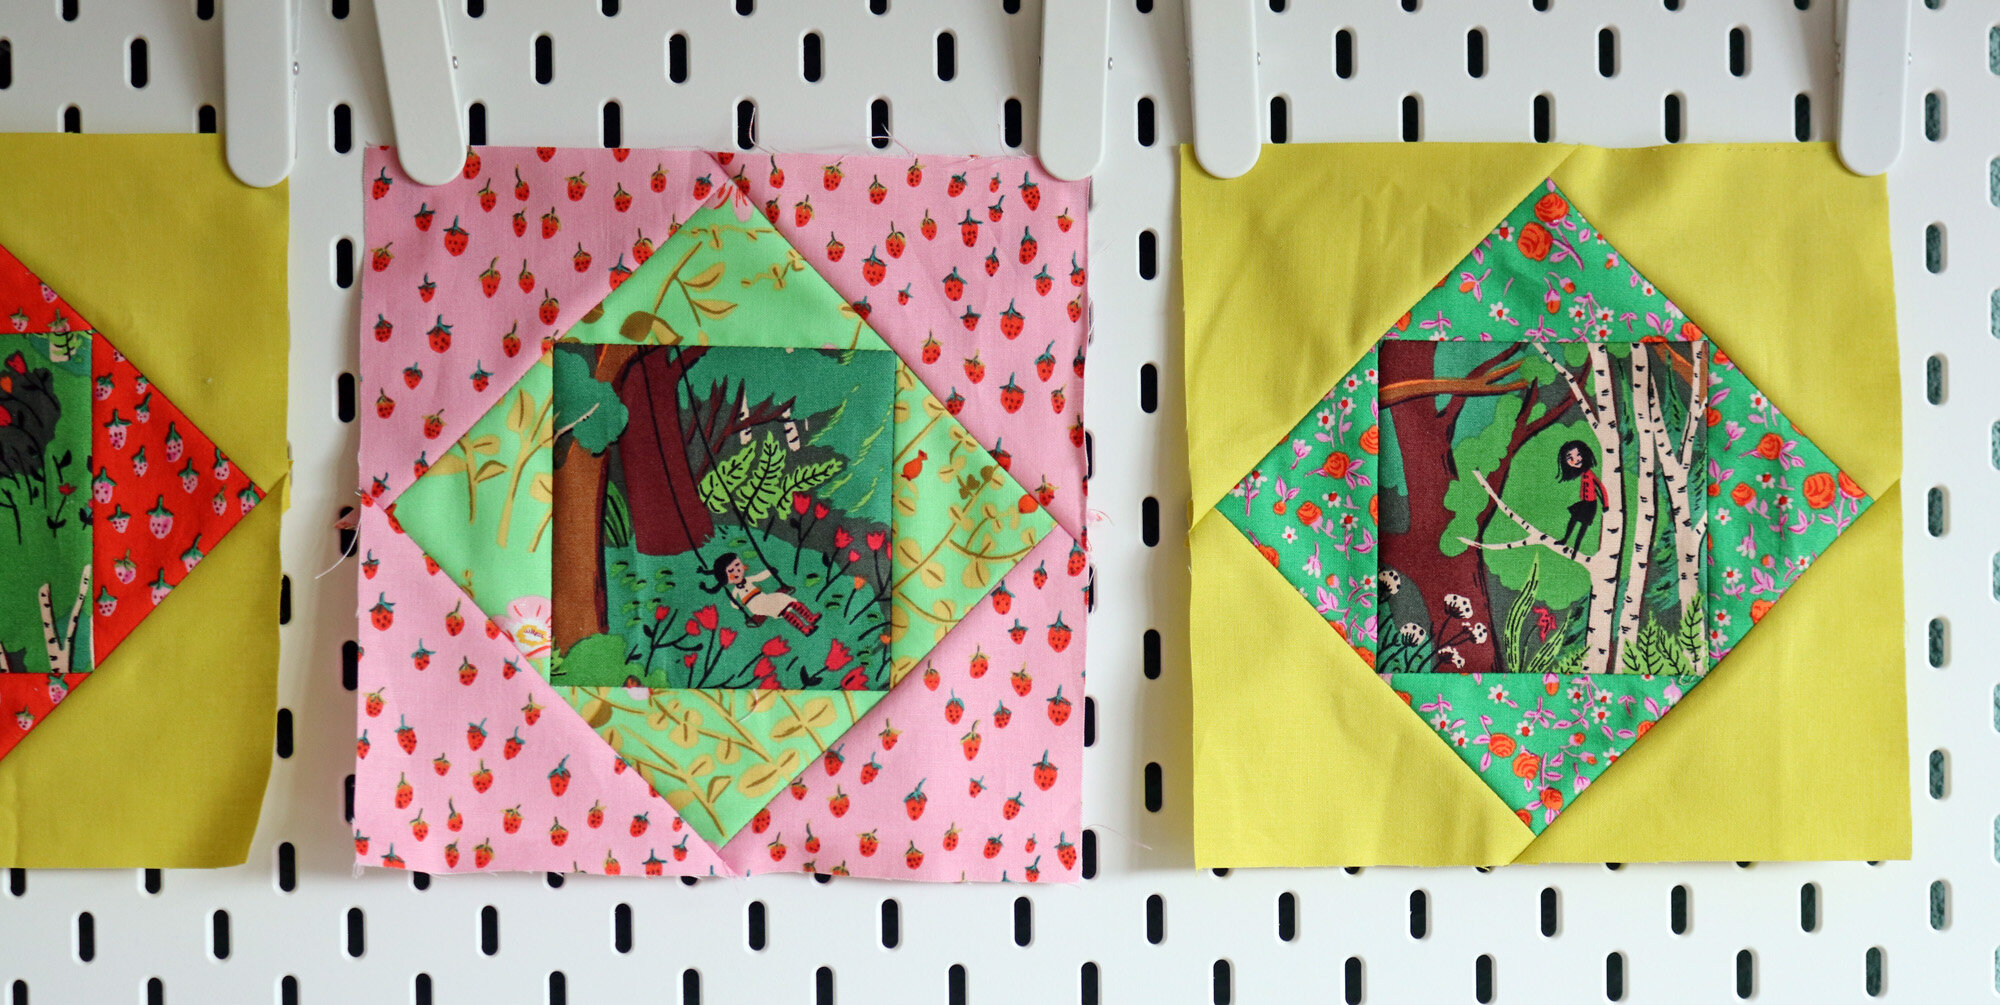
This adorable square-in-square block is a classic for good reason - it’s quick to sew and offers fun fabric play. Enjoy fussy cutting center squares and combining fabrics in groups of three.
What to do with your growing collection of economy star blocks? You could make a simple economy block quilt or add some extra fun with an exciting secondary design via the Economy Star Parade pattern!

Economy Star Parade quilt
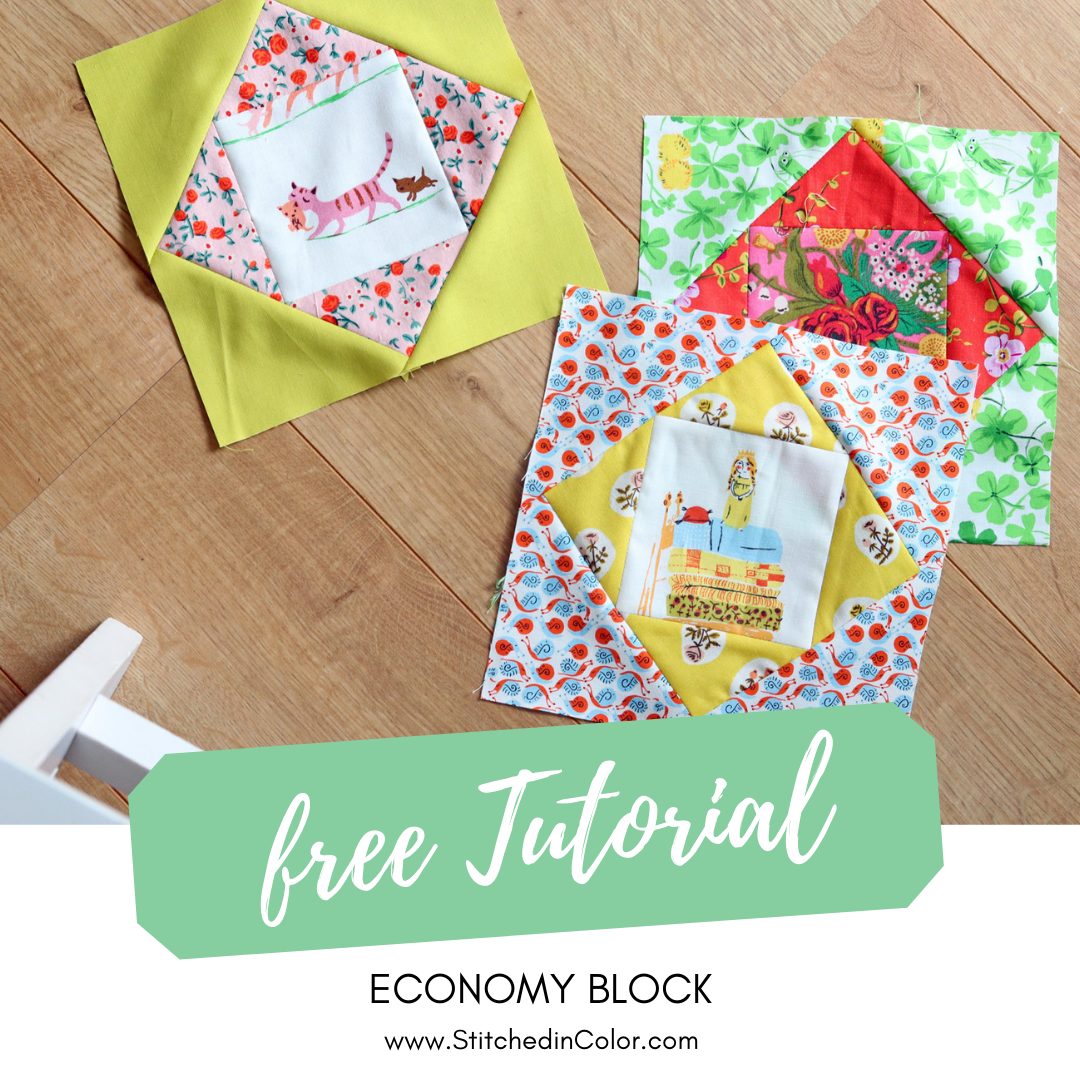
Economy Block tutorial
Yields: 8” finished block, 8.5” unfinished.
Method: traditional piecing. Margin-for-error is built-in, since some pieces are oversized to allow for easy trimming of the finished block.
Level: confident beginner.
Tools: 8.5” square quilting ruler required, 4.5” square quilting ruler convenient if fussy cutting.
Step 1: Cut Center Square
Cut a 4.5” square for the center square of the economy block. You may like to fussy cut. This refers to targeting a particular part of a printed fabric when you cut. A 4 1/2" square quilting ruler is a very helpful tool here. Place the ruler over your fabric, sliding it around until the desired part of the print is under the ruler square. Then, cut around the ruler to accurately fussy cut.

Step 2: Choose Other Fabrics
Use your center square to help choose fabrics for the remaining layers. You can lay the square over top other fabrics to preview the effect.

Step 3: Cut Layers 2 + 3
Cut (1) 5.25” square for layer 2 (the on point square). Then, cut from corner to corner on both diagonals. This divides the square into 4 identical small triangles.

Arrange the small triangles around a chosen center square as shown above, right. Note that directional prints are no problem! You will automatically have correctly oriented triangles after quartering the 5.25" on point square.
Cut (2) 5.25” squares for layer 3 (the outer square). Cut outer squares in half on diagonal from corner to corner. Each square yields two large triangles. You will need 4 large triangles per economy block.

Take care with directional prints! To create properly oriented triangles, start by stacking matching 5.25" squares with wrong sides together. Make sure prints are oriented in the same way (ex. the fish are right side up on both sides). Then, cut the squares from corner to corner. This method will result in 4 correctly oriented large triangles.
Step 4: Sew Layer 2
Arrange all elements on a work surface: center square, on point square (small triangles) and outer square (large triangles).

Choose two small triangles, from opposite sides of the center square, and flip them right sides together with the center square.
Align raw edges. Make sure that each small triangle is evenly centered on the center square. Little triangular tips (dogears) should extend beyond the center square.

Join the small triangle pieces to the center square with a true 1/4" seam allowance. It is important that you do not use a scant seam allowance, but a true 1/4". Please measure your seam allowance after sewing the first batch to make sure it not smaller than 1/4".
Press the seams of the first set of triangles. Then sew the remaining set of small triangles in the same manner, with a true 1/ 4" seam allowance. Once again, make sure the triangles are visually centered with dogears sticking out evenly at both sides. Note that the new stitch line should start and stop at the "V" intersection of the raw edge of properly aligned fabrics.

Press seams. I prefer to press all seams open for a flatter block and leave dogears intact, as they cause no problems.
Step 5: Sew Layer 3
Now join a set of large triangles in the same manner, with true 1/ 4 " seam allowances. If this step blunts the corners of the inner square, try a slightly more generous seam allowance when you sew the small triangles.

Press seams and join the remaining large triangles. Press again.
Step 6: Trim
Center a 8.5" square ruler on the block, making sure that a 1/ 4" or greater seam allowance extends beyond all four corners of the on point square.

Trim around the ruler on all four sides, yielding a 8.5" unfinished block. The large triangles are over-sized to allow for easy trimming.

I hope you enjoy sewing economy blocks! If you share your creations on Instagram, please add the tag #StitchedinColor so that we can see what you’ve made!


