easy applique Clamshells from Circles
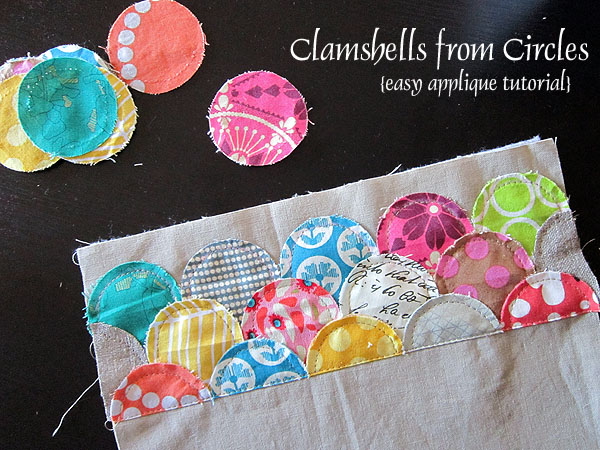
Hello friends! Yesterday, while I was down with the flu, I had clamshells on the mind. I researched different ways to make clamshells and came across this tutorial which uses circles to make a clamshell quilt. Today, in my blissfully all-better state, I've lost no time putting new ideas to work! I've tweaked things a bit for my own uses, so here's a mini tutorial on easy applique clamshells, from circles.
Step 1: Cut Circles
If you don't have a circle-cutting machine, this method is probably not ideal for you. You may as well cut clamshell shapes instead and consider other construction methods! But, if you have a machine that die cuts circles, such as my Go! Baby cutter, you can make clamshells without buying a special cutting die. Specifically, you can make raw-edge applique clamshells.
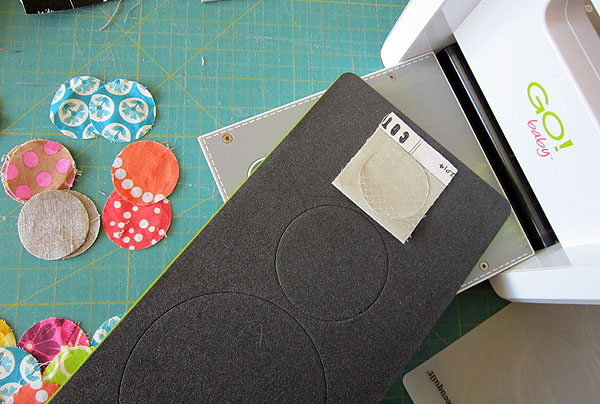
Start by cutting lots of circles! I'm cutting small, 2" wide circles. How many you'll need depends upon how you'll be using them. I think it's easiest to simply start cutting, lay them out and see what you need. I only need 15 circles for my (3) 10" rows of clamshells.
Step 2: Prep Applique Background
This method is especially suited to small projects such as a pillow, runner or mini quilt. Because it is raw edge applique, ideally items can be spot cleaned rather than machine washed. Prepare an applique background the same size as your desired finished item. I cut a fabric piece 10" x 12.5" for my small project.

If your project will involve batting or interfacing anyways, go ahead and attach it now. It will be easier to applique if your background has some oomph. I used fusible fleece for this project (my applique is already underway in this photo, but you get the idea). If you're using batting or something that does not fuse, consider using basting spray to temporarily attach it to the back of your applique background.
Step 3: Mark Lines
Using a temporary marking tool, mark lines to serve as guides when placing your circles. The lines should be spaced at a distance equal to half of your circle width. My circles are 2" wide, so my lines are marked 1" apart. I used a hera marker to make creases.

Notice that my first marked line is 1.5" from the top raw edge of my work. Leave extra space at the top, as I did here, if you want the first rounded edge of your clamshells to show when finished. If I did not want any background fabric to show, I could have marked my first line at just 1/2" from the top raw edge of the work.
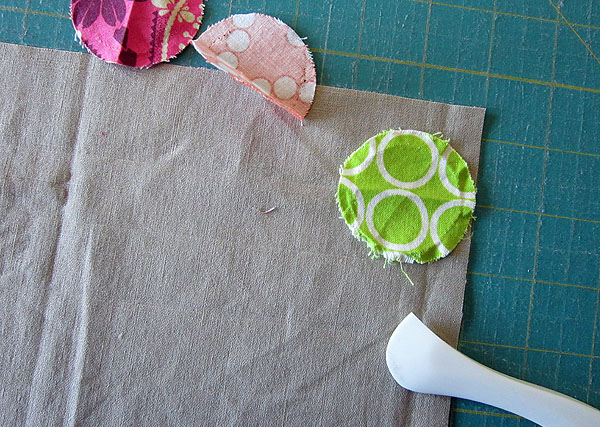
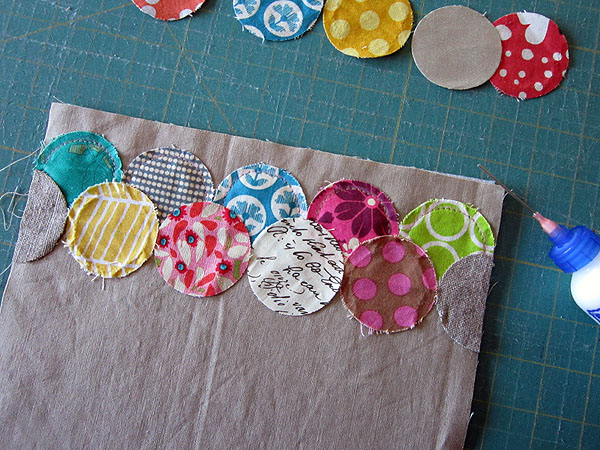
Step 4: Applique Row One
Begin at the top of your work. Finger press a circle in half, making a fold line at center. Allow circle to open. Match the fold line to the marked line on your applique background. Start at the very edge of that first marked line. To hold the circle in place, baste with glue or use pines. Pins will be annoying to remove as you sew, so use glue if you have some. I used Roxanne's glue baste, but plain Elmer's glue works too.
Continue adding circles until your line is filled up. My circles end flush with the left raw edge of my background because I planned my background size to suit (i.e. since using 2" circles, I cut my background to be a multiple of 2. I cut my background 10" wide). If your circles do not end flush with your background, you can choose to resize your background to suit your circle size OR choose to cut off the circles so that they are flush with the background. Either way works!
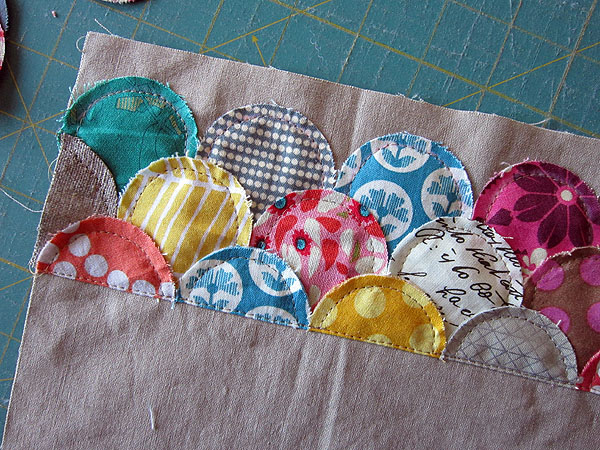
At your sewing machine, machine stitch along the top curved edge of the circles. Stitching close to the edge of the circles (a scant 1/4" or less) will generally be more attractive than stitching a path farther from the edge. Use a thread color that blends to hide mistakes. Go very slow, adjusting the presser foot with the needle down as often as necessary to navigate the curves. Stitching larger circles will be easier than working with tiny ones like mine.
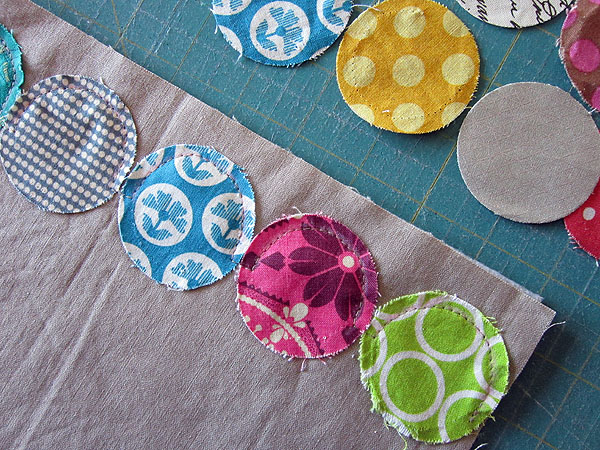
Your stitch path should make a scallop-shaped path. Cross from one circle to the next below the fabric fold line, where you can be sure the stitch crossing will be hidden by the next row of circles. Stitch the row as one continuous path from edge to edge of your applique background.
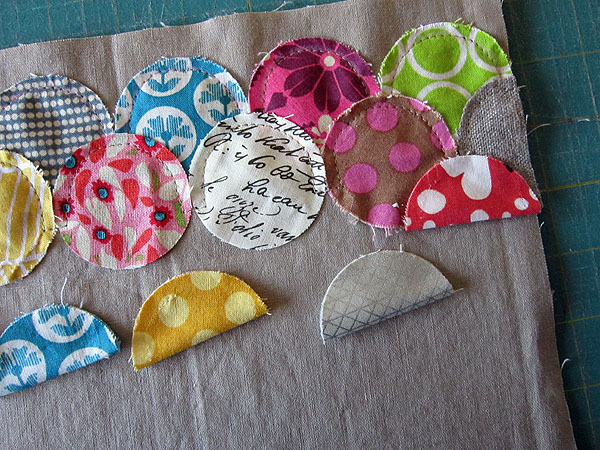
Step 5: Applique Rows Two and On
Begin by cutting one circle in half. Place the half-circle at the edge of the work, so that the cut edge is flush with the edge of your applique background. Then, continue adding circles as before. Again finger press a fold down the center of each circle. Align fold with the new marked line. Row 2 will overlap the first row substantially, hiding the stitch-crossing made when traveling from circle to circle as you appliqued row 1. Place circles with raw edges touching, which will stagger then evenly with circles in row 1. Complete the row with another half-circle.
Secure circles with glue or pins. Just as with row 1, applique this row to the background with a scallop-shaped stitch path.
Continue adding rows in this way, as many as desired!
Step 6: Finishing
If you will be filling your entire applique background with clamshells, continue adding rows until your last row of circles falls off the edge of the background fabric. Then, cut the circles flush with the background fabric. Done!
For my work, I wanted to "float" these three clamshell rows on the background. To create a finished edge, the last row of clamshells is made with circles folded in half. When I finger pressed these clamshells in half, I also glue-basted then shut. Keeping them folded, I aligned the folded, finished edge to the last marked line and secured in place.
To applique, first I stitched a straight line catching the folded edge at just 1/16" from the fold. Then I finished with the typical scallop-shaped applique stitch path to stitch down the edge. To travel from one circle to the next, I simply stitched across that bottom straight line, so that the crossing-stitches blend in completely.
I love how my little clamshells turned out! Check back tomorrow to see the finished project. Can you guess what I'm making?