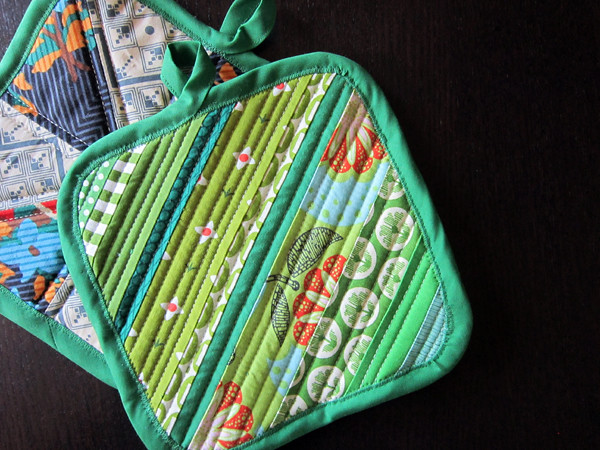
Easy-peasy Potholders tutorial
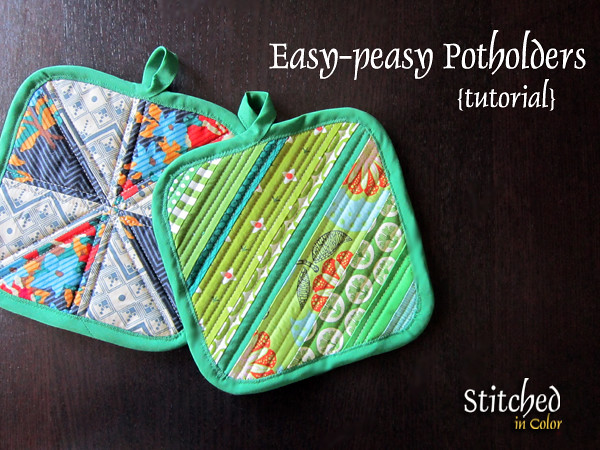
A potholder is basically a mini quilt with special heat-resistant batting. They're quick, useful and a great way to use scraps! The only tricky thing about potholders is the binding. Because they're so small, attaching traditional quilt-style binding is not such a fun process. This beginner-friendly tutorial shows how to finish potholder edges with store bought bias binding.
Supplies
1 package 1/2" wide double fold bias tape. A 3-yard package will yield 3 potholders.
thread to match bias tape
7.5" square potholder top
8" square potholder backing
8" square regular batting
8" square heat-resistant batting such as Insul-Bright
basting pins
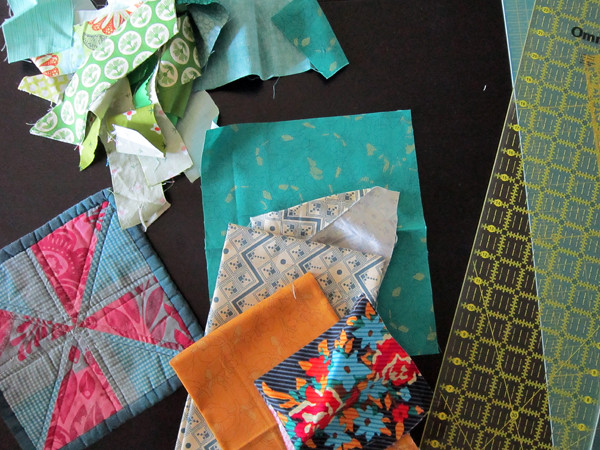
Step 1: Prepare Layers
Use scraps to piece a potholder top or cut top from yardage. Trim to 7.5" square.
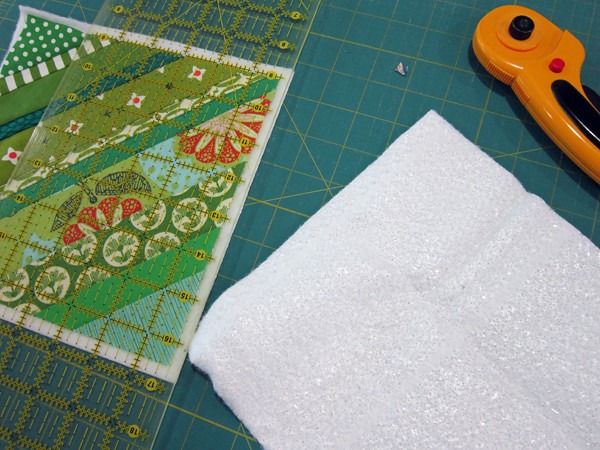
Cut backing, regular batting and heat-resistant batting each to 8" square. Instead of measuring, you can also just lay the potholder top over the batting and cut around it.
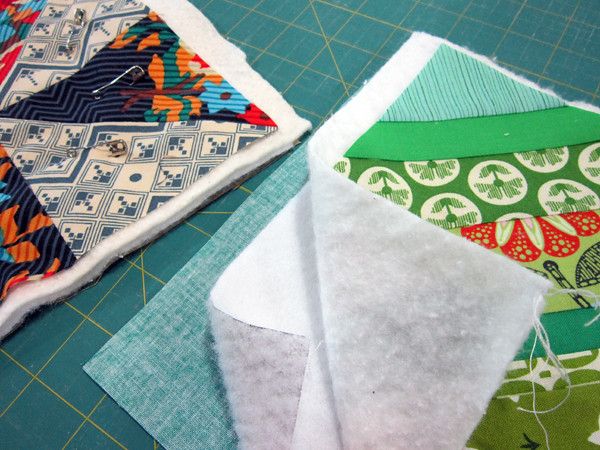
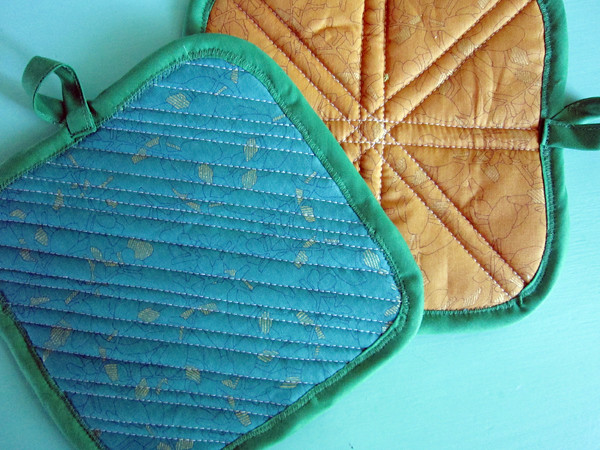
Step 2: Quilt + Trim Corners
Layer the pieces as follows: Backing (right side down), Heat-resistant batting (shiny side down), Regular batting and Potholder top (right side up). Center the potholder top on the other layers. Secure with basting pins, pinning through all layers to prevent shifting. Place a pin about every 2" in a gridlike pattern. If possible, place pins where they will not interfere with your first quilting lines.
Quilt as desired. I chose to follow the seam lines, quilting at a distance from the seams that I could follow with my presser foot. Start and stop all quilting lines on the batting, so that there are no starts/stops on the potholder top.
After quilting, cut all layers to match the potholder top. Trim to square up if needed.
Trim the edges of the square to slightly round them. You can eye this or use a jar, plate or other device to establish your curve. Rounding the edges will make binding attachment simpler.

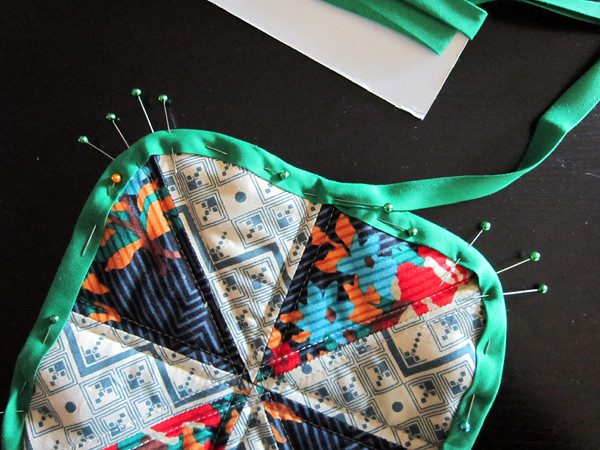
Step 3: Pin Binding
Open binding and wrap around the potholder edge, starting at the center of one edge. Keep the binding fold centered on the side of the potholder, so that too much binding is not shifting towards the top or bottom of the potholder. You want the binding to be equal-width on both sides of the potholder to ease attachment.
Use a pin oriented parallel to the potholder edge to secure binding in place. This pin should go through all potholder layers. Also, make sure the head of the pin is pointed to the right. This will make pins easy to remove when sewing.

Wrap the binding smoothly around a corner, not pulling so tight so as to bend the potholder, but not leaving excess fabric either. Because we are working with bias binding, it should be able to move nicely around corners. Place a new pin along the next potholder edge.
To secure the corners, place pins perpendicular to the potholder corner. These pins will not go through all layers, so you'll need 3-4 pins per corner, some securing binding on the top side and some securing binding on the bottom side. Feel free to use as many pins as you like!

Continue working your way around the potholder, placing about 2 pins on each edge and 3-4 pins at each corner. When you reach the start of the binding, allow it to overlap slightly so as to hide the raw edge. Pin in place.
Gently pull the binding away from the potholder. Measure 4" of extra binding and cut. You'll have a 4" binding "tail" extending from the binding overlap section.
Step 4: Sew Binding
Load your sewing machine with thread to match the binding.
Starting anywhere on the potholder, attach binding with a zigzag stitch. Sew with the top of the potholder facing up, so that you can follow the binding on the top side. Sew so that most of the zigzag stitch lands on the binding, with just a small amount landing on the potholder top. This should catch the binding on the bottom side at the same time. As you go, remove pins just before sewing over them.
When you reach the binding overlap section, pull the binding tail gently away from the potholder. Don't pull so hard that you make a sharp fold in the binding. You want it to make a nice, strong arc away from the potholder. With the binding tail pulled away from the potholder, continue your zigzag stitch across the overlap section.
Zigzag stitch all the way around the potholder, backstitch to secure and cut threads. Check the binding from the back. If necessary zigzag stitch from the backside to secure spots where the binding did not get caught on the back.
Step 5: Make the Loop
Fold the cut, raw end of the binding tail towards the inner fold of the binding. Folding it back and into itself about 1/2" will hide that raw cut end. Pin binding closed at the end, with the raw edge tucked inside.
With a straight stitch, sew the binding tail closed. Start sewing near the potholder, backstitch and sew all the way to the end of the binding, backstitching again to secure. Make this stitch line close to the edge of the binding, for a neat look.

Turn and loop the binding tail to make an attractive hanging loop. Pin the binding tail end at the zigzag binding seam.
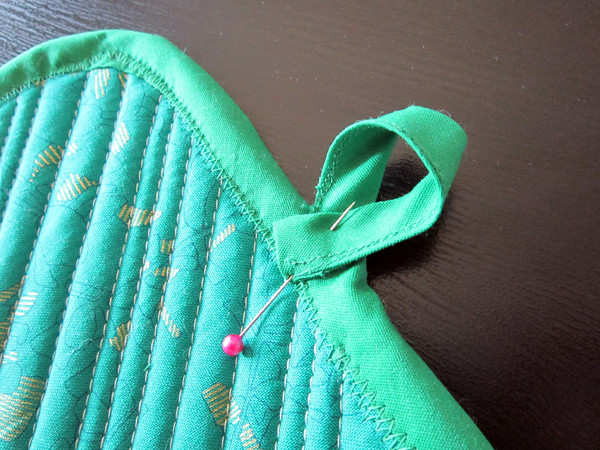
When you're happy with the loop's appearance, sew the binding tail end in place with a regular straight stitch. Sew this time with the wrong side of the potholder up, so that you can be sure to catch the binding tail end.
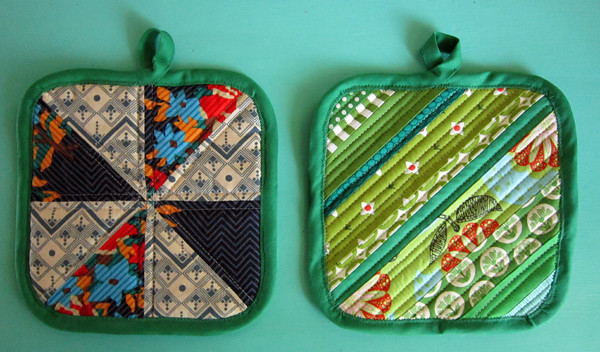
Well, that's a lot of words for an easy process. I think you'll want to make more than one! I'm sure I'm not the first to bind a potholder in this way, but I thought you'd like a tutorial.
I think my friends and I will be making potholders at sewing night this month!
Fabric Notes: Potholder backs are Metallic Foliage from Botanics and several other fabrics are Dowry or True Colors by Anna Maria Horner.