basic Machine Applique tutorial
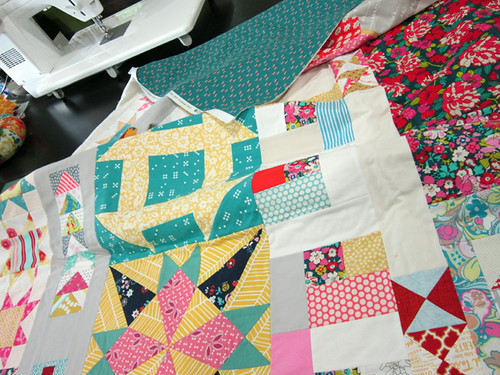
I have a beautiful dresden plate and some English paper pieced flowers to incorporate into a collaborative bee quilt. I've chosen to applique them since they already have finished edges. The turned under edges are easy to layer right on the quilt top and attach via machine. No fuss, no muss. Here's how!
Step 1: Prepare Foundation
To applique means to add a second layer of fabric or embellishment. That means you need to have an intact foundation layer first! I pieced a yellow square of fabric into my quilt top as a background for the dresden block. As a design feature, the dresden is purposefully larger than the yellow background square, and will spill over the edges of nearby blocks in a (hopefully) interesting way.
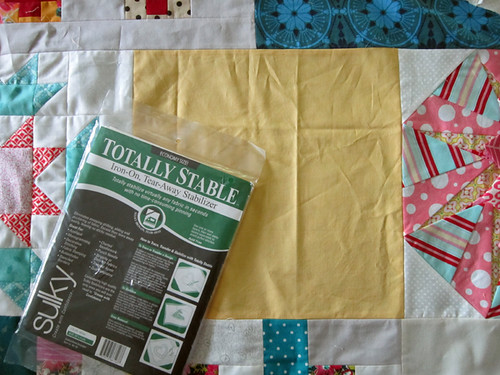
Step 2: Use a Stabilizer
A stabilizer is a temporary bit of extra... stabilization. Using a stabilizer helps guard against puckers in the foundation fabric or in your applique layer due to things shifting as you sew. Especially with machine applique, a stabilizer may be key to smooth results.
Your local sewing store likely stocks many, many stabilizers. Differences usually involve how the stabilizer is removed when you're done sewing. I'm using one made by Sulky called Totally Stable.
Cut your stabilizer to be somewhat larger than your applique shape.
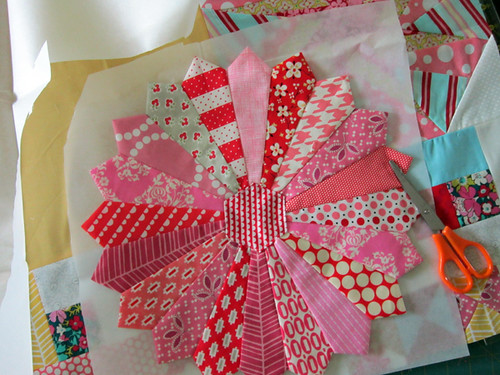
Attach stabilizer to the back of the work-in-progress. This particular kind of stabilizer irons on, so I don't have to use pins or a hoop to hold it in place.

You can actually add more than one layer of stabilizer if you feel you need even more stabilization.
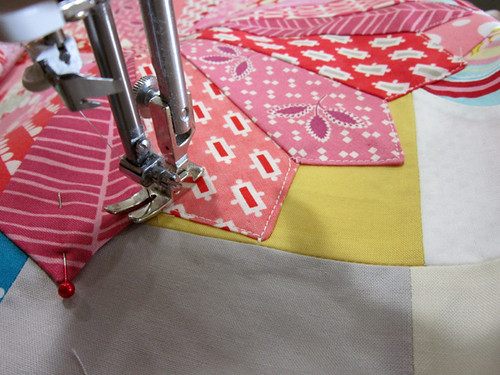
Step 3: Applique
Position the applique layer as desired and pin generously. Be sure that both the background and the applique layer are laying flat before proceeding.
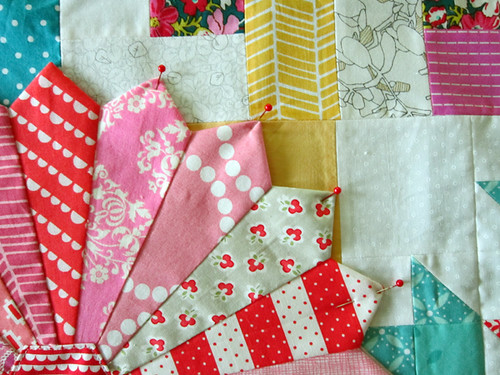
Sew very close to the turned under edges of your shape. Backstitch at start and finish to secure stitches.
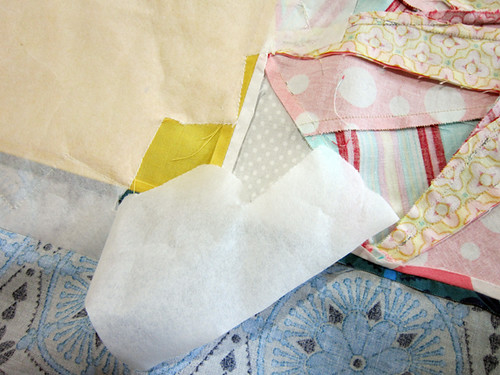
Step 4: Remove Stabilizer
Follow the directions on your stabilizer packaging to remove the stabilizer after sewing. Totally Stable is a tear-away product. It tears off from the back of the work, perforating at the stitch lines. I appreciate that I do not have to wet or dampen my work to remove the stabilizer, since that process is more time consuming and might stretch or warp the work.
Finished!
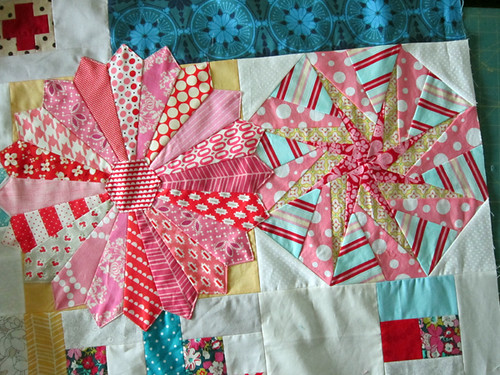
Guess what? When I was completely done with the quilt top, I decided one thing had to change. That block to the right of the appliqued dresden plate is so neat, but together with the dresden plate it's too busy. I did some quilt surgery to remove that pinwheel-ish block and used it as a focal point on the quilt back instead.
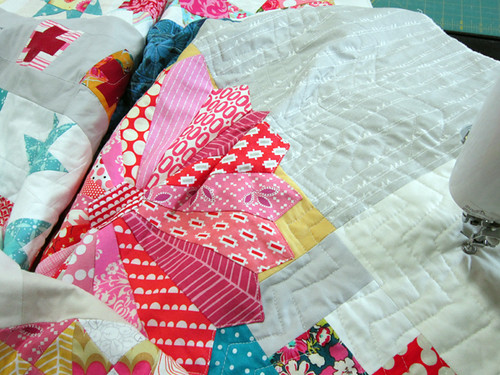
And now I'm quilting! Trying something new. Fingers crossed!
Any other simple applique tricks or favorite stabilizers? Feel free to share your tips in the comments!
*This post includes affiliate Amazon links to Totally Stable.