Lined Pocket tutorial
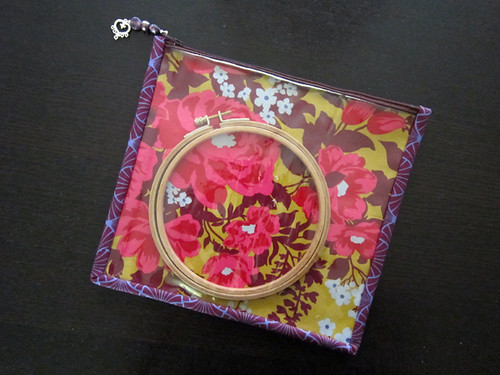
Early this week I received a swap gift in the mail and so did my swap partner! That means I can publicly thank Des for this pretty hexagon pouch, featuring Heirloom by Joel Dewberry, a collection I most certainly love!

It's see-through, which is just what I need for my travels. I think Des read my mind.
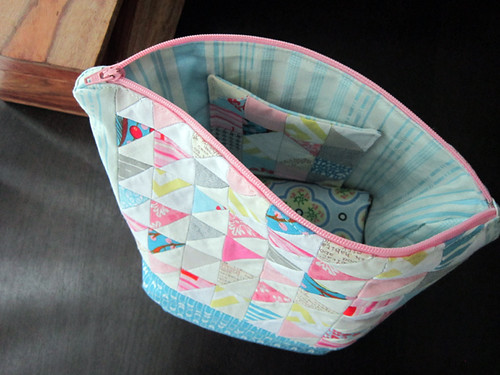
This swap between members of the Faith circle of do. Good Stitches was a pouch swap. My teeny, tiny half square triangle creation was for Debbie.
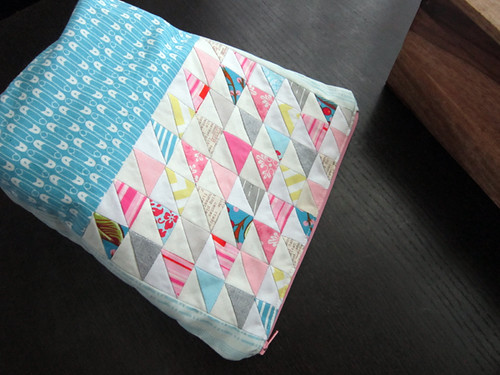
She wanted a big, roomy pouch for projects on-the-go, so I figured she could also use a nice little pocket inside. A lined pocket is quite each to make! For those of you newer to sewing, I thought you might like a little tutorial.
::Pocket Tutorial::
Step 1: Create Pocket
Begin by making two equally-sized squares or rectangles in your desired pocket size. One square will be your pocket outer; the other is your lining. Place squares right sides together and sew around 3 sides, backstitching at start and finish. The side that you do not sew will be the bottom edge of the pocket. Turn pocket right side out. Poke out corners and press.
Step 2: Attach at Bottom
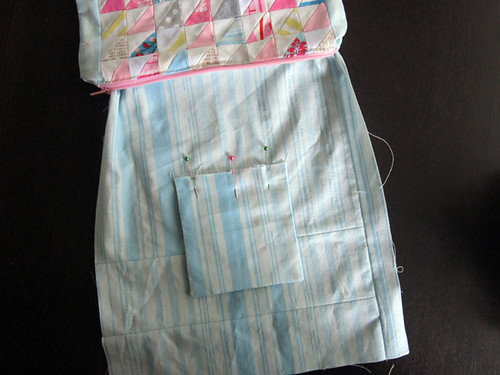
Before I finished sewing the lining on my pouch, I added the pocket to the right side of the pouch lining fabric. First, pin the raw edges of your pocket horizontally on your background fabric with the rest of your pocket extending below. Pin with the right side of the pocket against the right side of the background fabric so that the lining of the pocket shows. The pocket is situated as if it has fallen open/down because the sides of the pocket have not yet been sewn.
Sew along the raw edges of the pocket with a 1/4" seam allowance, attaching the bottom edge of the pocket to the background fabric.
Step 3: Attach at Sides

Now that the bottom is secure, flip the pocket up so that the right side of the pocket shows. Pin along both sides, making sure that none of the raw edge threads poke out at bottom.
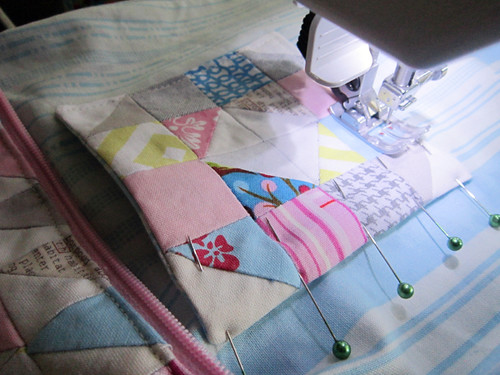
Starting at the top of one side of the pocket, secure the edges to the background fabric by sewing with a 1/8" topstitch along the side, across the bottom edge and them up the opposite side to finish. Be sure to backstitch quite a bit at start and finish of this topstitch line in order to really secure the pocket.
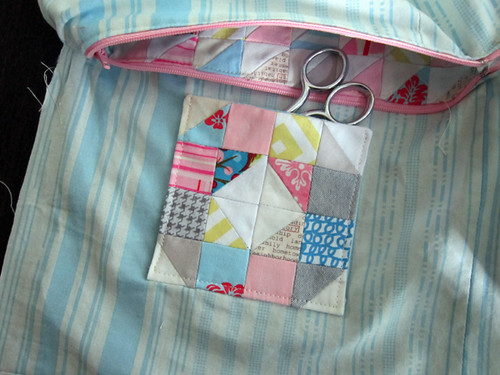
And, you're done!
Thanks for a great swap, Faith ladies!