Rotary Cutting 101
This post is part of a series {Colorbrick} a Beginner’s Quilt-Along. Please see this page for links to all posts!
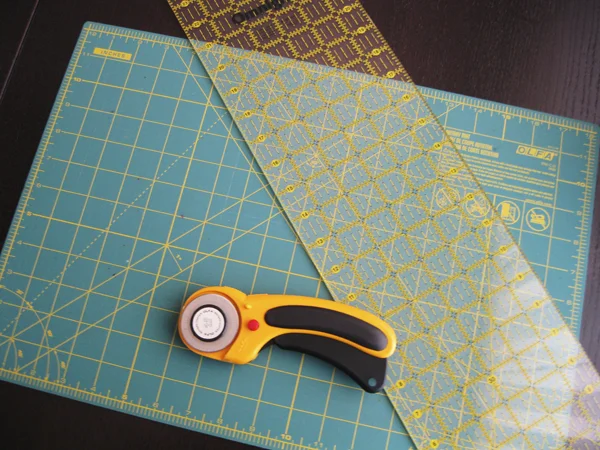
I love teaching friends to use a rotary cutter! Anyone who's sewn much without one immediately falls in love with the tool. Cutting small pieces of fabric (like your fat quarters) is much easier than cutting large pieces of fabric (like the yardage for your backing). So, we'll start with what's easiest here. Next week, when we cut our sashing, I'll share tips on how to cut larger pieces of fabric.
Basic Rotary Cutting for Small Pieces

Press fabrics before cutting for greater accuracy.
Place your mat on a table, ideally at the corner so that you can cut from two sides of the table without moving your work.
Stand while cutting. You need to be able to put firm pressure on the rotary cutter and to have full control over the ruler. Standing also allows for the greatest range of motion.
When placing your fabric on the mat, check to see if any sides are straight. If you have a straight side turn your fabric so that the straight side is at the left or bottom of your piece. Line that side up with one of the cutting lines on your mat - you only have to cut the 3 remaining sides.
Check to see that you are happy with how the fabric's print is oriented in reference to the cutting lines on your mat. You may want to re-cut a "straight" side if it is angled so as to make your print sit crooked.
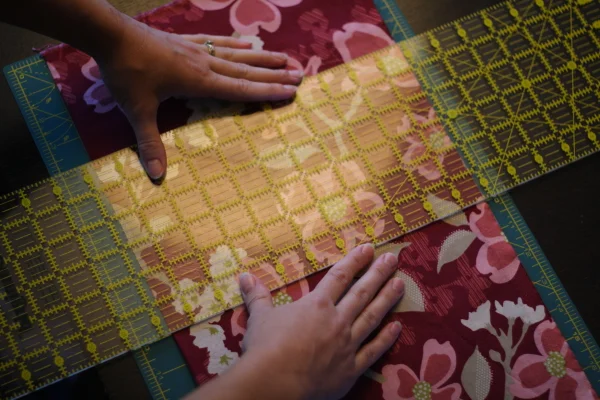
To cut, place your ruler over your fabric and align the edge of your ruler with those on the cutting mat.
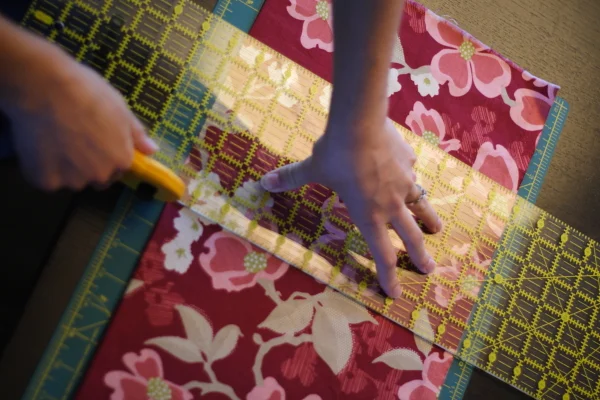
Always roll the rotary cutter away from your body and apply firm pressure both downwards towards the mat and along the side of the ruler. See how my hand is raised in a "spider" position? This works better to prevent slipping than placing your palm flat on the ruler.
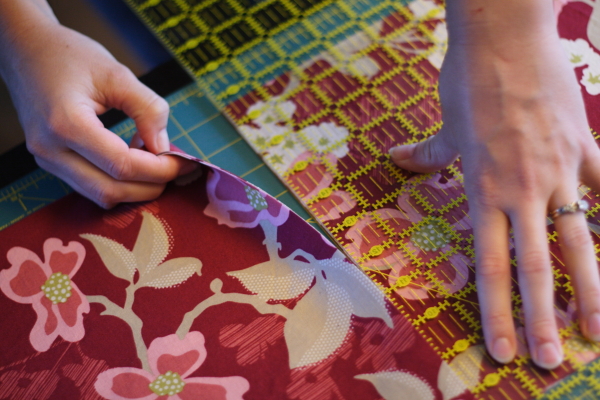
When you're done making a cut, check that the fabric is completely free before moving the ruler. If you don't have a clean cut, make another full-length cut in one long motion away from your body.
When cutting small pieces, cut all four sides of your shape without moving your fabric around on the mat. This saves time, since you don't have to re-align straight edges. If you have a small mat, you can simply rotate your mat, while holding the fabric flat, to situate yourself for the next cut. Or, you can move from one corner of the table to another to access your mat from 2 sides.
If you've never used a rotary cutter before, experiment with some scraps, making strips, squares or rectangles. You could collage your cuttings onto a blank notecard or stitch strips together to make a mini-quilt card like this.
On Tuesday I'll be posting detailed instructions for how to cut your fat quarters into bricks for Colorbrick!